
原图 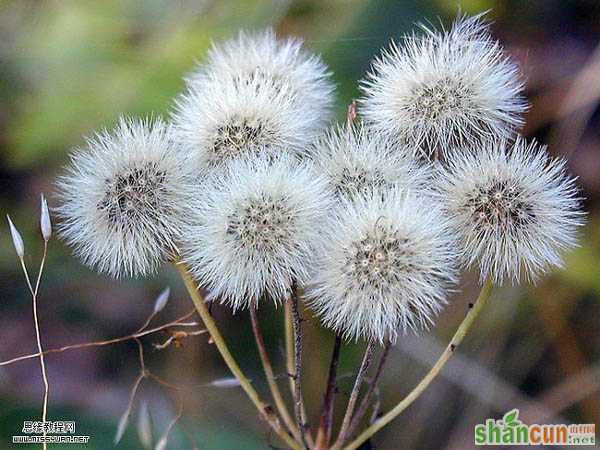 nmousewheel="return bbimg(this)" onload="javascript:resizepic(this)" border="0"/>
最终效果 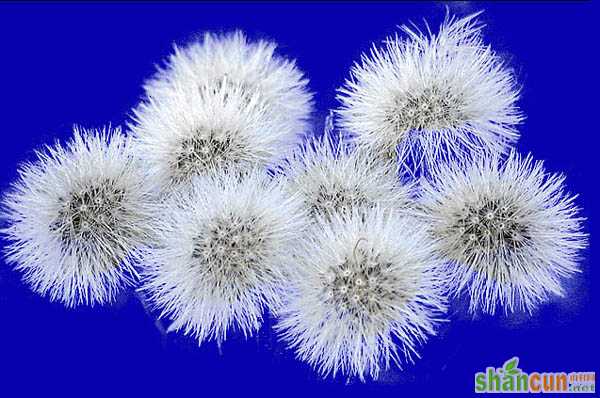 nmousewheel="return bbimg(this)" onload="javascript:resizepic(this)" border="0"/>
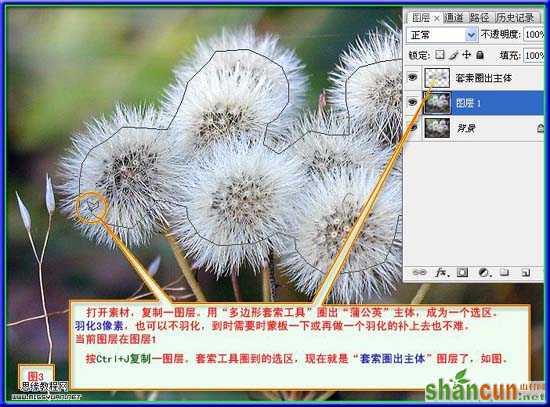
1、打开原图,复制一层,用多边套索工具,勾出蒲公英主体部分,按Ctrl + Alt + D把选区羽化3个像素,然后按Ctrl + J复制到新的图层。
 nmousewheel="return bbimg(this)" onload="javascript:resizepic(this)" border="0"/>
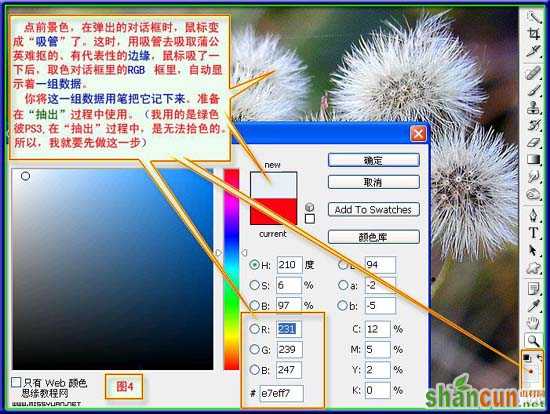
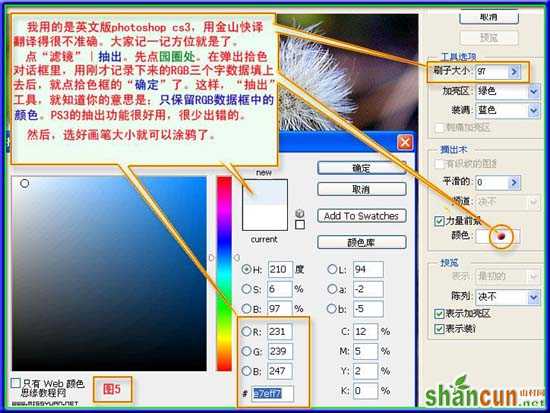
2、点前景颜色,在弹出的拾色器对话框,用吸管吸取蒲公英难勾部分边沿色彩,然后把它的RGB数值复制一下。
 nmousewheel="return bbimg(this)" onload="javascript:resizepic(this)" border="0"/>
3、把背景图层复制一层,然后在副本执行菜单:滤镜 > 抽出,参数设置如下图。
 nmousewheel="return bbimg(this)" onload="javascript:resizepic(this)" border="0"/>
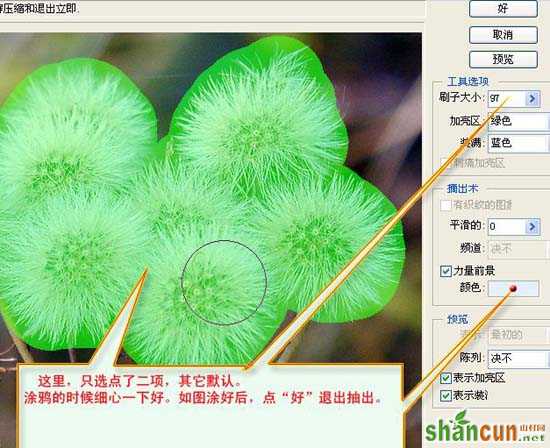
4、把蒲公英部分涂绿。
 nmousewheel="return bbimg(this)" onload="javascript:resizepic(this)" border="0"/>
 nmousewheel="return bbimg(this)" onload="javascript:resizepic(this)" border="0"/>
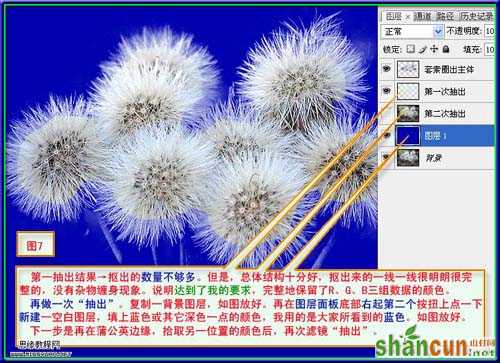
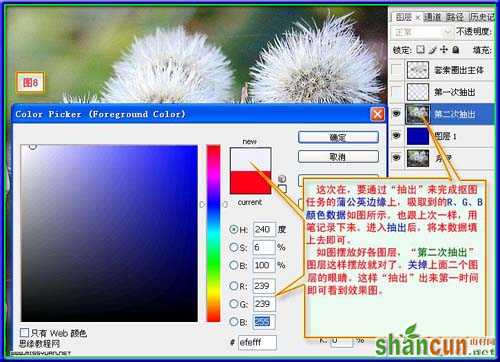
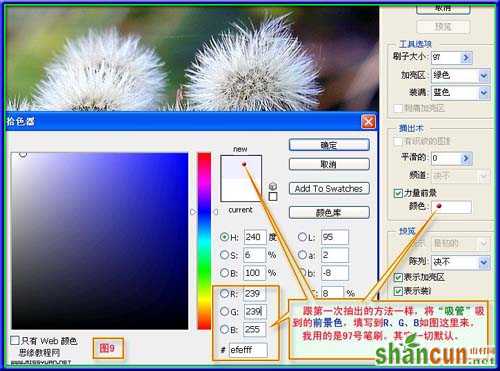
6、抽出前先取出边缘部分颜色数值,这一次的颜色选区颜色与上次要有点区别,也是边缘不同位置的颜色。
 nmousewheel="return bbimg(this)" onload="javascript:resizepic(this)" border="0"/>
7、抽出参数设置。
 nmousewheel="return bbimg(this)" onload="javascript:resizepic(this)" border="0"/>
8、第二次抽出的效果,效果基本上出来了,可以适当把主体部分加上蒙版把边缘柔化一下即可。
nmousewheel="return bbimg(this)" onload="javascript:resizepic(this)" border="0"/>


