
原图  nmousewheel="return bbimg(this)" onload="javascript:resizepic(this)" border="0"/>
最终效果图  nmousewheel="return bbimg(this)" onload="javascript:resizepic(this)" border="0"/>
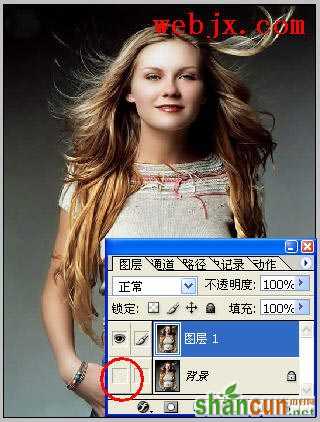
1、打开原图复制一个图层,然后隐藏背景显示:
 nmousewheel="return bbimg(this)" onload="javascript:resizepic(this)" border="0"/>
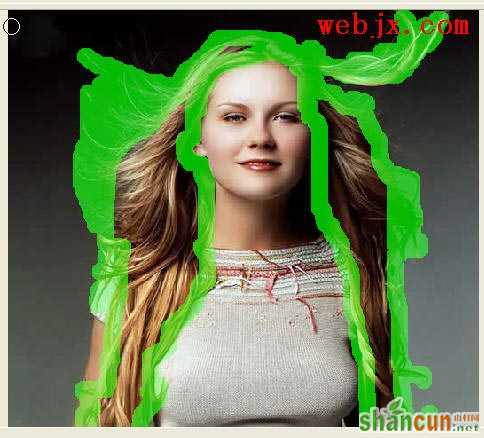
2、执行“滤镜”->“抽出”,画出边缘:
 nmousewheel="return bbimg(this)" onload="javascript:resizepic(this)" border="0"/>
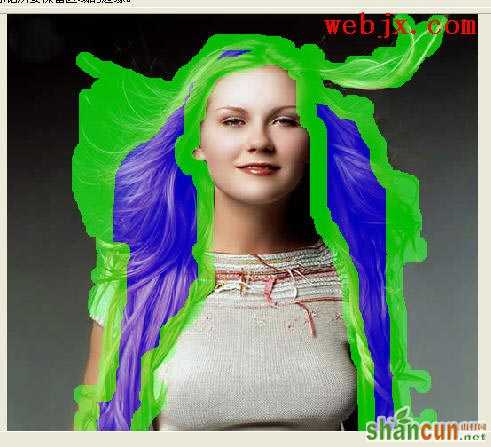
3、填充颜色:
 nmousewheel="return bbimg(this)" onload="javascript:resizepic(this)" border="0"/>
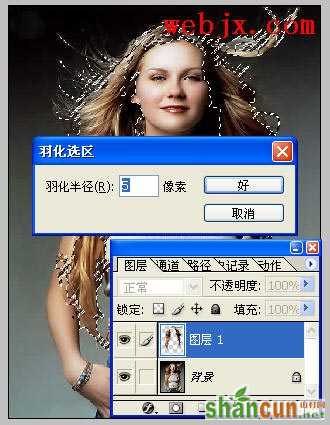
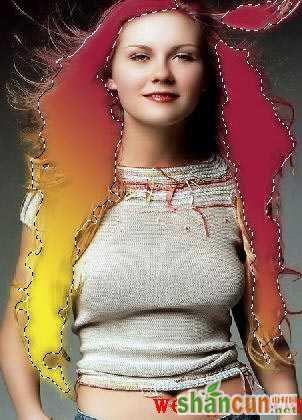
4、按Ctrl点击图层载入选区,然后ctrl+Alt+D进行羽化:
 nmousewheel="return bbimg(this)" onload="javascript:resizepic(this)" border="0"/>
 nmousewheel="return bbimg(this)" onload="javascript:resizepic(this)" border="0"/>
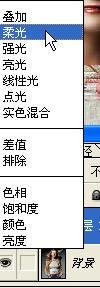
7、最后设置图层模式为柔光:
 nmousewheel="return bbimg(this)" onload="javascript:resizepic(this)" border="0"/>
8、拼合图层,最终效果:
nmousewheel="return bbimg(this)" onload="javascript:resizepic(this)" border="0"/>


