
本教程主要用到滤镜中的云彩及放射模糊等功能制作比较生动逼真的数码效果。操作比较简单,效果比较理想。
最终效果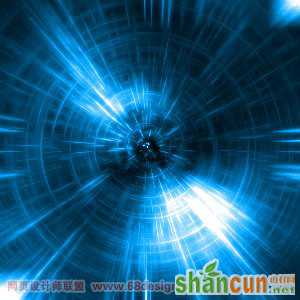 nmousewheel="return bbimg(this)" onload="javascript:resizepic(this)" border="0"/>
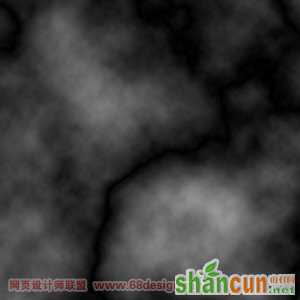
1.新建图像,用默认的前景和背景色制作【滤镜_渲染_云彩】,然后再【滤镜_渲染_分层云彩】,形成类似下图的效果。
 nmousewheel="return bbimg(this)" onload="javascript:resizepic(this)" border="0"/>
<图1>
2、然后使用【滤镜_像素化_铜板雕刻】,类型选择“中等点”,如图2。形成的效果如图3。
 nmousewheel="return bbimg(this)" onload="javascript:resizepic(this)" border="0"/>
<图2>
 nmousewheel="return bbimg(this)" onload="javascript:resizepic(this)" border="0"/>
<图3>
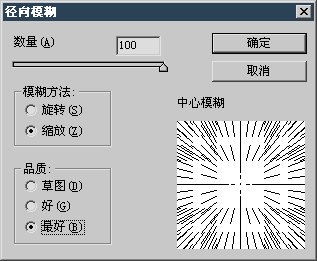
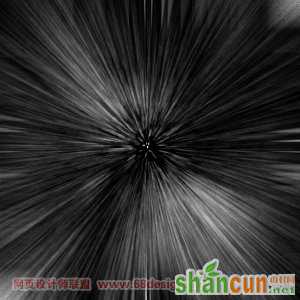
3、将图层复制一层,对其使用【滤镜_模糊_径向模糊】,设置如图4。形成的效果如图5。
 nmousewheel="return bbimg(this)" onload="javascript:resizepic(this)" border="0"/>
<图4>
 nmousewheel="return bbimg(this)" onload="javascript:resizepic(this)" border="0"/>
<图5>
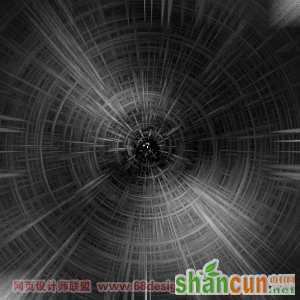
4、对下面的图层使用【滤镜_模糊_径向模糊】,设置如图6。得到的图像效果如图7。图层调板如图8。
 nmousewheel="return bbimg(this)" onload="javascript:resizepic(this)" border="0"/>
<图6>
 nmousewheel="return bbimg(this)" onload="javascript:resizepic(this)" border="0"/>
<图7>
nmousewheel="return bbimg(this)" onload="javascript:resizepic(this)" border="0"/>
<图8>
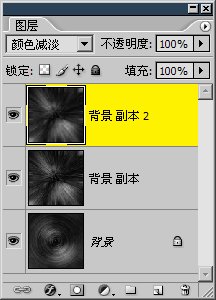
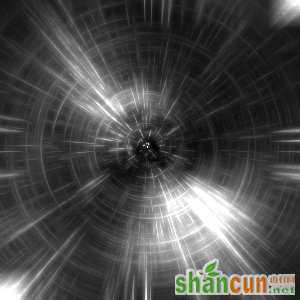
5、将位于上层的图层复制一份,使用【滤镜_模糊_高斯模糊】,然后将混合模式设为“颜色减淡”,效果如图9。图层调板如图10。
nmousewheel="return bbimg(this)" onload="javascript:resizepic(this)" border="0"/>
<图9>
 nmousewheel="return bbimg(this)" onload="javascript:resizepic(this)" border="0"/>
<图10>
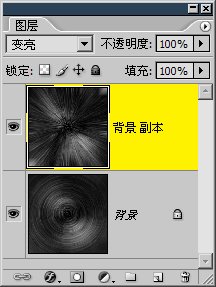
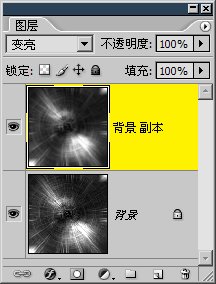
6、将所有图层合并,然后复制一层执行【滤镜_模糊_高斯模糊】,将图层混合模式改为“变亮”,效果和图层调板分别如图11和图12。之后在最上方的图层建立色相饱和度调整层,使用着色方式调整,类似图13。
 nmousewheel="return bbimg(this)" onload="javascript:resizepic(this)" border="0"/>
<图11>
 nmousewheel="return bbimg(this)" onload="javascript:resizepic(this)" border="0"/>
<图12>
 nmousewheel="return bbimg(this)" onload="javascript:resizepic(this)" border="0"/>
<图13>


