
最终效果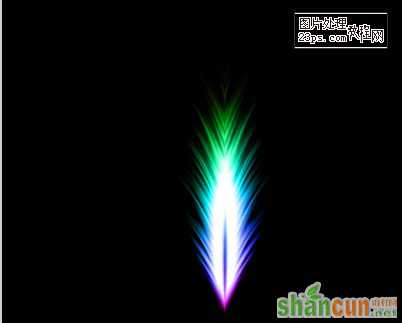 nmousewheel="return bbimg(this)" onload="javascript:resizepic(this)" border="0"/>
1.新建一个 400PX * 400PX的文件,背景填充黑色
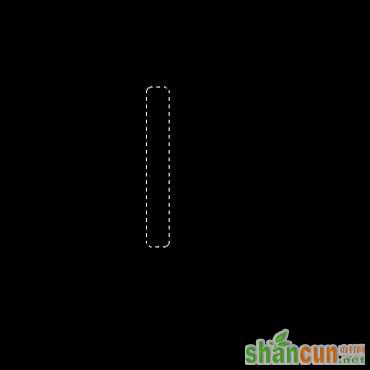
2.再新建一个图层,用矩形选取工具绘制选区如图1,然后按 Alt + Ctrl + D 羽化数值为3,然后填充为白色。按Ctrl + D 取消选区
 nmousewheel="return bbimg(this)" onload="javascript:resizepic(this)" border="0"/>
<图1>
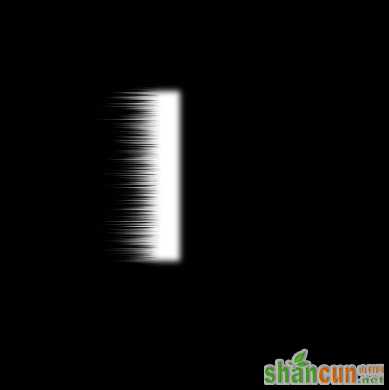
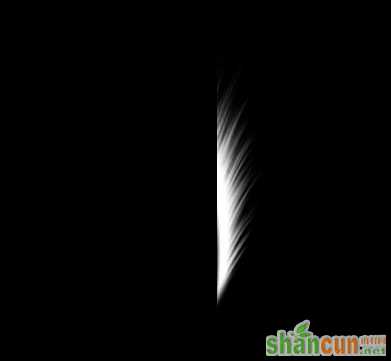
3.选择菜单: 滤镜 > 风格化 > 风 数值为默认,并按两次 Ctrl + F加强,效果如图2
 nmousewheel="return bbimg(this)" onload="javascript:resizepic(this)" border="0"/>
<图2>
4.选择菜单: 编辑 > 变换 > 顺时针旋转90度 并稍微移到图3所示的位置。
 nmousewheel="return bbimg(this)" onload="javascript:resizepic(this)" border="0"/>
<图3>
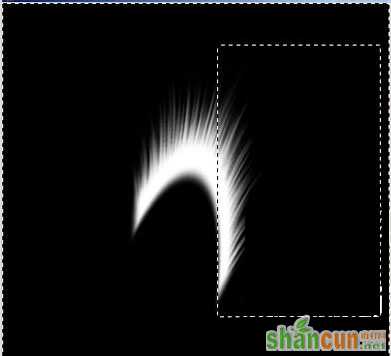
5.选择菜单: 滤镜 > 扭曲 > 极坐标 > 极坐标到平面坐标效果如图4
 nmousewheel="return bbimg(this)" onload="javascript:resizepic(this)" border="0"/>
<图4>
6.用矩形选区工具选取如图5所示的区域然后按 Ctrl + Alt + Shift + I 反选 然后按 Delete 删除效果如图6
 nmousewheel="return bbimg(this)" onload="javascript:resizepic(this)" border="0"/>
<图5>
 nmousewheel="return bbimg(this)" onload="javascript:resizepic(this)" border="0"/>
<图6>
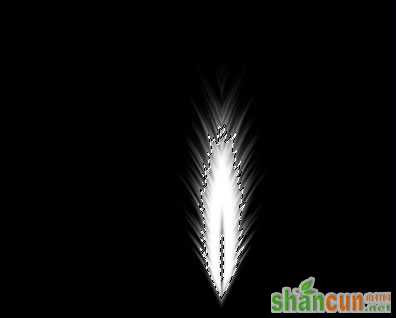
7.按Ctrl + J 复制一个图层 选择菜单 : 编辑 > 变换 > 水平反转 得到左边的部分,稍微移动一下得到一支完整的羽毛,然后把这两层合并.
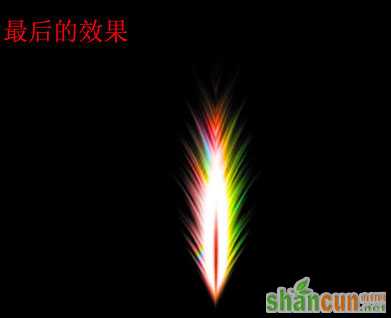
8。在羽毛的图层上面新建一层,把图层混合模式改为:“颜色”,调出羽毛的选区,然后用渐变填充。本教程选的是彩虹渐变如图7图顶部,效果如图8
 nmousewheel="return bbimg(this)" onload="javascript:resizepic(this)" border="0"/>
<图7>
 nmousewheel="return bbimg(this)" onload="javascript:resizepic(this)" border="0"/>
<图8>
9.填充不同的渐变得到不同的效果,大家可以多尝试一下。
nmousewheel="return bbimg(this)" onload="javascript:resizepic(this)" border="0"/>
<图9>


