
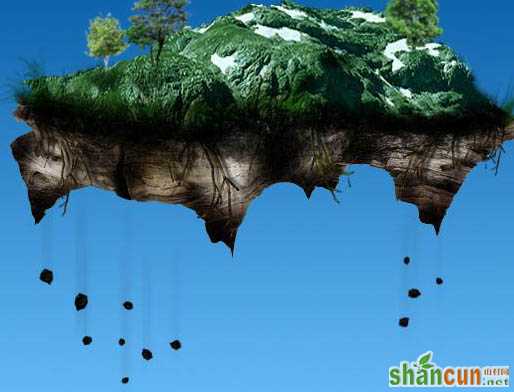
效果图有点像科幻片中的外星球图。整个效果用到的素材不错,仅一座山,一张地质纹理图,还有一些树木及小草素材。不过作者融合的非常出色,尤其是细节部分,简直看上去跟真的一样。
最终效果 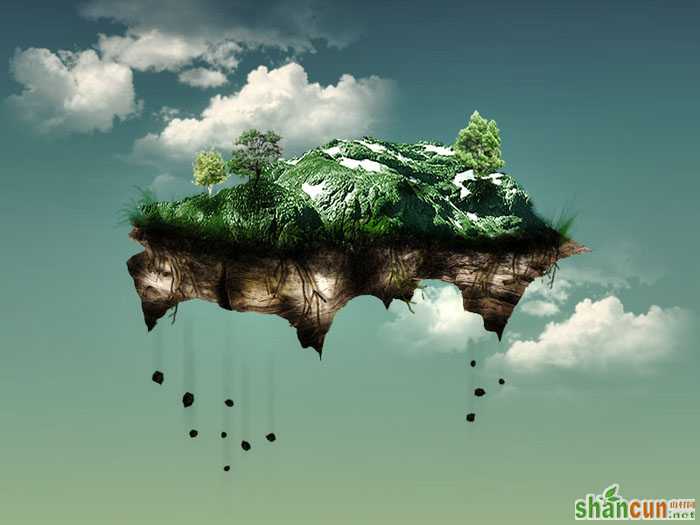 nmousewheel="return bbimg(this)" onload="javascript:resizepic(this)" border="0"/>
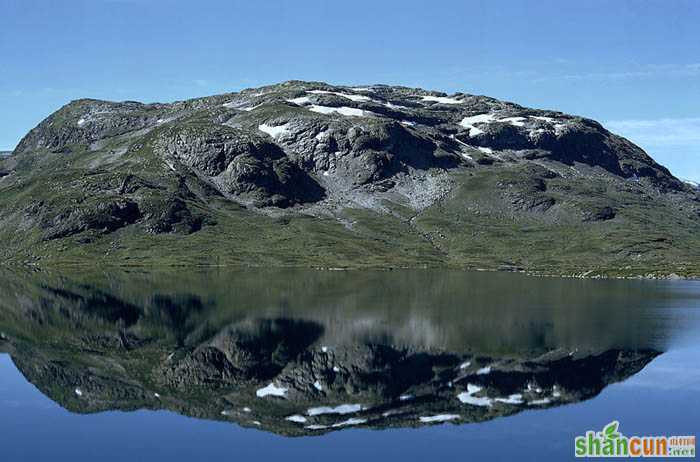
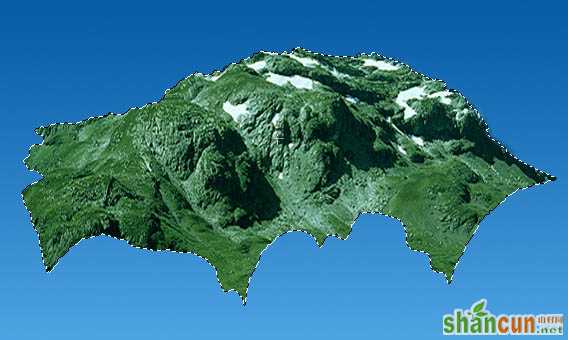
1、新建文档(1024 * 768像素),渐变填充,拖入大山图片素材,ctrl+T变形,适当拉高变窄。
 nmousewheel="return bbimg(this)" onload="javascript:resizepic(this)" border="0"/>
 nmousewheel="return bbimg(this)" onload="javascript:resizepic(this)" border="0"/>
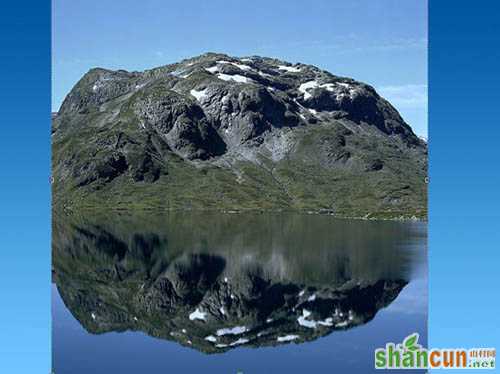
2、删除多余的部分,只保留山的主体。
 nmousewheel="return bbimg(this)" onload="javascript:resizepic(this)" border="0"/>
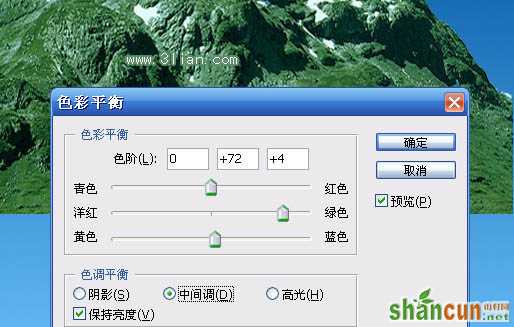
3、Ctrl+B调整色彩平衡,使其看上去青草满地的感觉。
nmousewheel="return bbimg(this)" onload="javascript:resizepic(this)" border="0"/>
4、用多边形套索工具勾出下图形状,ctrl+shift+I反选后删除多余的部分。
 nmousewheel="return bbimg(this)" onload="javascript:resizepic(this)" border="0"/>
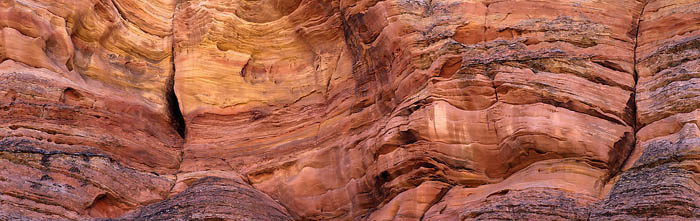
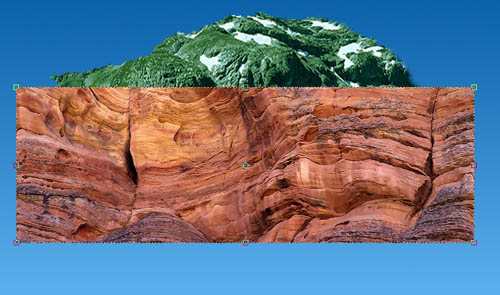
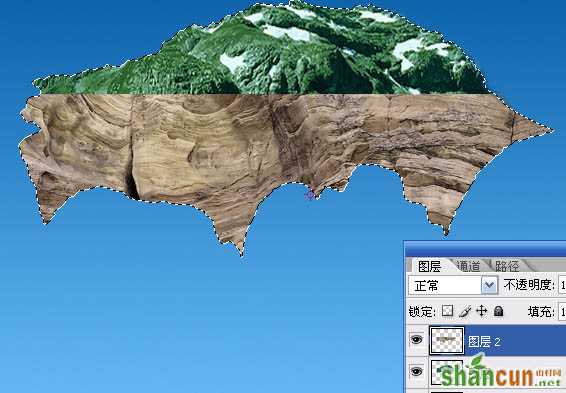
5、拖入岩石素材,调整好大小,必须全部覆盖到山下半部的形状。
 nmousewheel="return bbimg(this)" onload="javascript:resizepic(this)" border="0"/>
 nmousewheel="return bbimg(this)" onload="javascript:resizepic(this)" border="0"/>
6、按Ctrl + U 调整色相/饱和度,降低饱和度。
 nmousewheel="return bbimg(this)" onload="javascript:resizepic(this)" border="0"/>
7、按住ctrl,鼠标点击山的图层,反选,删除。
 nmousewheel="return bbimg(this)" onload="javascript:resizepic(this)" border="0"/>
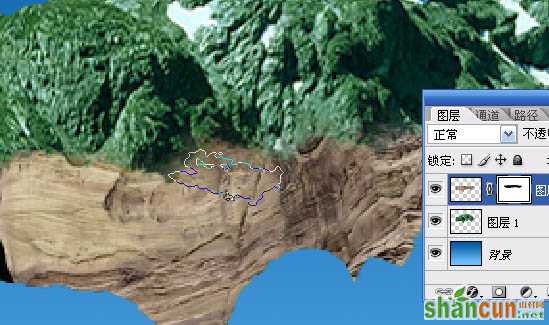
8、岩石图层添加图层蒙版,选择63号画笔,前景色为黑色,涂抹边缘,使其与山过渡过自然。
nmousewheel="return bbimg(this)" onload="javascript:resizepic(this)" border="0"/>
9、新建图层,前景色设为深褐色,在岩石和山交界处绘制,改为“正片叠底”模式。
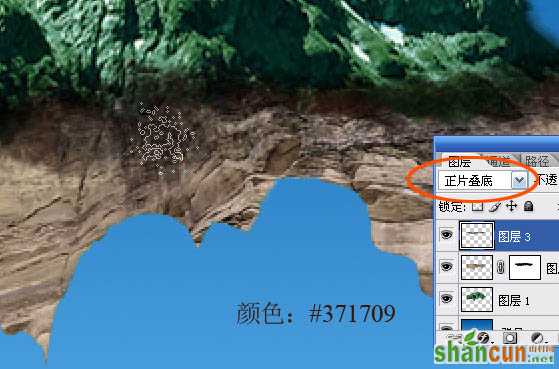 nmousewheel="return bbimg(this)" onload="javascript:resizepic(this)" border="0"/>
10、回到岩石图层,选择加深和减淡工具,处理出岩石的高光和暗光部分(想要凸出就减淡,凹进去就加深)。
 nmousewheel="return bbimg(this)" onload="javascript:resizepic(this)" border="0"/>
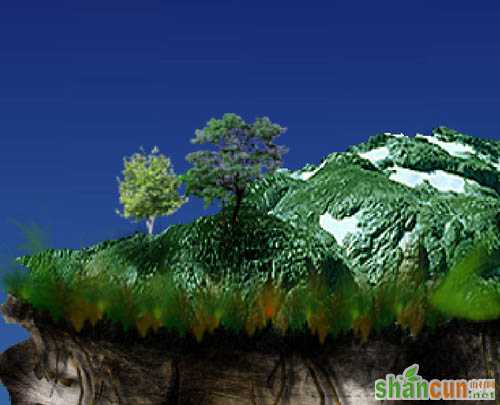
11、新建图层,载入青草笔刷(笔刷需要去网上下载),前景色设为不同的颜色,绘制出一些青草,改为“正片叠底”模式。
 nmousewheel="return bbimg(this)" onload="javascript:resizepic(this)" border="0"/>
8、岩石图层添加图层蒙版,选择63号画笔,前景色为黑色,涂抹边缘,使其与山过渡过自然。
nmousewheel="return bbimg(this)" onload="javascript:resizepic(this)" border="0"/>
9、新建图层,前景色设为深褐色,在岩石和山交界处绘制,改为“正片叠底”模式。
nmousewheel="return bbimg(this)" onload="javascript:resizepic(this)" border="0"/>
10、回到岩石图层,选择加深和减淡工具,处理出岩石的高光和暗光部分(想要凸出就减淡,凹进去就加深)。
nmousewheel="return bbimg(this)" onload="javascript:resizepic(this)" border="0"/>
11、新建图层,载入青草笔刷(笔刷需要去网上下载),前景色设为不同的颜色,绘制出一些青草,改为“正片叠底”模式。
nmousewheel="return bbimg(this)" onload="javascript:resizepic(this)" border="0"/>
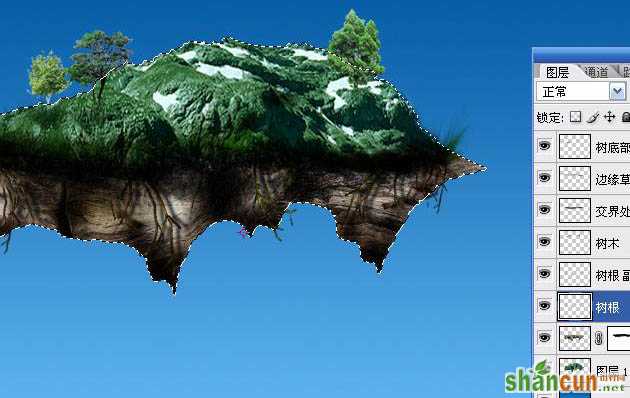
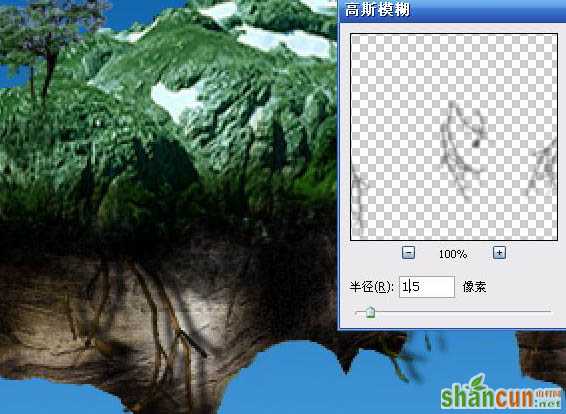
16、高斯模糊,按V,向右移动一些距离,形成树根的投影效果。
 nmousewheel="return bbimg(this)" onload="javascript:resizepic(this)" border="0"/>
17、按住ctrl,鼠标点击大山图层,反选,删除多余的树根投影。
nmousewheel="return bbimg(this)" onload="javascript:resizepic(this)" border="0"/>
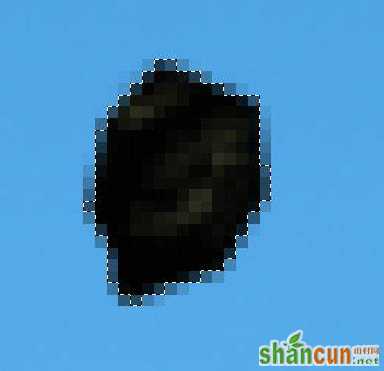
18、新建图层,使用套索工具任意绘制一个形状,填充深褐色,用减淡工具涂抹出高光效果。
 nmousewheel="return bbimg(this)" onload="javascript:resizepic(this)" border="0"/>
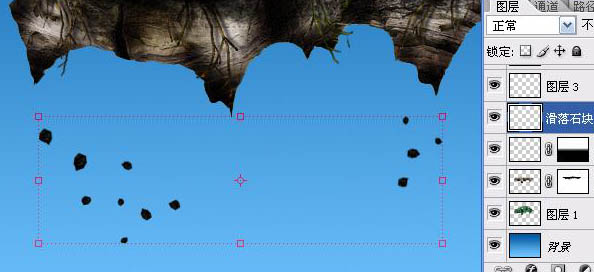
19、复制此图层,调整好大小和位置。合并这些小块块图层。
 nmousewheel="return bbimg(this)" onload="javascript:resizepic(this)" border="0"/>
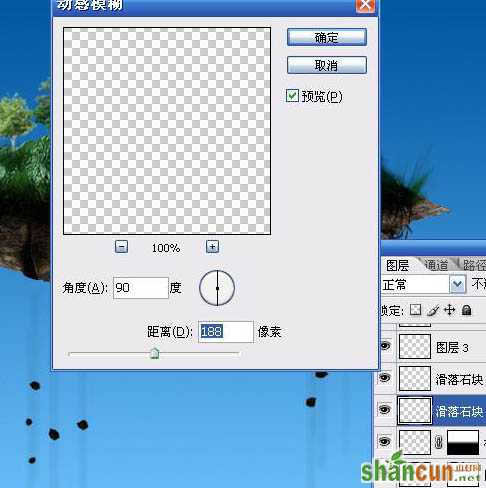
20、复制小块块图层,对下方的小块块图层动感模糊处理。
 nmousewheel="return bbimg(this)" onload="javascript:resizepic(this)" border="0"/>
21、用橡皮擦擦去下方的模糊阴影。让人感觉是从上方坠落的。
 nmousewheel="return bbimg(this)" onload="javascript:resizepic(this)" border="0"/>
22、最后加入云彩,调整整个图层的色相和饱和度即可。
nmousewheel="return bbimg(this)" onload="javascript:resizepic(this)" border="0"/>


