教程基本上都是用滤镜来制作效果。大致思路:先用滤镜制作出一些颜色艳丽的斑点背景,然后利用格子滤镜转成格子效果。再用其它滤镜制作出边框线即可。颜色可以随意调整。
最终效果1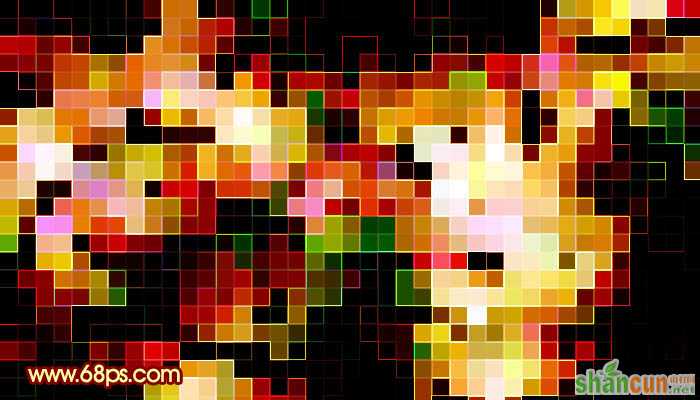 nmousewheel="return bbimg(this)" onload="javascript:resizepic(this)" border="0"/>
最终效果2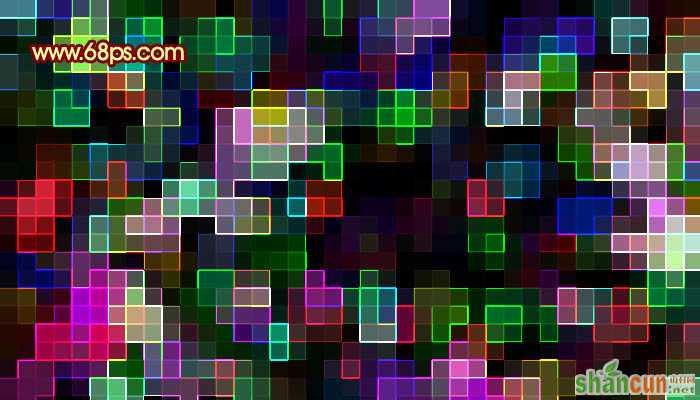 nmousewheel="return bbimg(this)" onload="javascript:resizepic(this)" border="0"/>
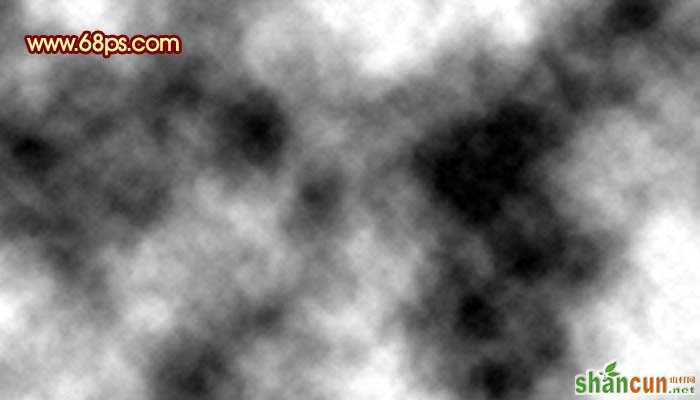
1、新建一个自己屏幕大小的文件如图(1024 * 768),按字母“D”,把前背景颜色恢复到默认的黑白,然后执行:滤镜 > 渲染 > 云彩,确定后按Ctrl + Alt + F加强几次,效果如下图。
 nmousewheel="return bbimg(this)" onload="javascript:resizepic(this)" border="0"/>
<图1>
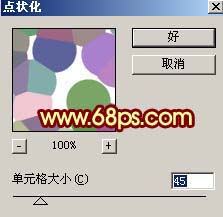
2、执行菜单:滤镜 > 像素化 > 点状化,参数设置如图2,效果如图3。这一步是把背景调成绚丽的颜色。
 nmousewheel="return bbimg(this)" onload="javascript:resizepic(this)" border="0"/>
<图2>
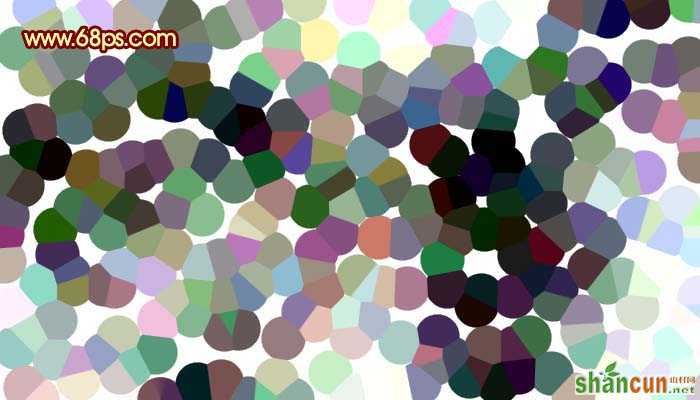 nmousewheel="return bbimg(this)" onload="javascript:resizepic(this)" border="0"/>
<图3>
3、按Ctrl + I反相,让色调更艳丽,效果如图4。
 nmousewheel="return bbimg(this)" onload="javascript:resizepic(this)" border="0"/>
<图4>
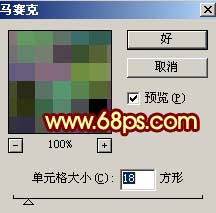
4、执行菜单:滤镜 > 像素化 > 马赛克,参数设置如图5,可以按照实际需要调整格子大小,效果如图6。到这一步格子部分完成了,不过格子不够清晰。
 nmousewheel="return bbimg(this)" onload="javascript:resizepic(this)" border="0"/>
<图5>
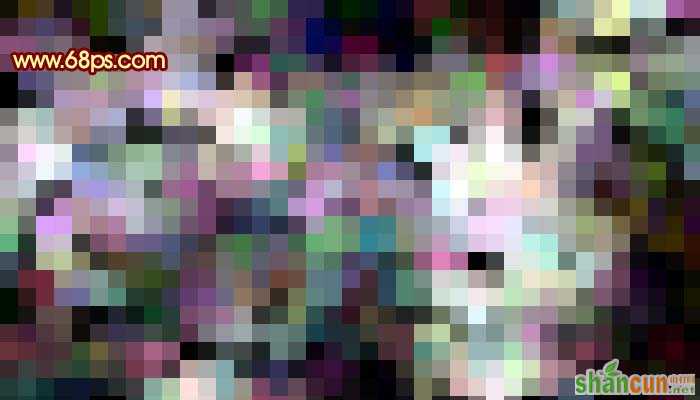 nmousewheel="return bbimg(this)" onload="javascript:resizepic(this)" border="0"/>
<图6>
5、按Ctrl + J把背景图层复制一层,执行菜单:滤镜 > 风格化 > 查找边缘,如图7,效果如图8。
 nmousewheel="return bbimg(this)" onload="javascript:resizepic(this)" border="0"/>
<图7> 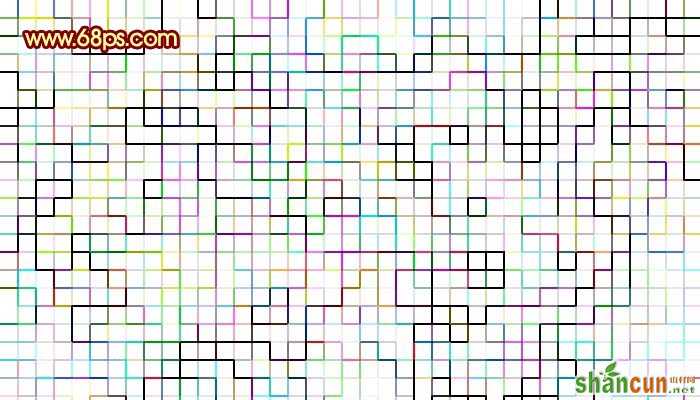 nmousewheel="return bbimg(this)" onload="javascript:resizepic(this)" border="0"/>
<图8>
6、按Ctrl + I反相操作,把边缘线显示出来,如图9。
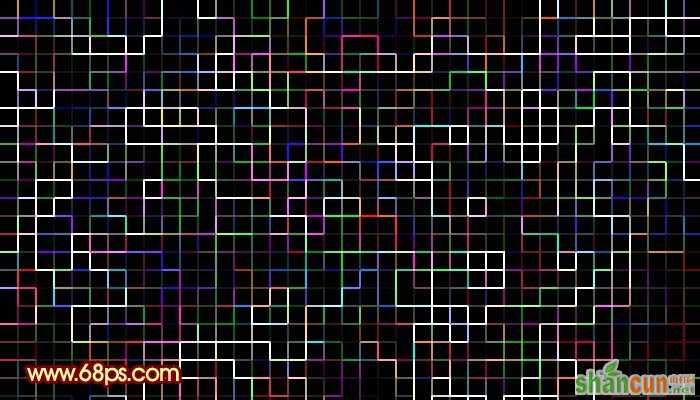 nmousewheel="return bbimg(this)" onload="javascript:resizepic(this)" border="0"/>
<图9>
7、把图层混合模式改为“叠加”,3lian素材,效果如图10。完整的格子基本完成。
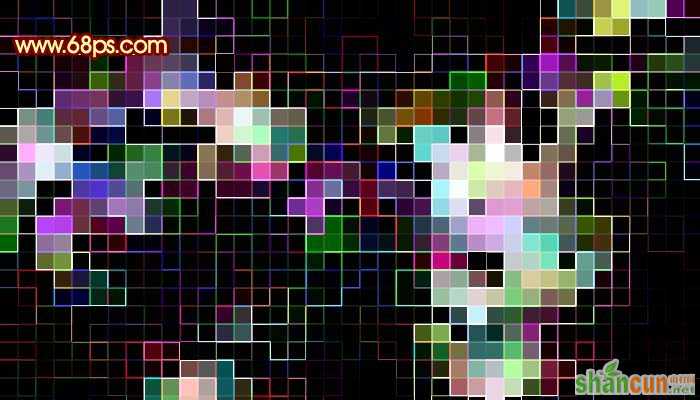 nmousewheel="return bbimg(this)" onload="javascript:resizepic(this)" border="0"/>
<图10>
8、创建曲线调整图层,适当调整下颜色,参数设置如图11-14(颜色可以按照自己的喜欢调整),确定后完成最终效果。
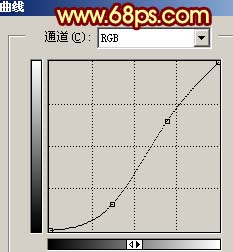 nmousewheel="return bbimg(this)" onload="javascript:resizepic(this)" border="0"/>
<图11>
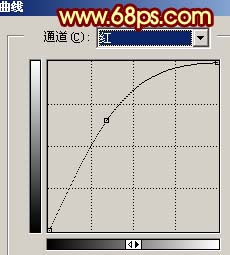 nmousewheel="return bbimg(this)" onload="javascript:resizepic(this)" border="0"/>
<图12>
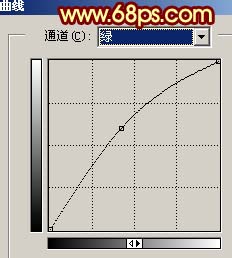 nmousewheel="return bbimg(this)" onload="javascript:resizepic(this)" border="0"/>
<图13> 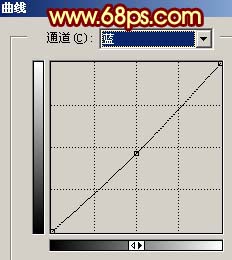 nmousewheel="return bbimg(this)" onload="javascript:resizepic(this)" border="0"/>
<图14>
 nmousewheel="return bbimg(this)" onload="javascript:resizepic(this)" border="0"/>
<图15>


