
效果图看上去非常复杂,其实都是有一些最简单的图形叠加构成。而这些小图形都是由滤镜来完成。整个效果由一个光晕效果开始,经过多次的滤镜变形处理,得到自己想要的效果。再把得到的图形多次变形及组合在一起,并加上绚丽的颜色,极具视觉感的效果就出来了。
最终效果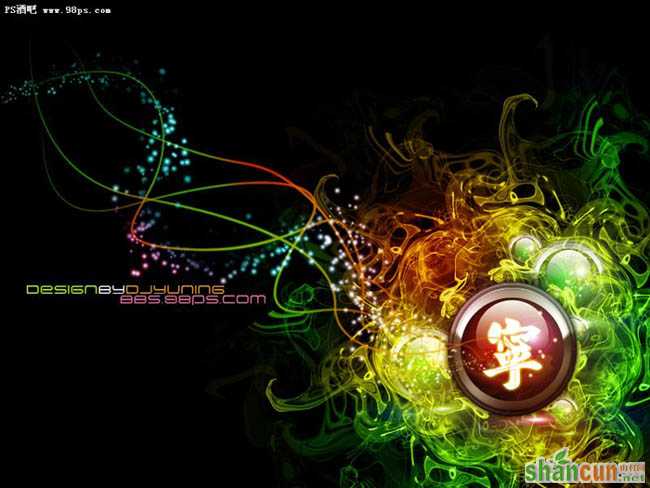 nmousewheel="return bbimg(this)" onload="javascript:resizepic(this)" border="0"/>
 nmousewheel="return bbimg(this)" onload="javascript:resizepic(this)" border="0"/>
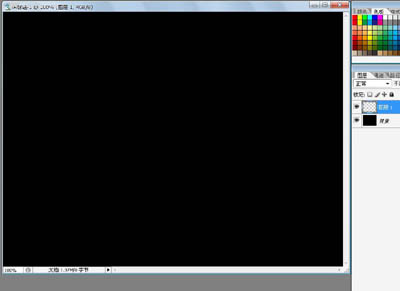
1、新建文件,大小自定义,确定色彩模式。
 nmousewheel="return bbimg(this)" onload="javascript:resizepic(this)" border="0"/>
2、请习惯性的对图层做反相和新建图层。
 nmousewheel="return bbimg(this)" onload="javascript:resizepic(this)" border="0"/>
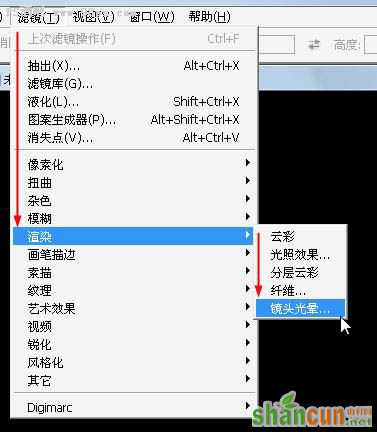
3、对新的图层填充黑色,并执行"滤镜"-"渲染"-"镜头光晕" 。
 nmousewheel="return bbimg(this)" onload="javascript:resizepic(this)" border="0"/>
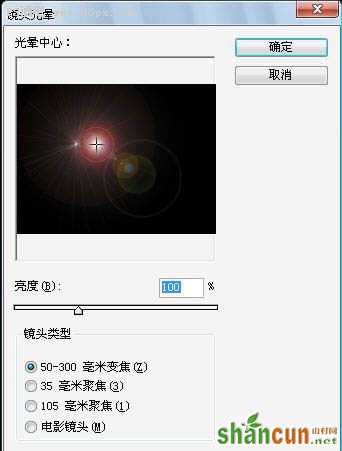
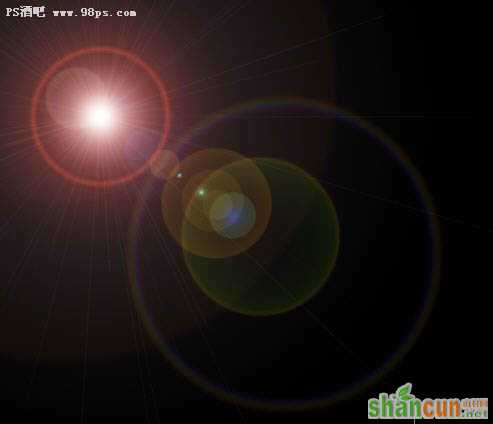
4、参数默认,效果如下图。
 nmousewheel="return bbimg(this)" onload="javascript:resizepic(this)" border="0"/>
 nmousewheel="return bbimg(this)" onload="javascript:resizepic(this)" border="0"/>
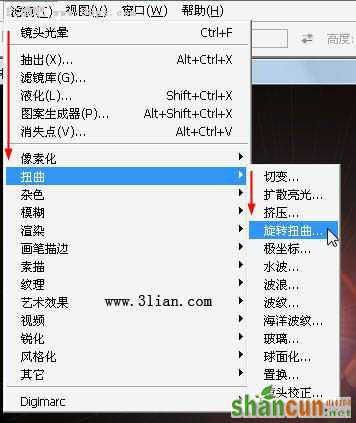
5、对当前光晕添加"滤镜"-"扭曲"-"旋转扭曲" 。
 nmousewheel="return bbimg(this)" onload="javascript:resizepic(this)" border="0"/>
6、调整参数到245左右,这个参数是死的,主要是把光晕扭曲。
 nmousewheel="return bbimg(this)" onload="javascript:resizepic(this)" border="0"/>
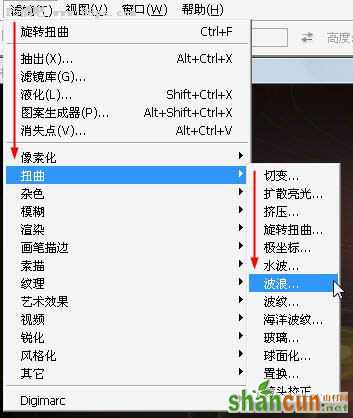
7、对扭曲好的图像添加"滤镜"-"扭曲"-"波浪",添加细节。
 nmousewheel="return bbimg(this)" onload="javascript:resizepic(this)" border="0"/>
8、这个参数要细心的设置,主要调整上边的两个命令参数就可。
nmousewheel="return bbimg(this)" onload="javascript:resizepic(this)" border="0"/>
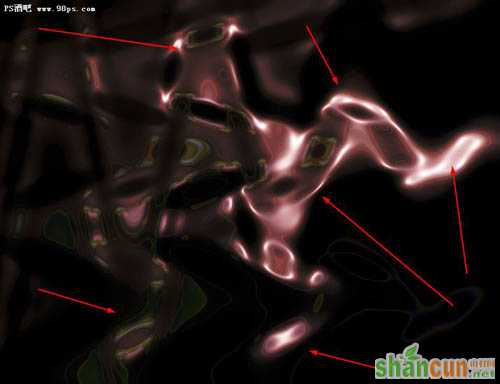
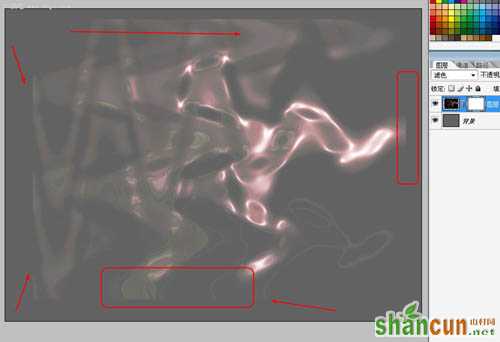
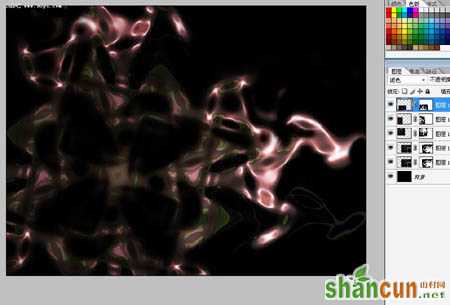
9、观察添加波浪后的效果。发现图层的扭曲很好,但是有的地方太牵强。
 nmousewheel="return bbimg(this)" onload="javascript:resizepic(this)" border="0"/>
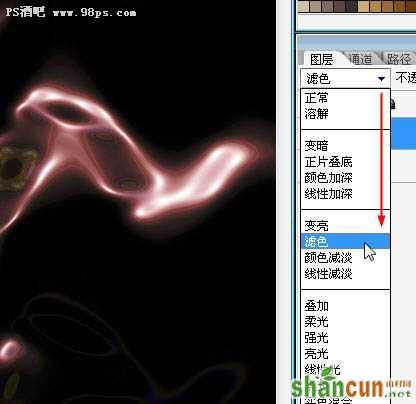
10、把当前的光晕变换层混合模式改为"滤色" 。
 nmousewheel="return bbimg(this)" onload="javascript:resizepic(this)" border="0"/>
11、把图像调整小一点并添加蒙版,观察边缘发现有灰边,3lian素材,这样在以后的复合中会有边缘切除的嫌疑。
 nmousewheel="return bbimg(this)" onload="javascript:resizepic(this)" border="0"/>
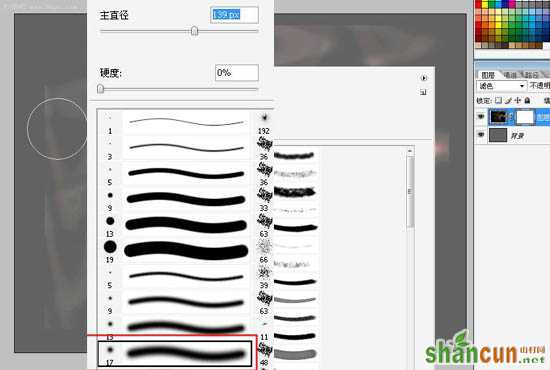
12、选择画笔,并涂抹边缘,蒙版状态如下。
 nmousewheel="return bbimg(this)" onload="javascript:resizepic(this)" border="0"/>
nmousewheel="return bbimg(this)" onload="javascript:resizepic(this)" border="0"/>
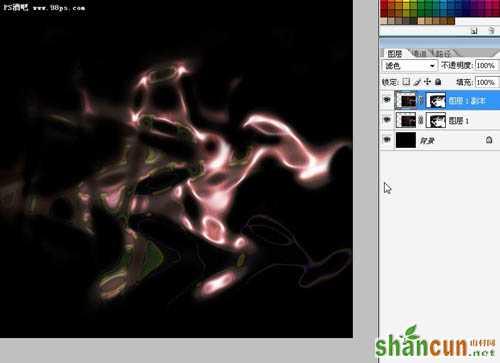
13、"Ctrl+J"拷贝当前图层到新的图层。
 nmousewheel="return bbimg(this)" onload="javascript:resizepic(this)" border="0"/>
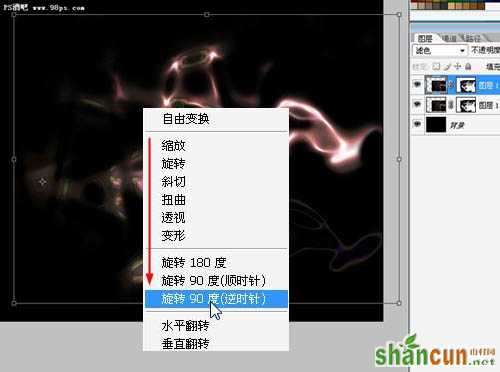
14、"Ctrl+T"执行自由变换,"旋转90度(逆时针)" 。
 nmousewheel="return bbimg(this)" onload="javascript:resizepic(this)" border="0"/>
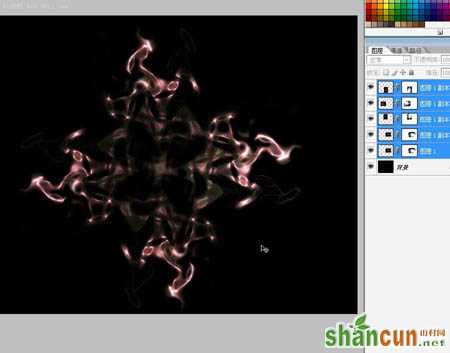
15、执行完上一步,按住"Shift+Ctrl+Alt",按一次"Ctrl+T",就执行一次上次变换,执行两次。
 nmousewheel="return bbimg(this)" onload="javascript:resizepic(this)" border="0"/>
16、效果如下。
 nmousewheel="return bbimg(this)" onload="javascript:resizepic(this)" border="0"/>
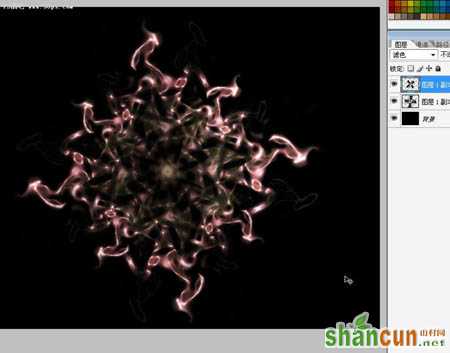
17、把当前的变化图形(除背景外)合并,复制一副本并旋转一度数如下图, 注意,这里的图层混合模式还是滤色。我们合并带有蒙版的图层和带有混合模式的图层的时候,会有问题出现。
 nmousewheel="return bbimg(this)" onload="javascript:resizepic(this)" border="0"/>
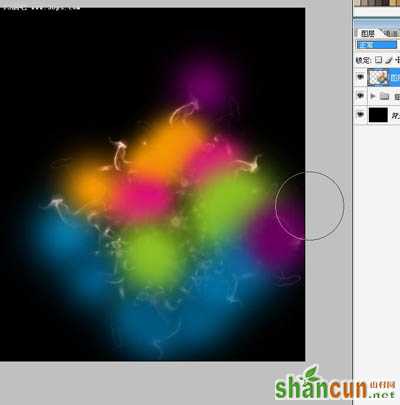
18、添加一颜色映像图层,来调整照片的颜色。
nmousewheel="return bbimg(this)" onload="javascript:resizepic(this)" border="0"/>
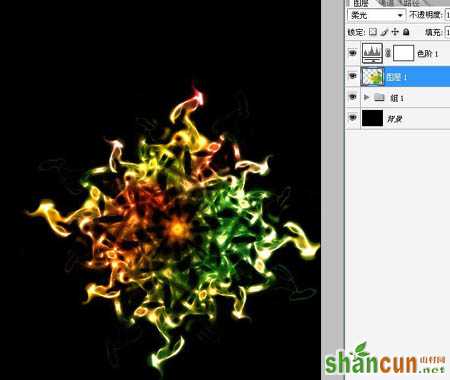
19、把颜色图层的混合模式改为柔光。
 nmousewheel="return bbimg(this)" onload="javascript:resizepic(this)" border="0"/>
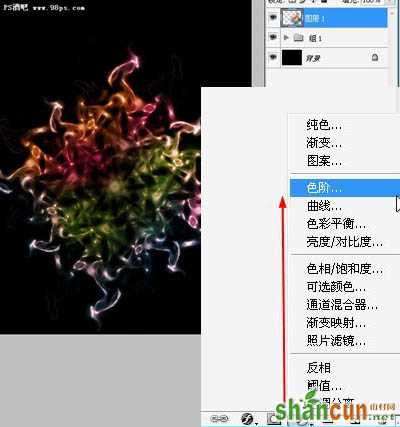
20、添加一"色阶"的调整图层,参数自己调整着看,没有死的参数。
nmousewheel="return bbimg(this)" onload="javascript:resizepic(this)" border="0"/>
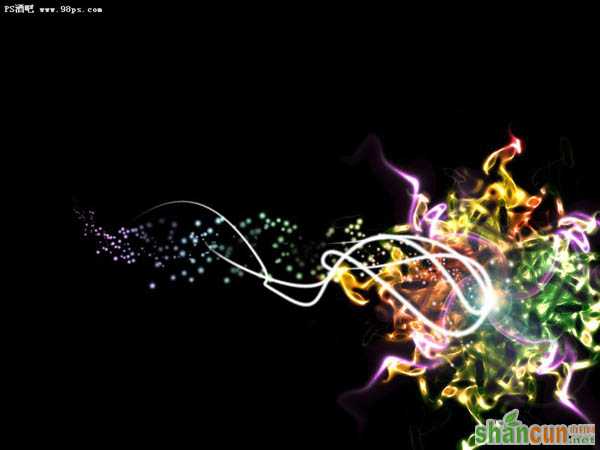
21、继续添加些细节,完成效果。
nmousewheel="return bbimg(this)" onload="javascript:resizepic(this)" border="0"/>


