
滤镜的功能确实强大,如果控制的好的话可以做出很多非常不错的效果图。省去了手绘的艰难过程。下面的教材将用简单的云彩滤镜来制作闪电效果,是不是非常神奇,赶快尝试吧。
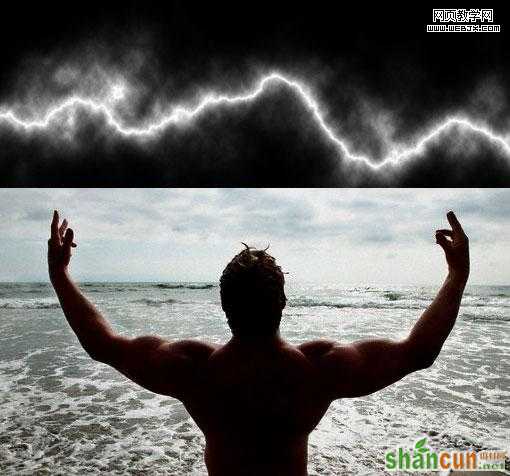
原图 nmousewheel="return bbimg(this)" onload="javascript:resizepic(this)" border="0"/>
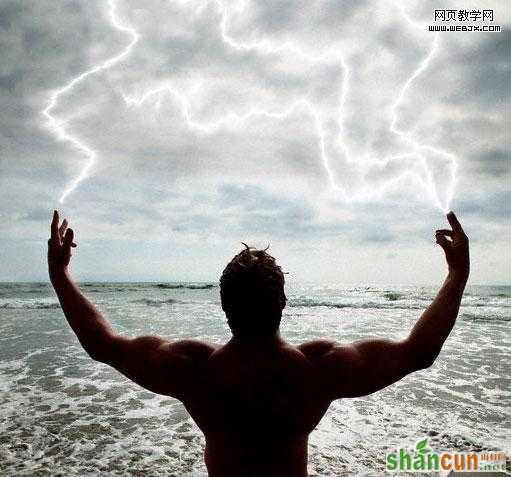
最终效果 nmousewheel="return bbimg(this)" onload="javascript:resizepic(this)" border="0"/>
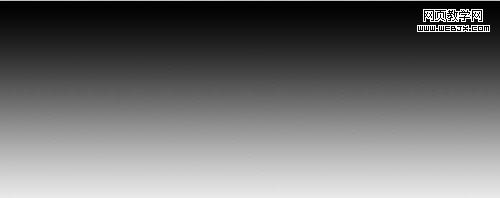
1、创建一个新文档,大小为 700 * 200 pixels。使用渐变工具,填充一个新图层,效果如下。
 nmousewheel="return bbimg(this)" onload="javascript:resizepic(this)" border="0"/>
2、然后执行分层云彩滤镜(滤镜 > 渲染 > 云彩),然后按Ctrl+I反相。
 nmousewheel="return bbimg(this)" onload="javascript:resizepic(this)" border="0"/>
3、对图片进行色阶调整,设置如下。
 nmousewheel="return bbimg(this)" onload="javascript:resizepic(this)" border="0"/>
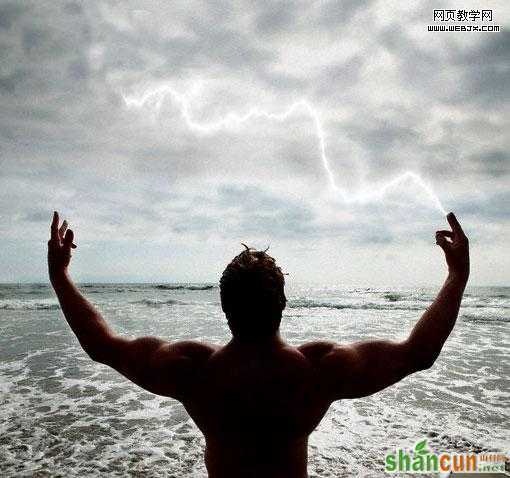
4、打开人物素材,把刚才做好的闪电拖进来。
 nmousewheel="return bbimg(this)" onload="javascript:resizepic(this)" border="0"/>
5、激活现在的闪电图层,然后执行编辑菜单的自由变化命令,变换为手中拿着的闪电。
 nmousewheel="return bbimg(this)" onload="javascript:resizepic(this)" border="0"/>
6、改变图层的模式为滤色模式,效果如下。
 nmousewheel="return bbimg(this)" onload="javascript:resizepic(this)" border="0"/>
7、同样的方法重复2-8次,效果如下。
 nmousewheel="return bbimg(this)" onload="javascript:resizepic(this)" border="0"/>
8、然后我们简单为闪电上色,执行色相和饱和度调整命令。
 nmousewheel="return bbimg(this)" onload="javascript:resizepic(this)" border="0"/>
效果如下。
 nmousewheel="return bbimg(this)" onload="javascript:resizepic(this)" border="0"/>
9、创建一个新的图层,我们创建人物发光效果,使用画笔绘制人物头部和胳膊部分,效果如下。
 nmousewheel="return bbimg(this)" onload="javascript:resizepic(this)" border="0"/>
10、改变图层模式为叠加模式,完成最终效果。
nmousewheel="return bbimg(this)" onload="javascript:resizepic(this)" border="0"/>


