
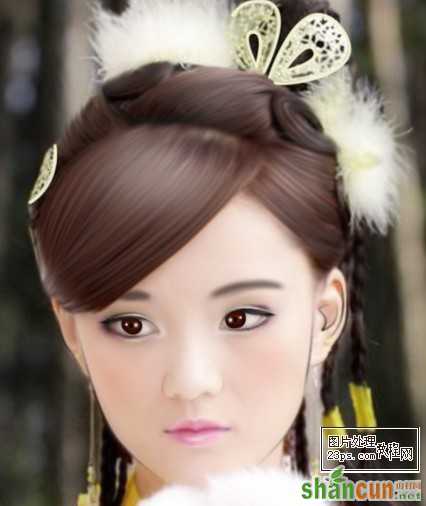
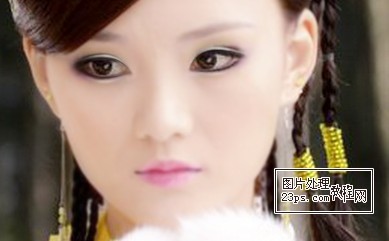
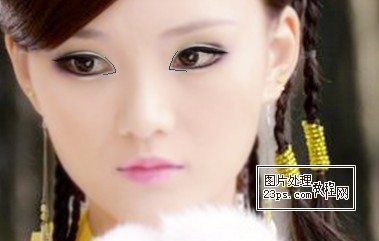
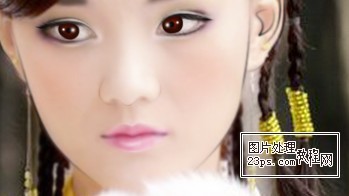
1.打开原图,(这个已经磨皮)
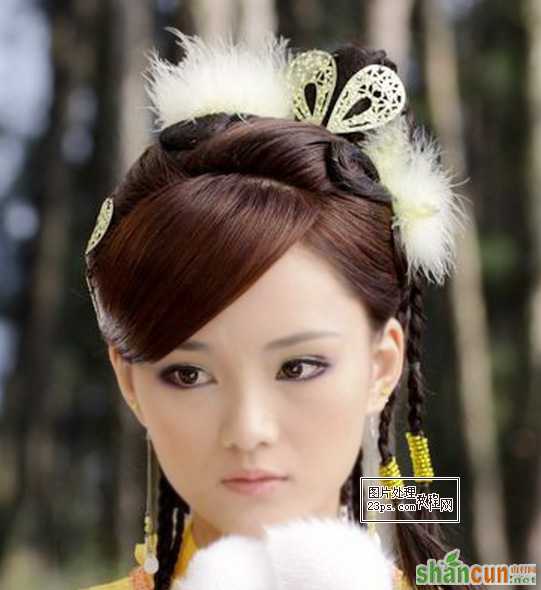
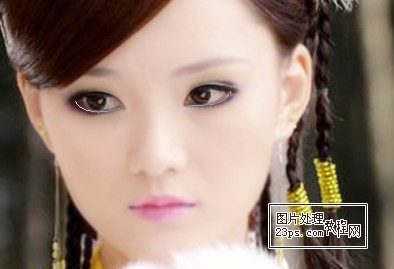
2.新建图层,改模式为柔光,用柔角浅粉色画笔,涂抹脸部。如图
3.新建图层,用同样的方法给唇上色
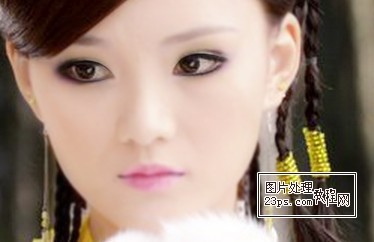
4.用黑色小号画笔,画嘴角
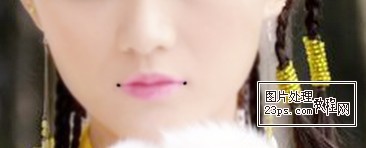
5.用涂抹工具,向内涂抹。如图
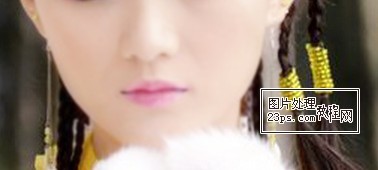
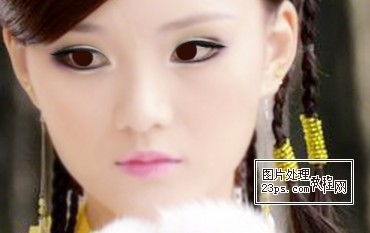
6.画唇线高光:
7.用白色画笔,描边
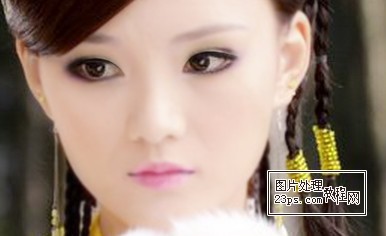
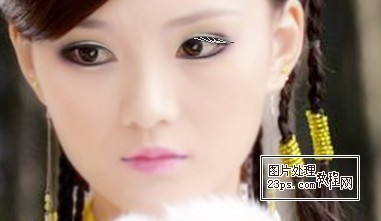
8、画眼线
9、描边
10、钢笔 画一下眼线
11、效果
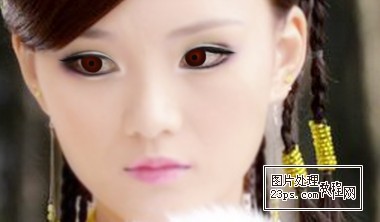
12.画双眼皮,改图层模式为柔光,用黑色画笔描边,如图:

13.画下眼高光与眼影:
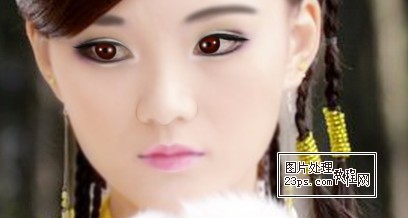
14.钢笔工具画睫毛:
15.效果:
16.画眼角高光:
17.白色画笔描边:
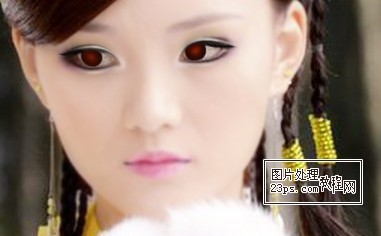
18.选个喜欢的颜色,用画笔画眼珠
19.用减淡工具,减淡中间,用加深工具加深边缘
20.用黑色画笔画出瞳孔
21.用白色柔角画笔,画出眼珠内高光

22.画眉毛,选柔角画笔
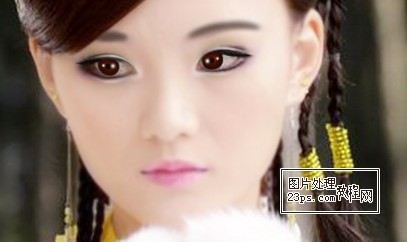
23.给鼻子描边
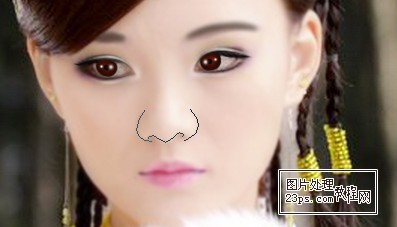
24.改图层为柔光,用1或2像素描边。如图
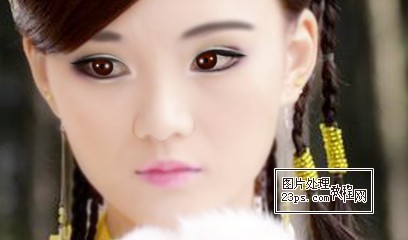
25.脸描边
26.用黑画笔描边。模糊0.5像素。如图
27.给耳朵描边
28.(忘了眼白部分了!!)用白色画笔,柔角,涂抹,再给下嘴蜃加上高光。如图
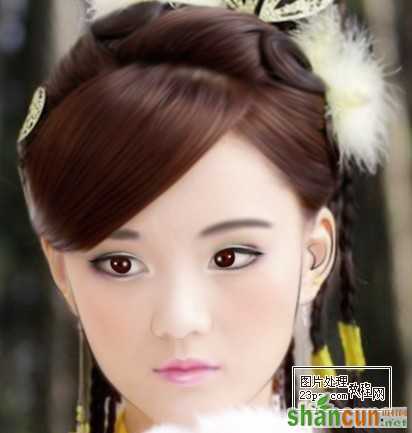
29.用钢笔工具,根据发丝走向画出路径,设置涂抹工具,用涂抹工具描边。如图
30.画出密集的路径
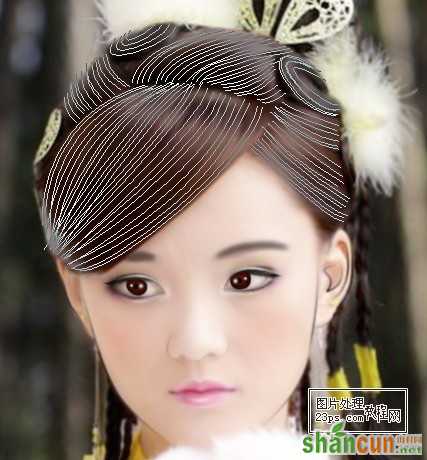
31.选择接近颜色,小像素描边。如图
32.多画几层发丝,颜色有深有浅,可降低透明度
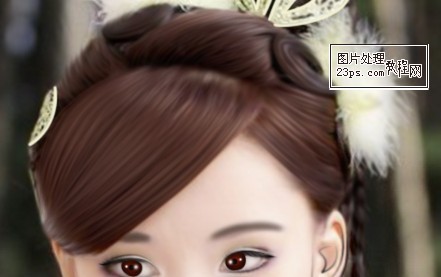
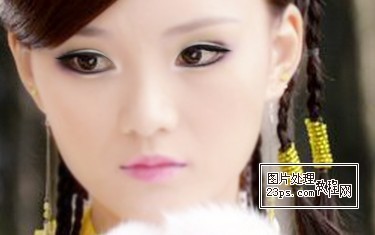
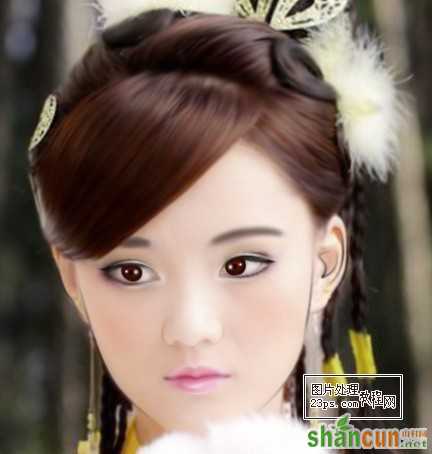
33.给头发加上高光,完成


