
简单说一下转我家红颜的步骤吧。。。。。
其实,其实,我技术真的不好,只是素材好,素材好啊。。。。
看到论坛好多童鞋都在说转手绘好难,试了好多次都失败鸟。。。。
多多练习,一次不行就做第二次,第二次不行再做第三次。。。。。。。
其实,失败是成功他亲娘,见亲娘次数多了,后妈还会远吗。。。
哦。撤远了,我再绕回来。。
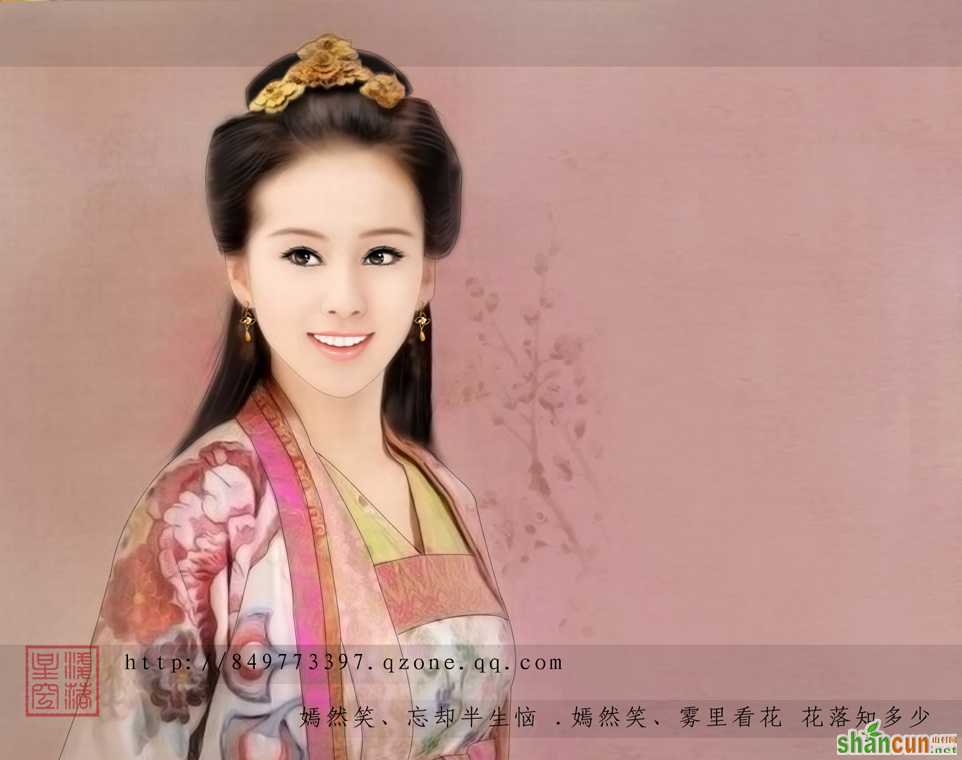
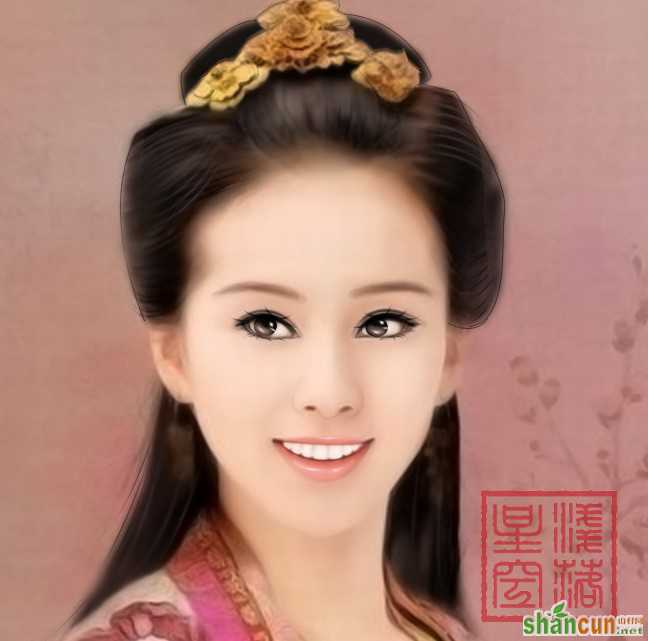
原图、、、、

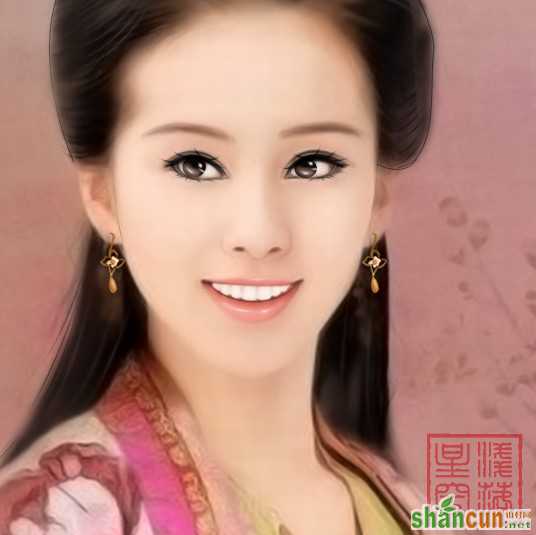
最终效果
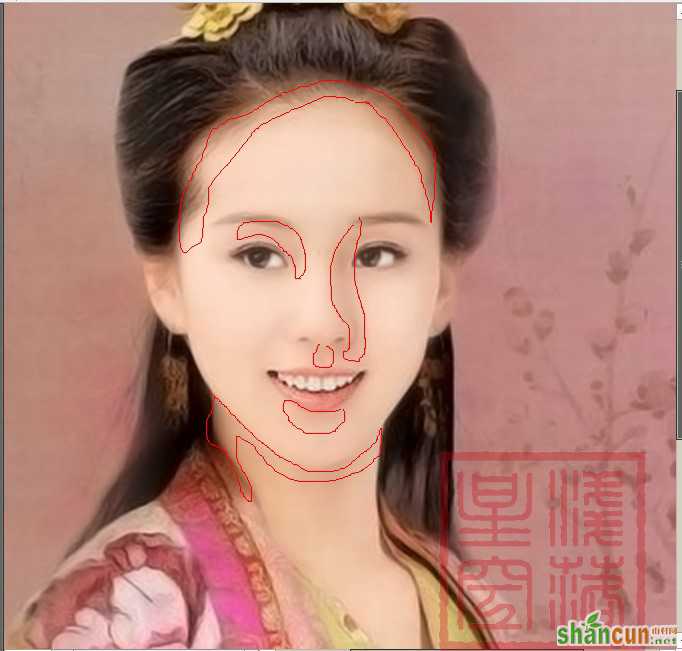
一,皮肤。。。
1、打开原图,像素改为300,复制一层,进行减少杂色,添加蒙版,用黑色柔角画笔擦掉五官这个工具是我的最爱,我磨皮全部靠它的。。。


2、用下图所示的颜色来画皮肤,然后用柔角橡皮擦擦掉红圈部分

二,眼睛部分。。。
1、用下图所示的颜色来画眉毛,画笔大小自定,我是用钢笔描边的, 只是没勾选模拟压力,然后用橡皮擦给擦掉多余部分,使之融合。。。

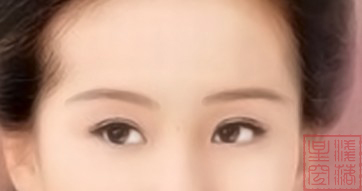
2、画眼睛。。。

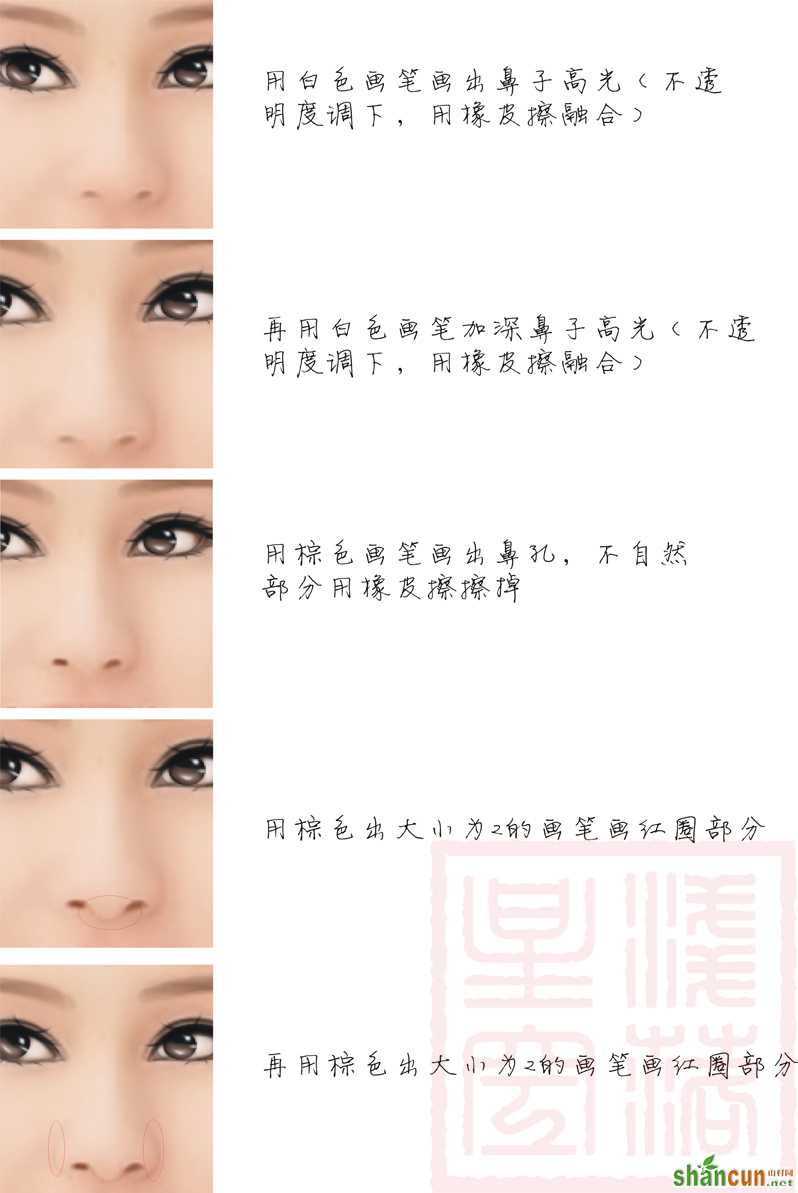
三、鼻子。。。。
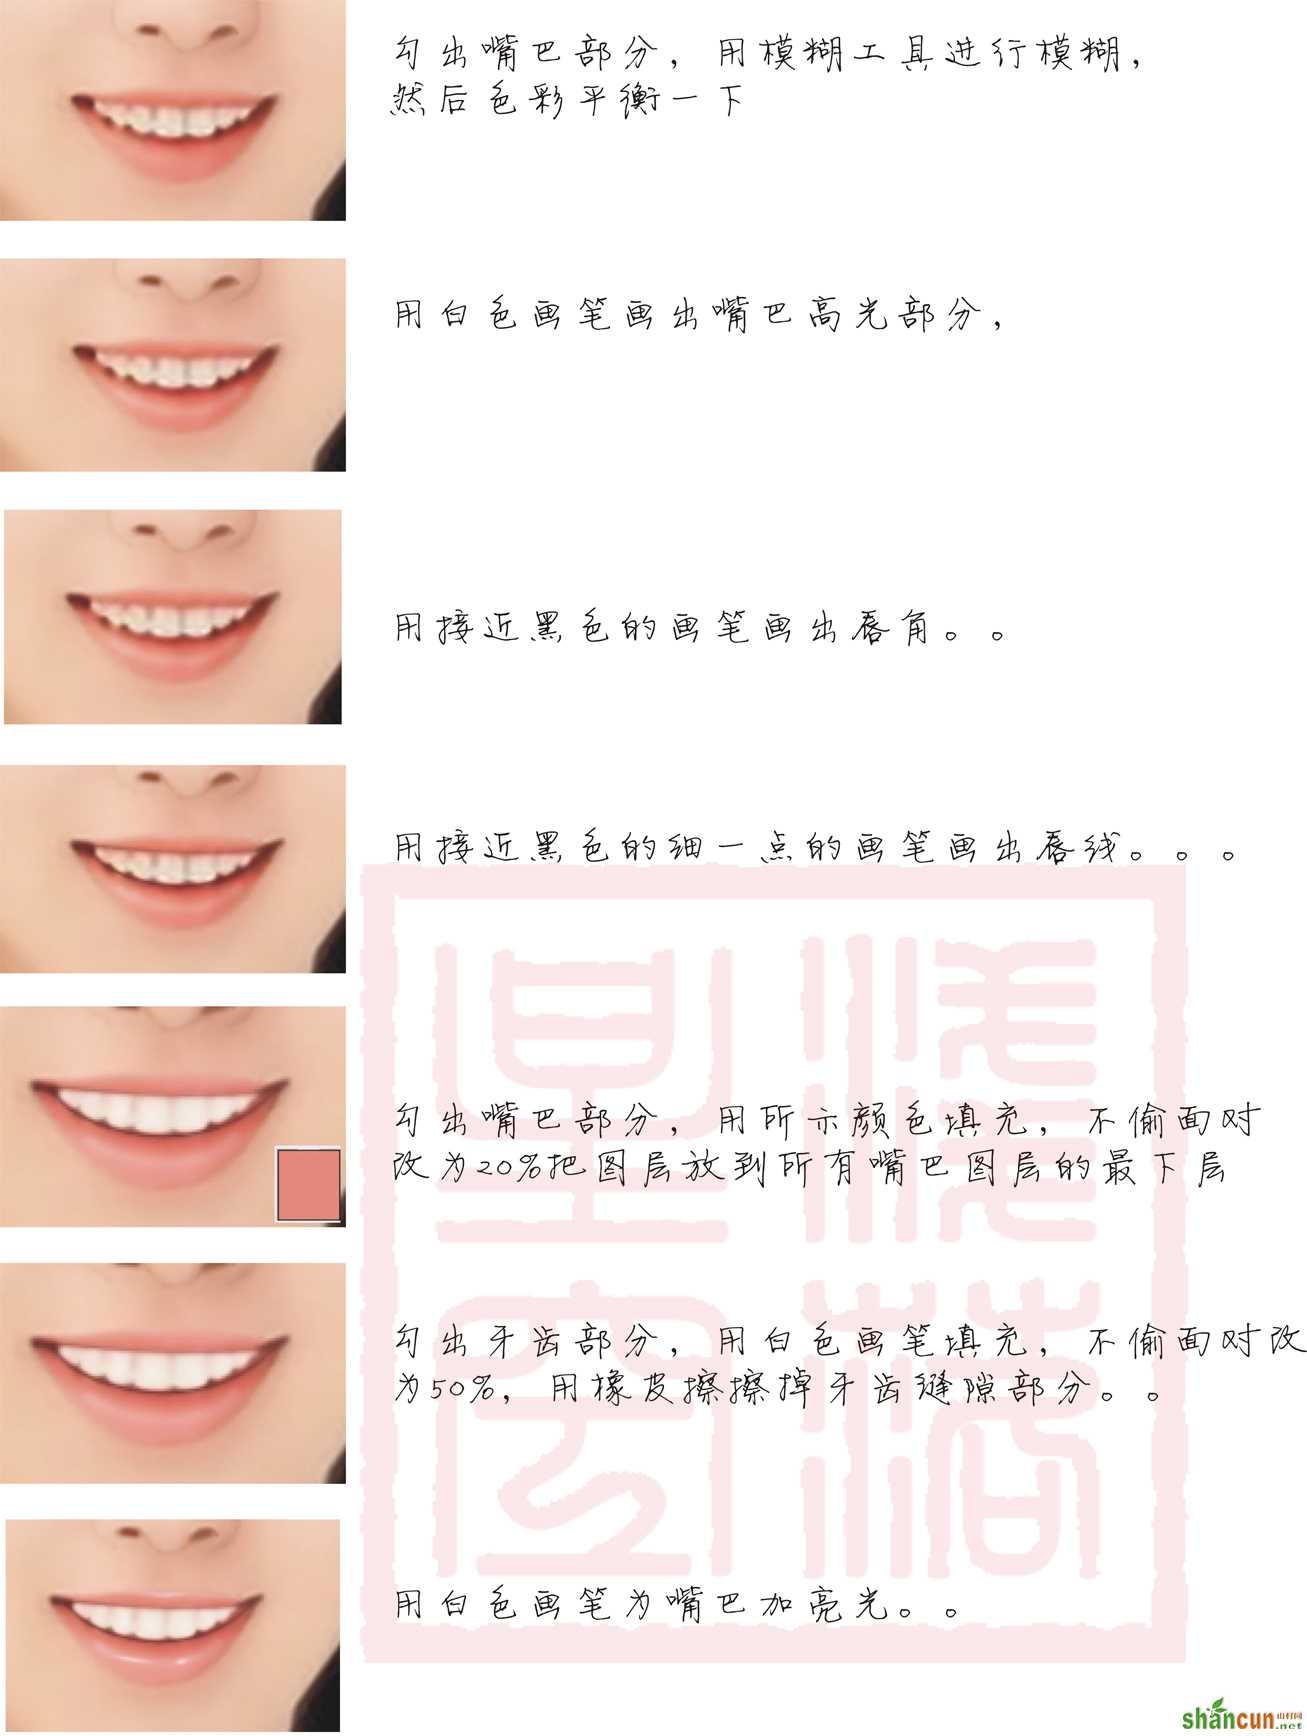
四、嘴巴。。。
五、头发
头发我简单说一下吧,本来我这个头发的画的方法就够简单的。。。
画出头发选区,进行模糊一下,然后新建图层,填充为黑色,不透明度改为50%,用橡皮擦擦出头发亮光部分,描边路径,用大小为2的画笔勾出头发丝,记得勾选描边路径。。盖印图层,用减淡工具再加亮头发亮光部分,头饰简单的描边一下就好了。。。。
六、耳朵稍作加深就行,我只是简单处理了一下,然后画出耳饰
七、用黑色画笔勾出人物轮廓,不透明度为60%,

八、然后改一下动一下背景,加上文字就好了。。。


