
ps教程学习如何用photoshop的自定义形状工具和图层样式打造黄色质感漂漂的>Logo童鞋们要熟练掌握自定义形状里的加法、减法、相交等
模式的使用,否则学不会一冲动把电脑砸了别怪我奥.
先看效果图:

新建文档800x800像素,背景白色。新建图层用钢笔画如下水滴形状,颜色不限。
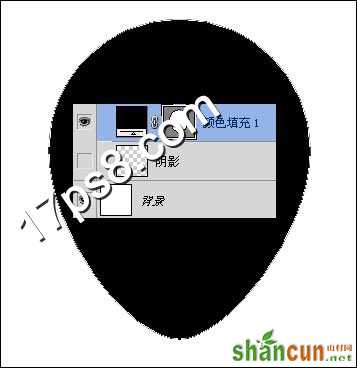
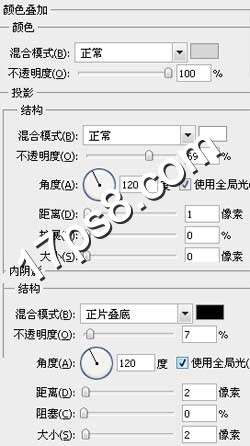
photoshop教程添加图层样式。
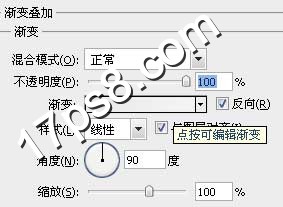
效果如下。

新建图层用钢笔画如下类似嘴巴的形状,颜色任意。
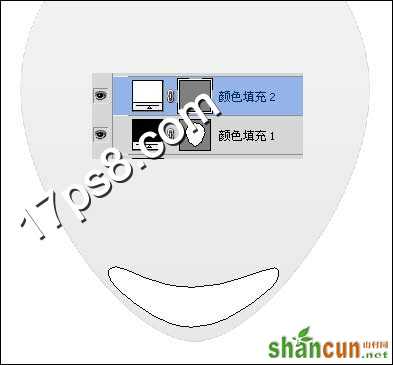
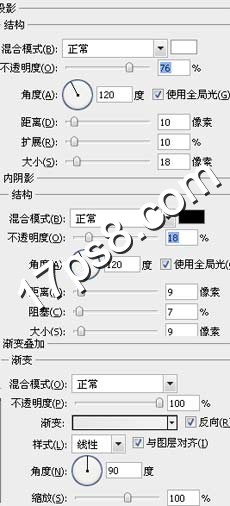
添加三个图层样式。
效果如下。

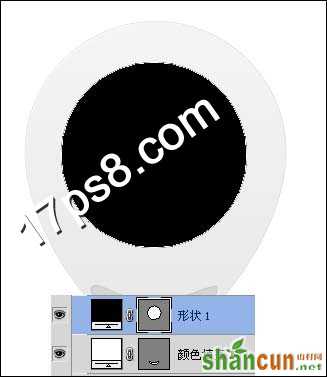
新建图层,画一黑色正圆。
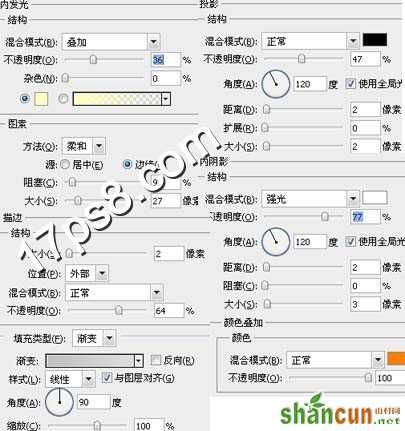
添加3个图层样式。
类似下图效果。

新建图层用钢笔画如下黑色图形。

添加图层样式。
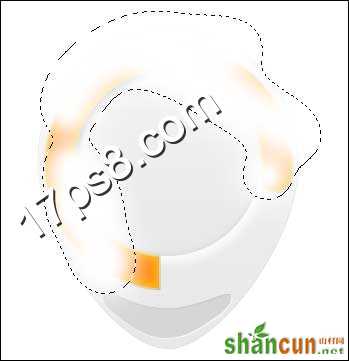
效果如下。

新建图层,用白色柔角笔刷涂抹如下。
用减法模式做如下圆环选区,添加蒙版,图层模式柔光,效果如下。

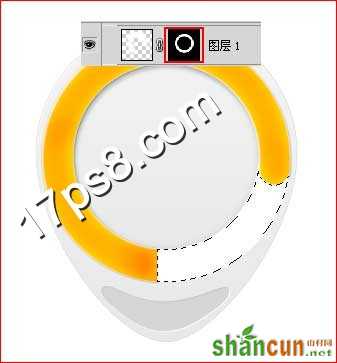
新建图层,调出下图所示选区,你们懂的。

之后反选,按住ctrl+alt+shift,点击圆环,得到下图选区,填充白色。
添加图层样式。
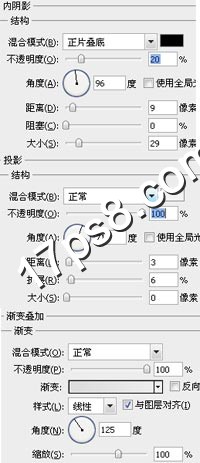
效果如下。
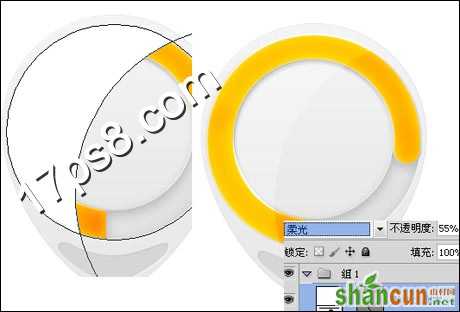
新建图层,减法模式画出月牙形白色高光区域。

同样方法减法模式画出另一个高光区域,图层模式柔光,不透明度55%。
然后输入一些文字,添加投影,最终效果如下!


