
(1)photoshop教程运行Photoshop CS5,打开素材文件“红背景.psd”文件。
(2)设置前景色,选择“圆角矩形”工具,设置并绘制。
(3)对“形状 1”进行自由变换操作。
(4)为“形状 1”添加图层样式“投影”效果。
(5)新建“图层 1”,并与“形状 1”合并图层。
(6)为合并后的“图层 1”添加图层样式。
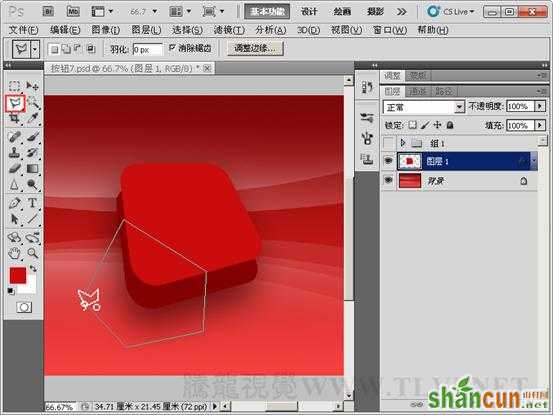
(7)选择“多边形套索”工具绘制选区。复制选区内容到“图层 2”并删除图层样式。
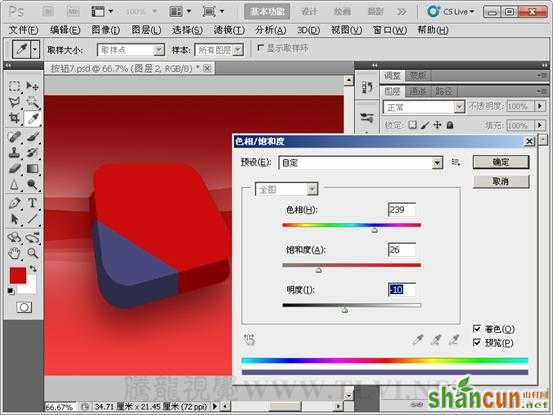
(8)执行“图像”→“调整”→“色相/饱和度”命令。
(9)使用“魔棒”工具载入选区。
(10)新建“图层 3”,使用“渐变”工具拉出渐变。
(11)取消选区选择状态,设置“图层 3”的不透明度为“70%”。
(12)设置前景色,使用“钢笔”工具进行绘制。
(13)为“形状 1”添加图层样式。
(14)使用“钢笔”工具进行绘制。
(15)复制“形状 2”,改变其位置和颜色。
(16)选择“钢笔”工具绘制出路径。
(17)将路径载入选区。
(18)新建“图层 4”,选择“渐变”工具在选区内拉出渐变。
(19)取消选区选择状态,设置“图层 4”的不透明度为“40%”。
(20)显示“组 1”图层组,完成实例制作。
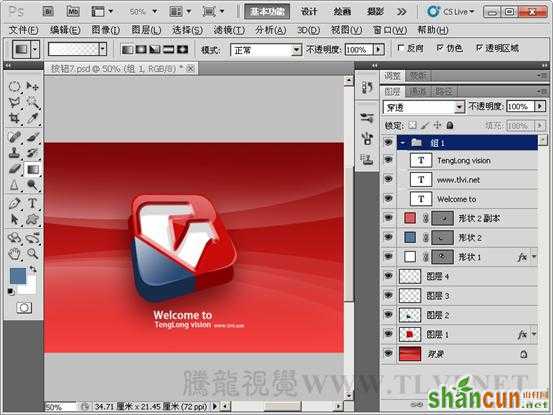
完成最终效果