
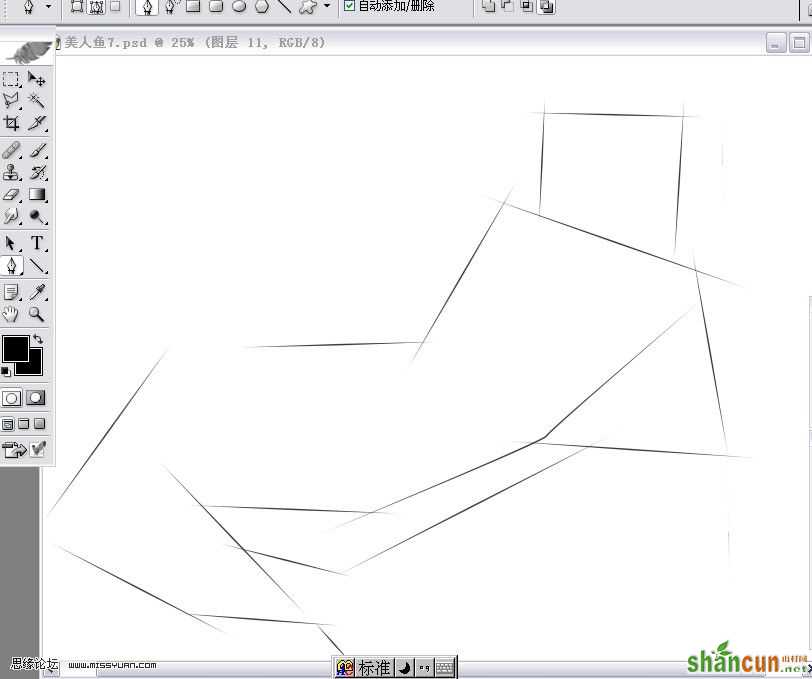
1 photoshop教程首先,建个图层,用钢笔工具画好大框
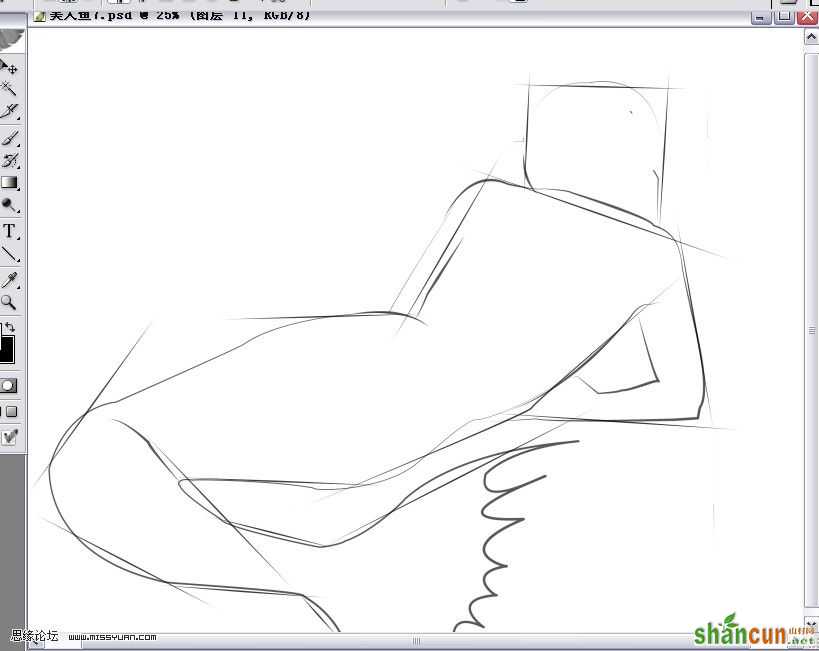
2新建图层,画出人物的轮廓`
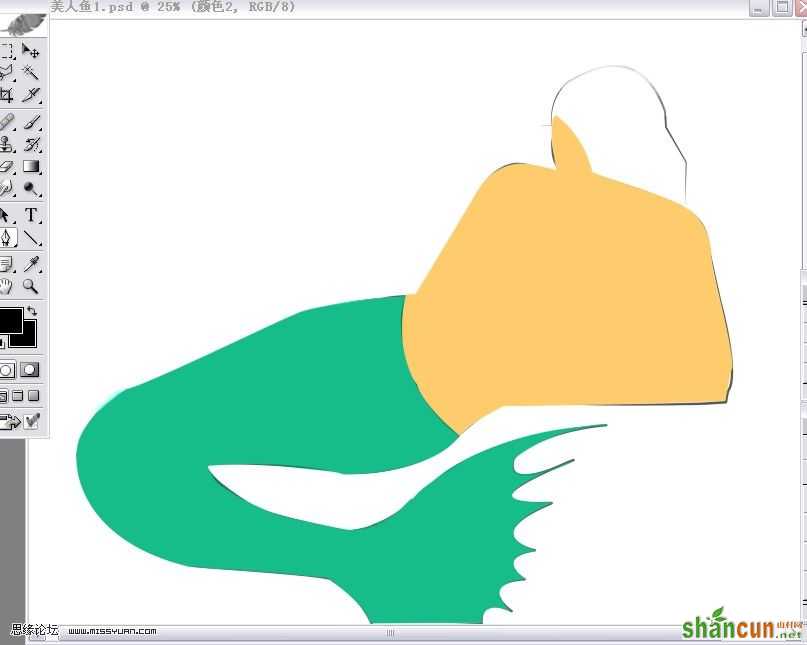
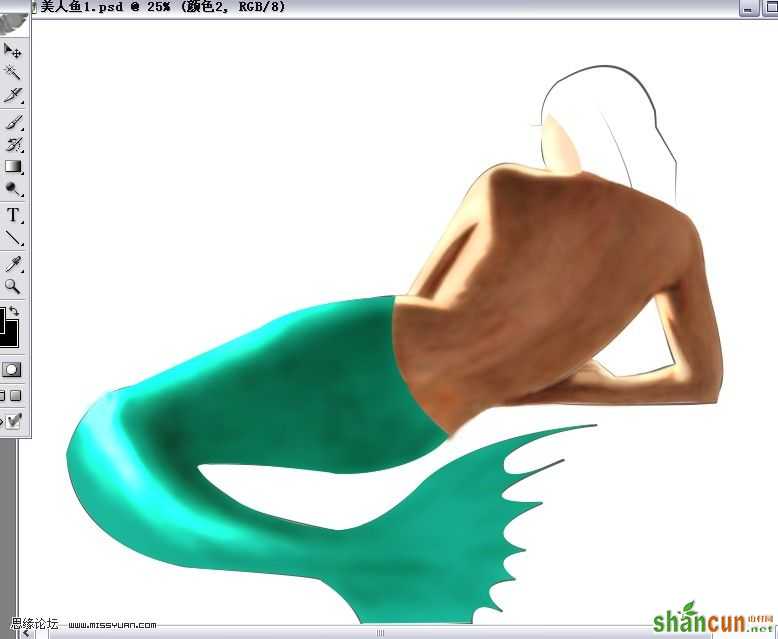
3用钢笔工具填充色彩(我是一个颜色一个图层,便于修改)
4用渐淡加深工具磨出大的明暗关系来`
5新建图层,画出头发,一样用渐淡加深工具画大的明暗关系(头发的教程也不少了,估计大家都差不多会了)
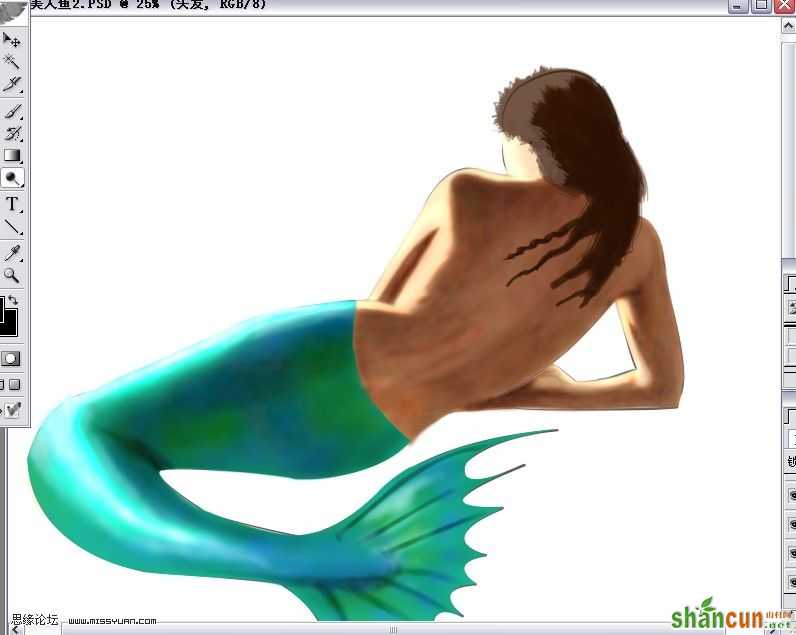
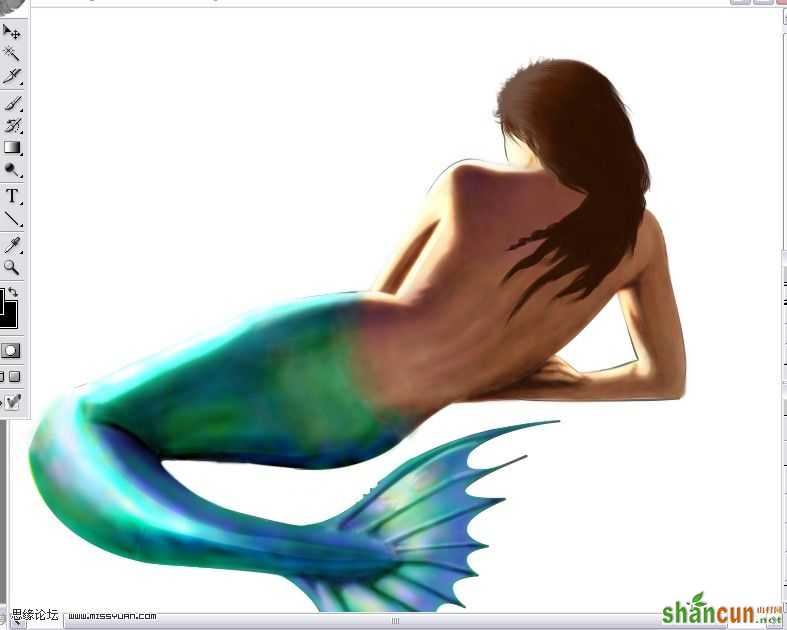
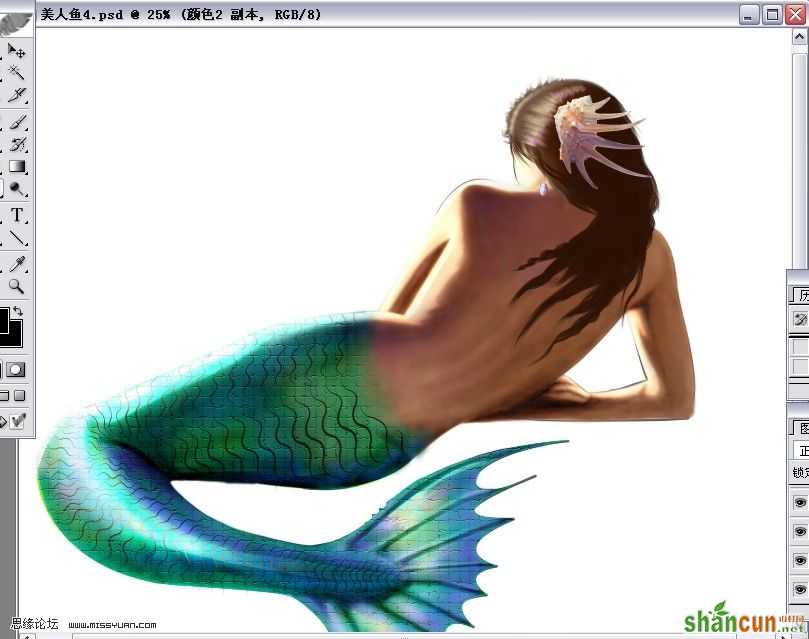
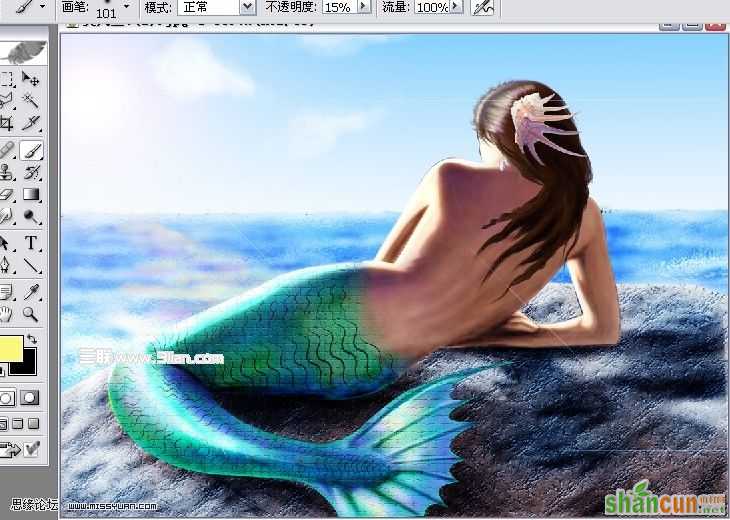
6用涂抹工具调模式—颜色,强度15左右,点上手指绘画,在尾巴上涂抹出更丰富的色彩

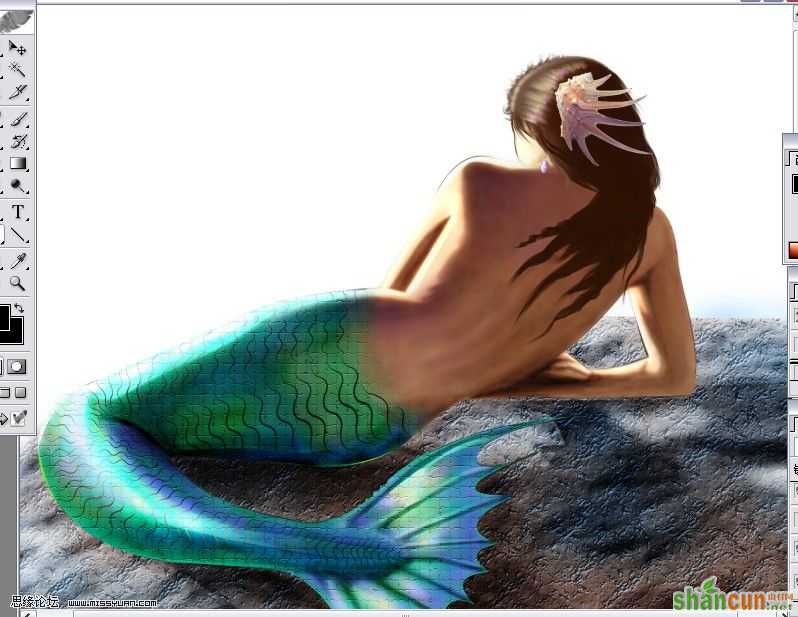
7新建图层画出鱼鳞的感觉
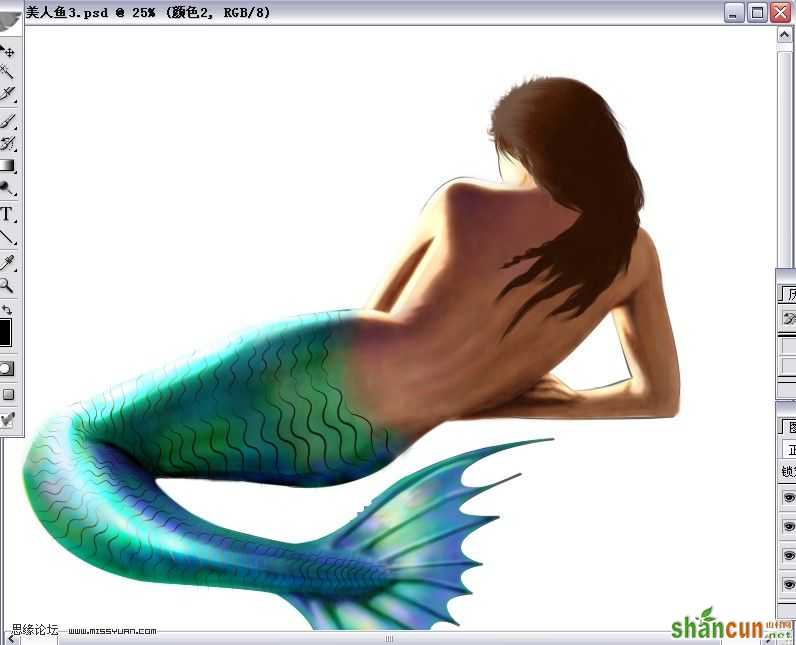
8复制尾巴图层执行滤镜—纹理—马赛克拼贴(数值根据图的大小不同也不同,自己调就好)
9新建图层,用钢笔样式画出石头,但是不像,接下来````
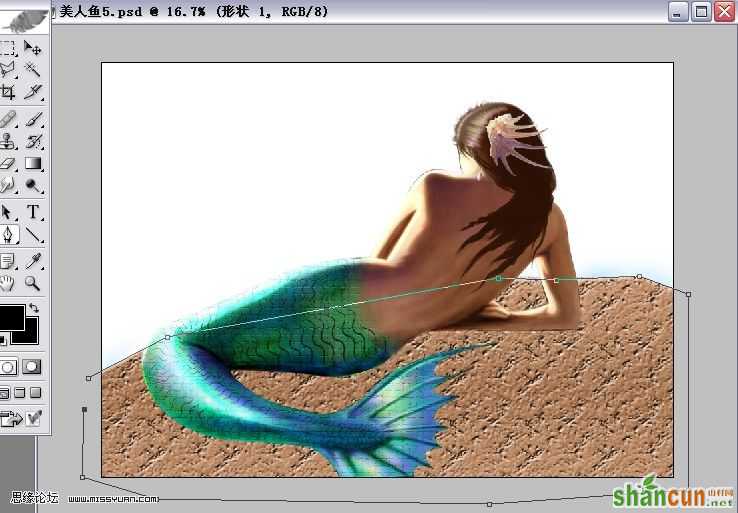
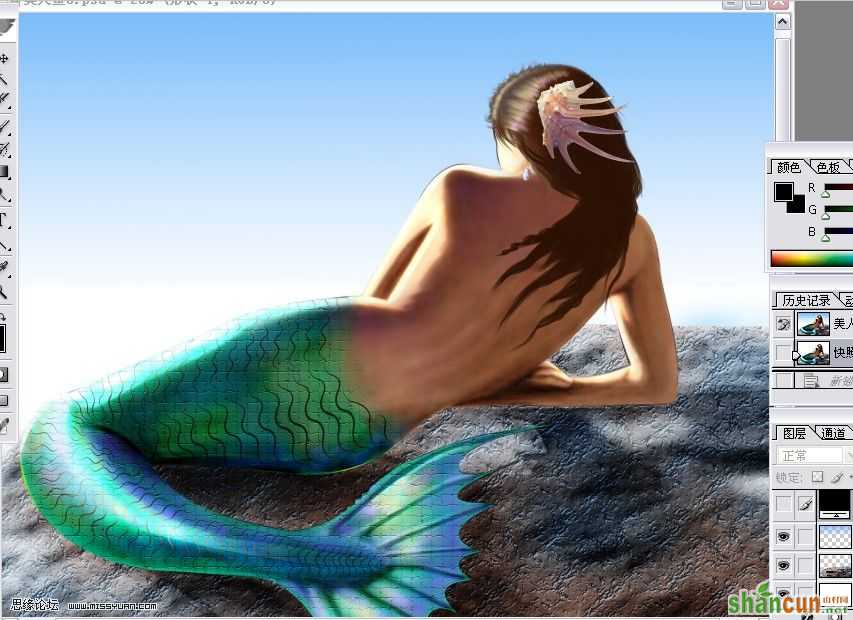
10新建图层,填充一个蓝色
11调整透明度,并合并这2个图层
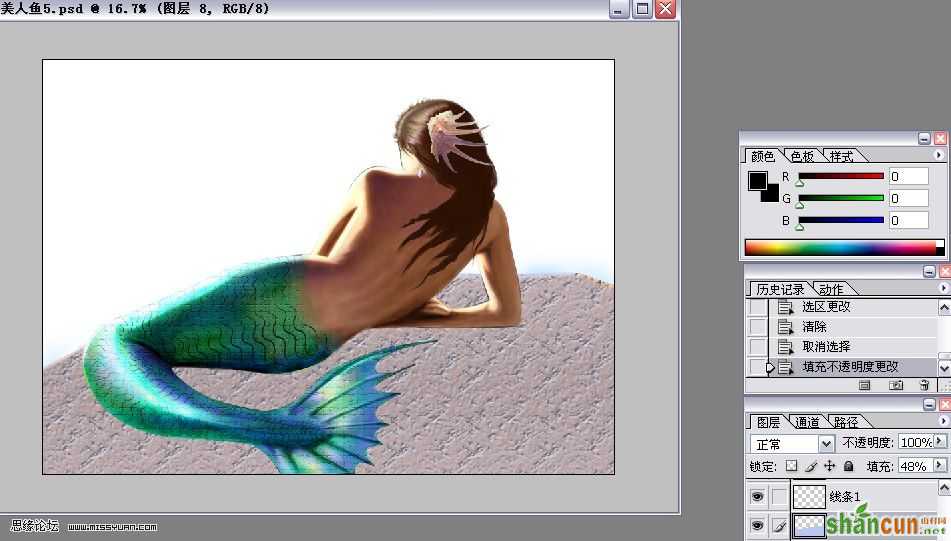
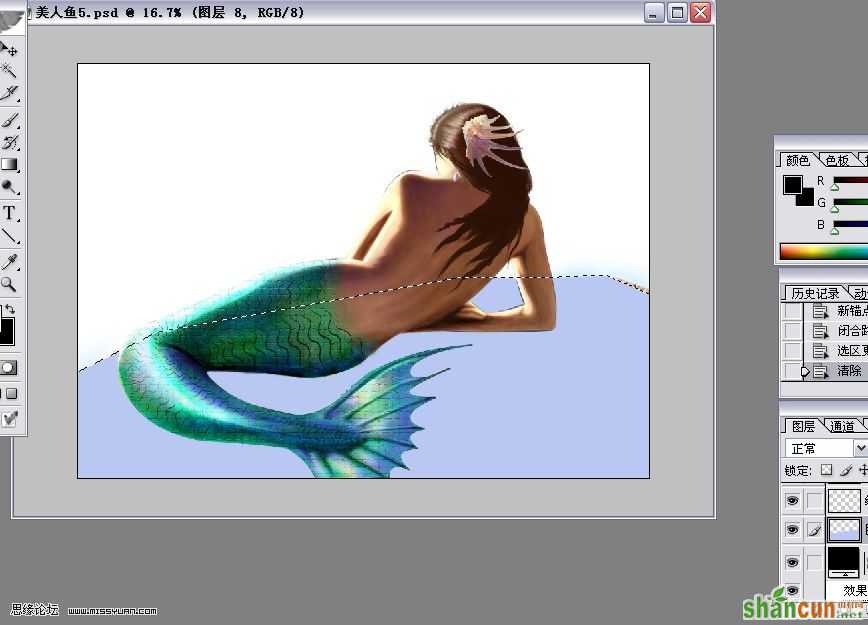
12用渐淡加深工具磨出石头的感觉
13新建图层,填充一个渐变
14新建图层,再绘出海 用渐淡加深工具画出海浪,并执行滤镜—扭曲—海洋波纹
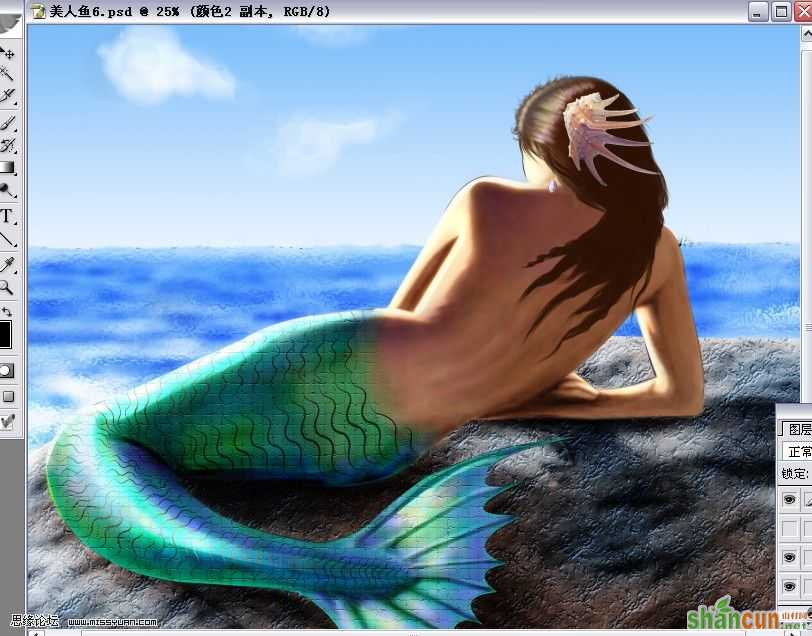
15新建图层,调画笔强度10左右 画出光照海洋的效果
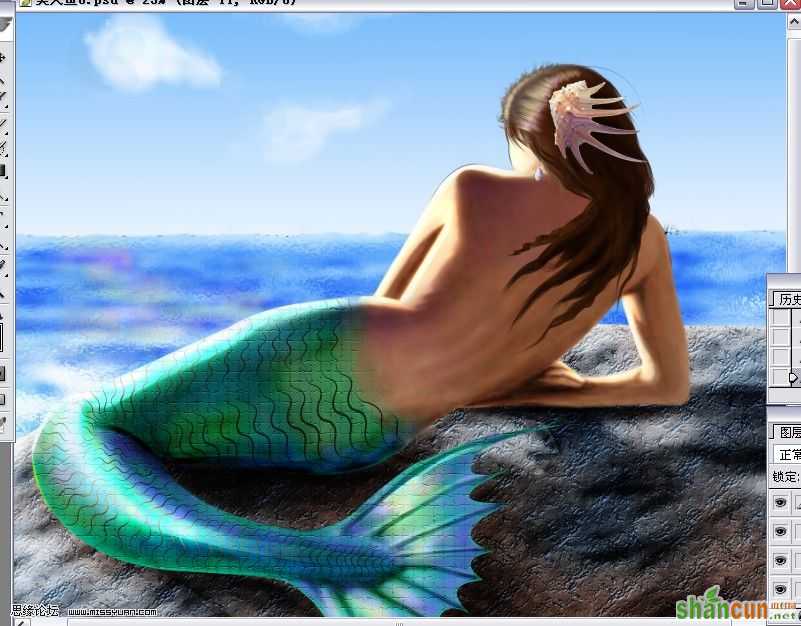
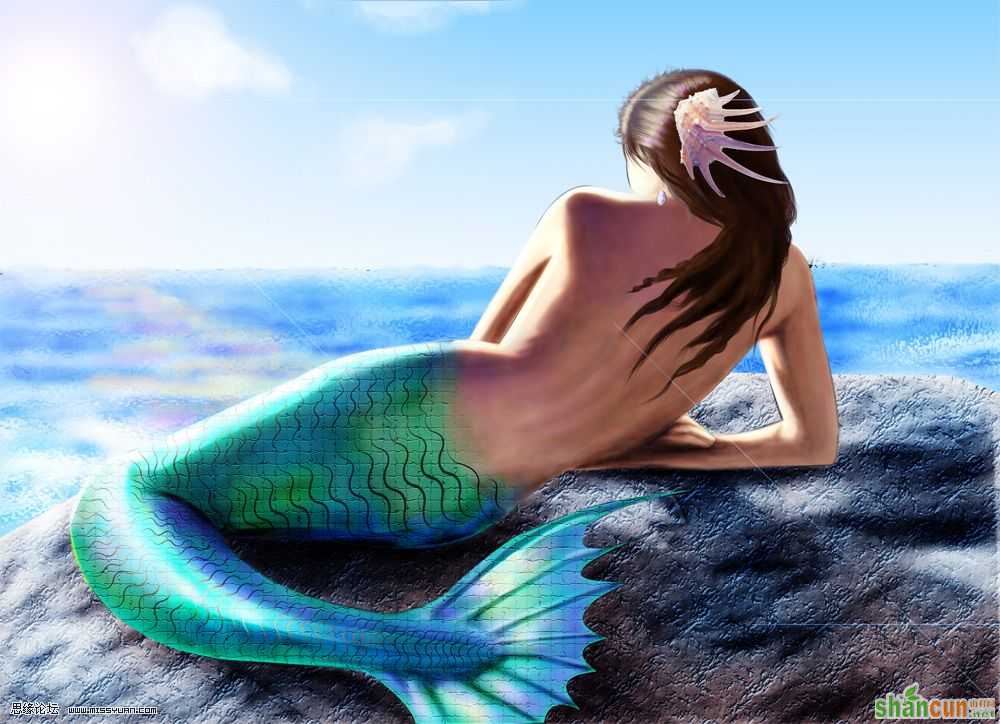
16合并所有图层,执行 滤镜—渲染—镜头光晕—电影镜头(感觉没毫米变焦效果好- -!失败)哈哈
17最后完工,可以用曲线调调色彩感觉


