
最终效果
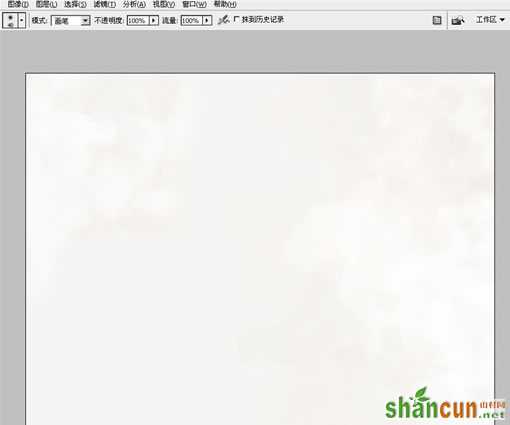
1、新建文件,在背景层用喷枪为画布作旧,模拟纸张感觉。
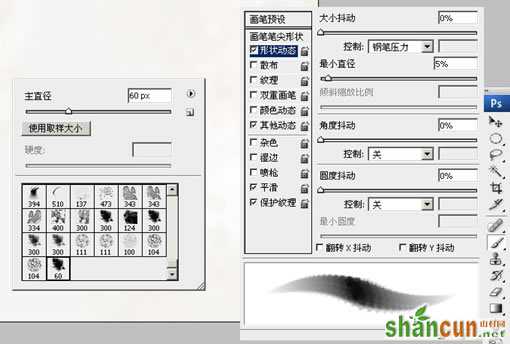
2、为了墨迹毛笔的质感,我们来自制一个笔刷。首先新件一个300x300象素的画布,选择一个化笔,轻重不同的涂出一个不规则图形,执行滤镜“画笔描边”--“喷溅”。的到如图的结果。然后执行“编辑”--“定义画笔预设”转换为笔刷。现在还不能使用,我们还要调节一下画笔参数。按F5呼出画笔控制栏,如图设置。画笔建立完毕。
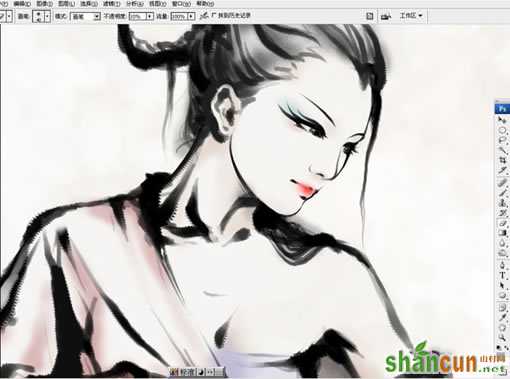
3、新建图层,用刚才制作的笔刷绘制人物。水墨画的线条变化是很丰富的,这里可以体现出1024级压感的优越性。
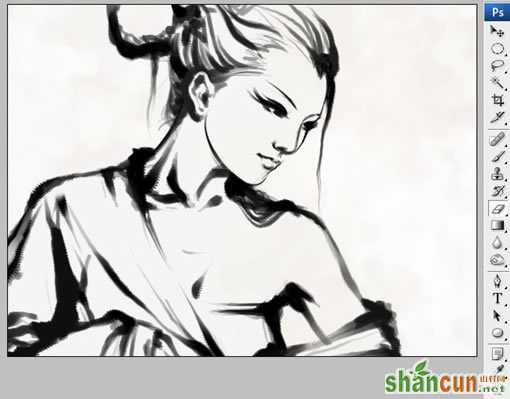
4、调小画笔直径,细致的刻画出五官

5、在线稿层下新建一层,用硬度0%的普通画笔开始上色。注意颜色的饱和度不要过高。这里为了增加画面的亮点,将女人的嘴唇用了纯度很高红色。执行滤镜“画笔描边”--“喷溅”。然后有些偷懒的找到一个水墨的图片粘到了背景层上面。

6、现在应该是完工了,可是突然脑袋里有种“如果把它变成画中画应该会比较好玩吧”的想法,呵呵,然后就新建图层,画出一只握着数码笔正在画画的手。
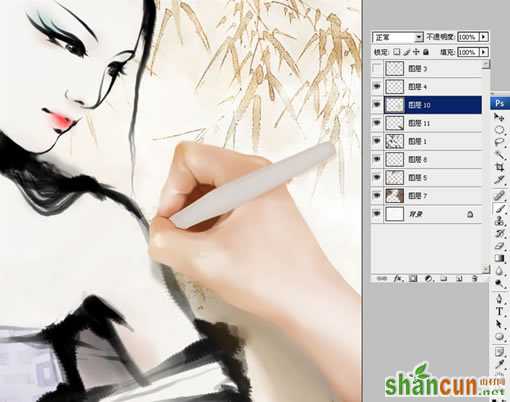
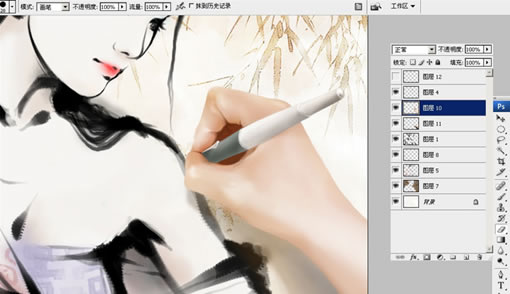
7、在让这幅水墨落到一个桌面上,边缘加了简单的阴影。完成最终效果。


