
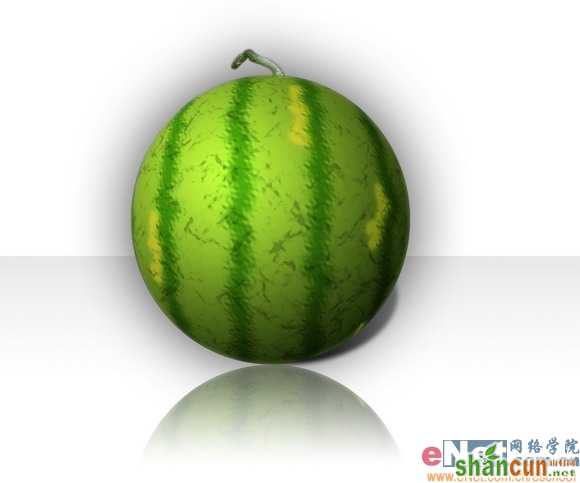
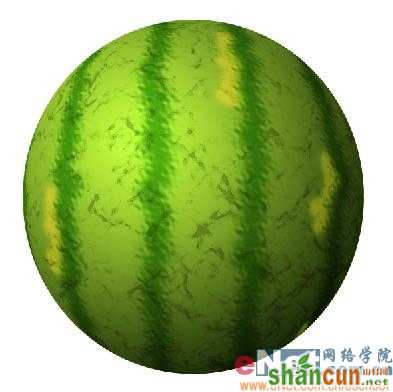
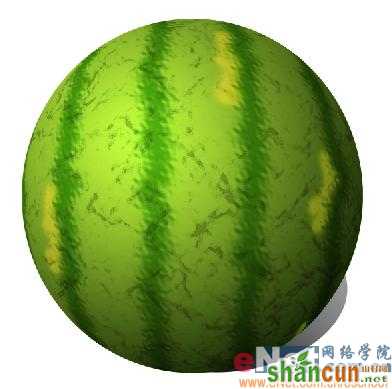
最终效果
1、新建一个文件,在工具箱的下方将前景色设置为绿色RGB分别为100、135、30,按Alt+Delete键,用前景色填充背景图层,效果如图1所示
<图1>
2、在图层面板下方单击创建新图层按钮,生成新的图层图层1。在工具箱的下方设置前景色和背景色为黑色和白色。选择菜单栏中的“滤镜”“渲染”“云彩”命令,图像效果如图2所示。
<图2>
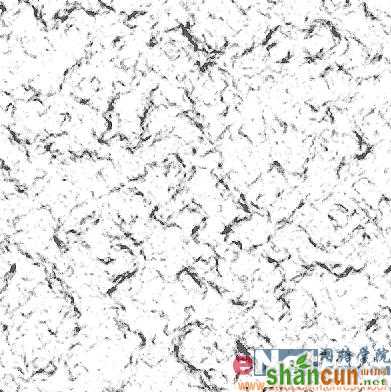
3、执行菜单栏中的“滤镜”“风格化”“查找边缘”命令,图像效果如图3所示。
<图3>
4、执行菜单栏中的“滤镜”“素描”“网状”命令,在弹出的网状对话框中,将浓度选项设置为50,前景色阶为2,背景色阶为2,如图4所示,图像效果如图5所示。
<图4>
相关教程;
PS鼠绘大西瓜方法
<图5> 5、在图层控制面板上方,将图层1的图层混合模式设置为正片叠底,不透明度设置为40%,图像效果如图6所示
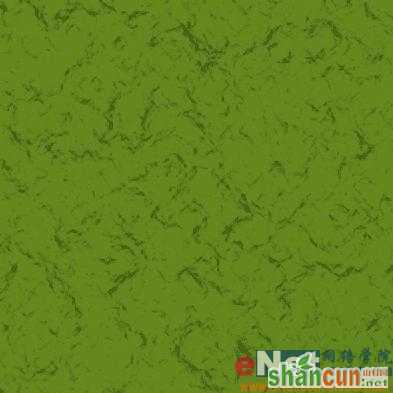
<图6>
6、在图层控制面板下方单击创建新的图层按钮,生成新的图层图层2,,设置前景色为深绿色RGB分别为50、84、22,选择工具箱中的画笔工具,在属性栏中设置笔刷大小为43,在窗口中绘制西瓜皮上的竖纹,效果如图7所示。
<图7>
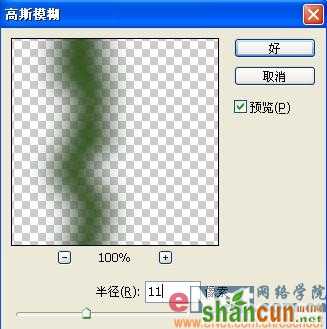
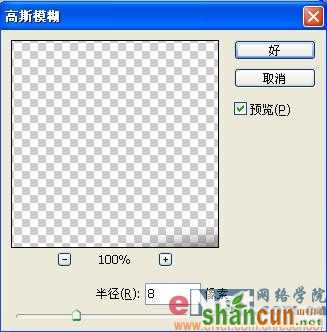
7、执行菜单栏中的“滤镜”“模糊”“高斯模糊”命令,在弹出的高斯模糊对话框中,将半径选项设置为11,如图8所示,图像效果如图9所示。
<图8>
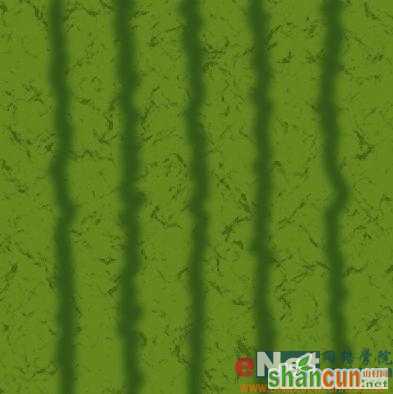
<图9>
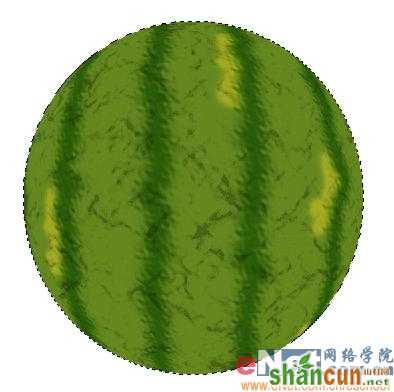
8、执行菜单栏中的“滤镜”“扭曲”“波纹”命令,在弹出的波纹对话框中,将数量设置为640,大小设置为中,如图10所示,图像效果如图11所示。
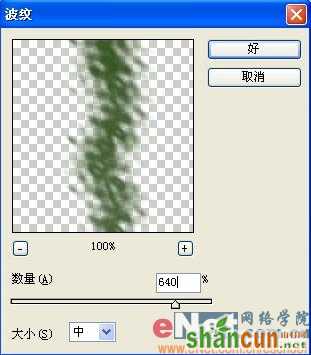
<图10>
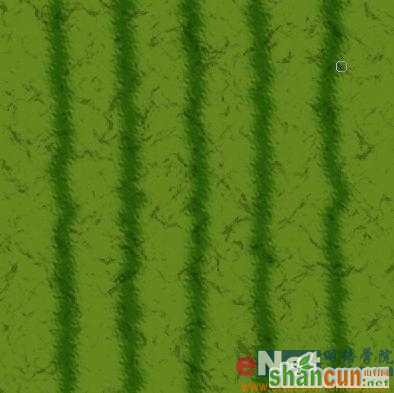
<图11>
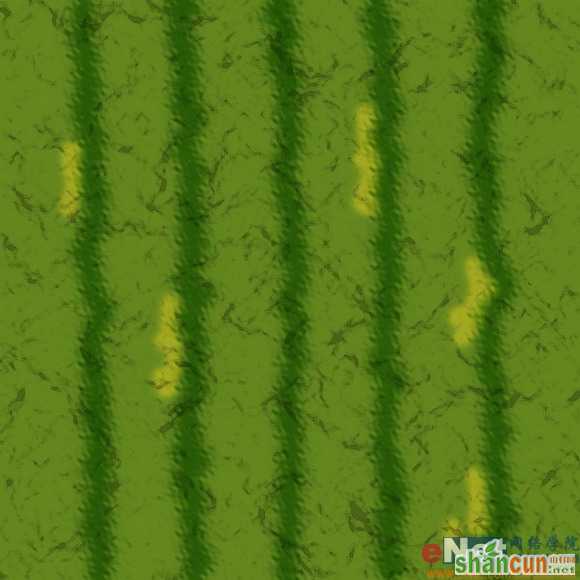
9、新建图层3,设置前景色为黄色RGB分别为210、185、130,选择工具箱中的画笔工具,在属性栏中将笔刷设置为虚边,在画面中绘制纹理,效果如图12所示。
<图12>
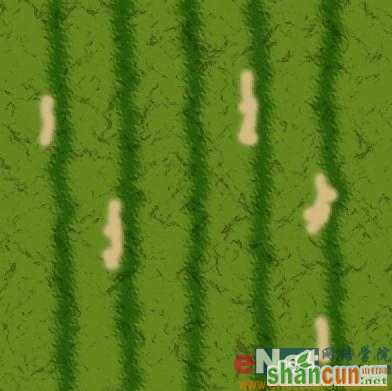
10、在图层面板中,将图层3拖拽到背景层的上方,将图层3的混合模式设置为强光,不透明度设置为65,图像效果如图13所示。
<图13>
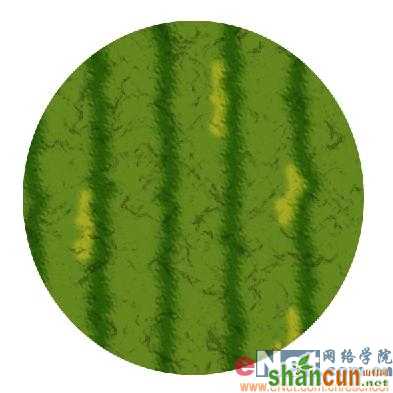
11、合并所有的图层为图层1。选择工具箱中的椭圆选框工具,在图像中拖出一个椭圆选区,效果如图14所示。
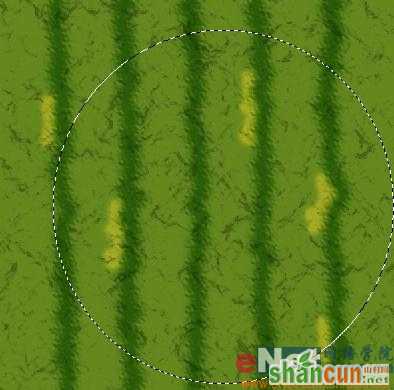
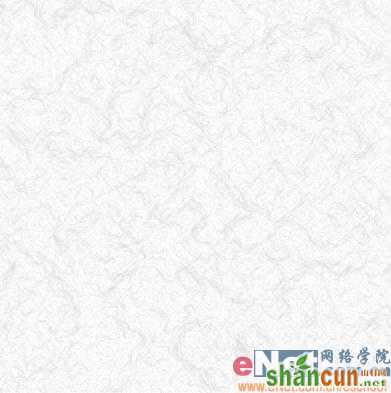
<图14> 12、按Ctrl+J键将选区内的部分复制粘贴到一个新的图层图层2中,并将图层1填充白色,图像效果如图15所示。
<图15>
13、按Ctrl键单击图层2载入选区,执行菜单栏中的“滤镜”“扭曲”“球面化”命令,在弹出的球面化对话框中将数量设置为100,如图16所示,单击好,图像效果如图17所示。
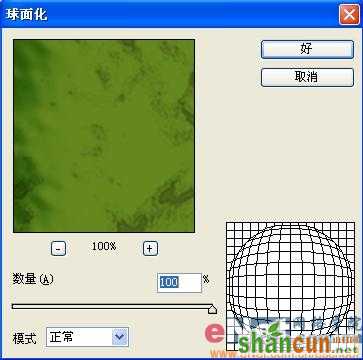
<图16>
<图17> 14、在图层面板中单击创建新图层按钮,生成新图层图层3,选择工具箱中的渐变工具,在属性栏中选中径向渐变按钮,渐变色设置为从白色到黑色,在选区中从 左上方到右下方进行拖拽,图像效果如图18所示,将图层3的图层混合模式设置为“叠加”,图像效果如图19所示。
<图18>
<图19>
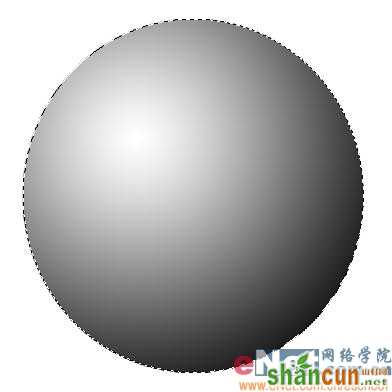
15、选中背景图层,在背景层上方新建图层4,选择工具箱中的椭圆选框工具,在窗口中绘制椭圆,效果如图20所示。

<图20> 16、执行菜单栏中的“选择”“变换选区”命令,将选区进行旋转,效果如图21所示。

<图21>
17、选择工具箱中的渐变工具,设置渐变色为黑色到灰色,从左下方到右上方绘制渐变,图像效果如图22所示。
<图22>
18、执行菜单栏中的“滤镜”“模糊”“高斯模糊”命令,设置参数如图23所示,图像最终效果如图24所示。
<图23>

<图24>
相关教程;
PS鼠绘大西瓜方法


