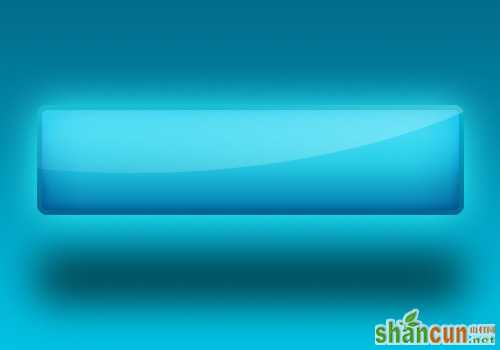
我们先来看看制作完成的效果:

下面是具体的制作步骤介绍:
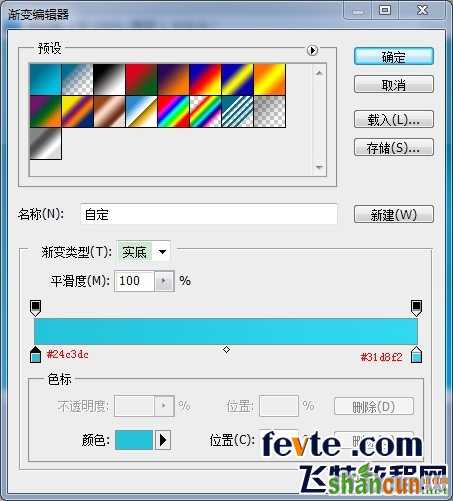
1、新建一个500*350的文档,设置前景色为#026d8d,背景色为#01c1e2,然后使
用渐变工具拖动制作从前景到背景的渐变

2、使用圆角矩形工具,选择形状图层模式,设置半径为10px,绘制按钮

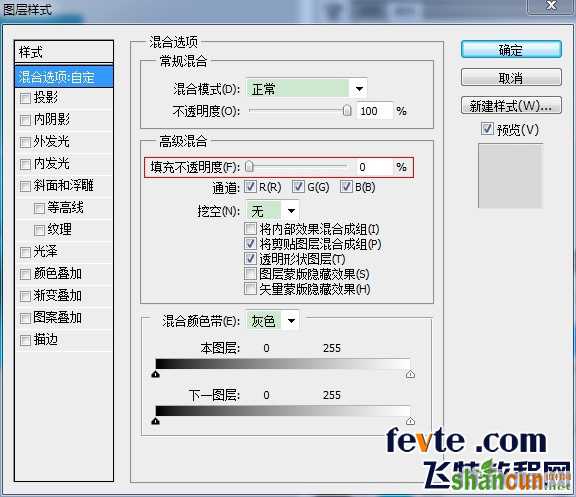
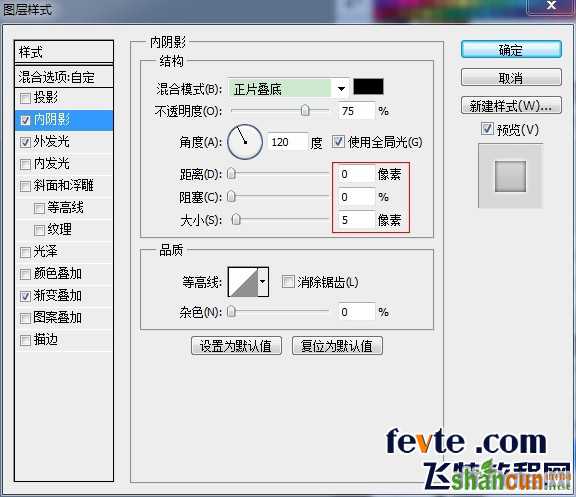
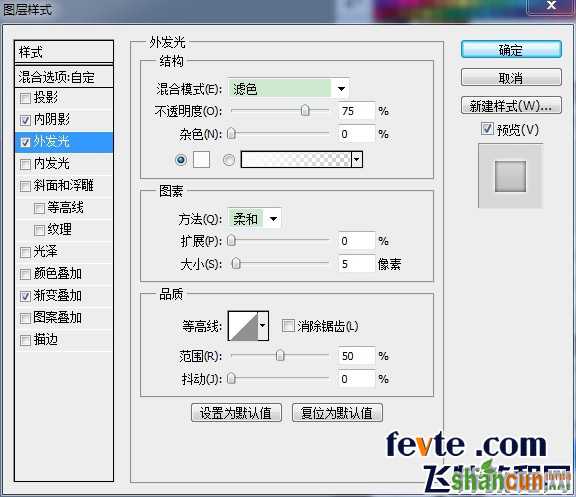
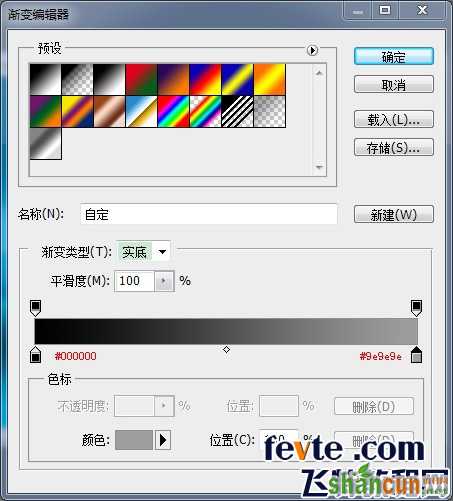
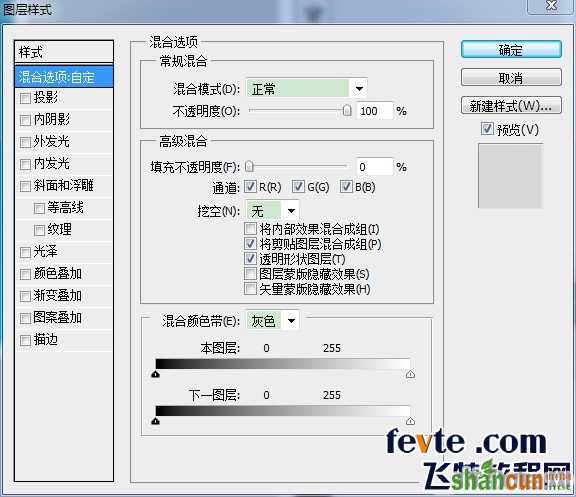
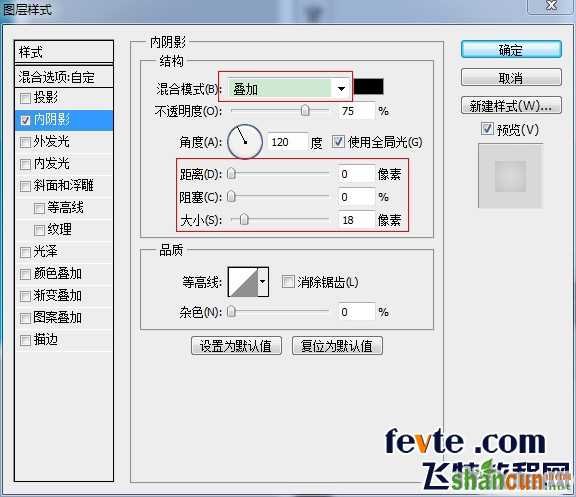
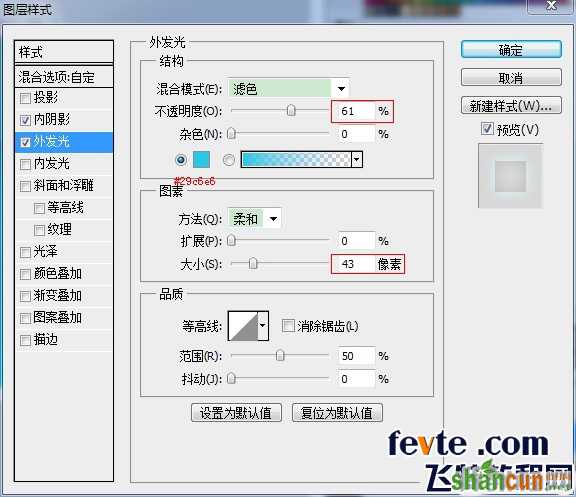
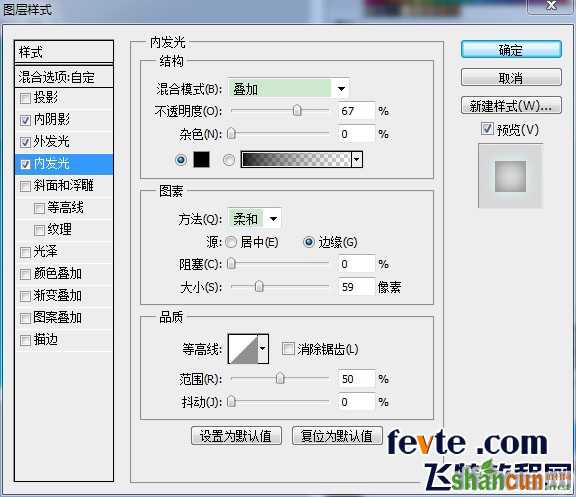
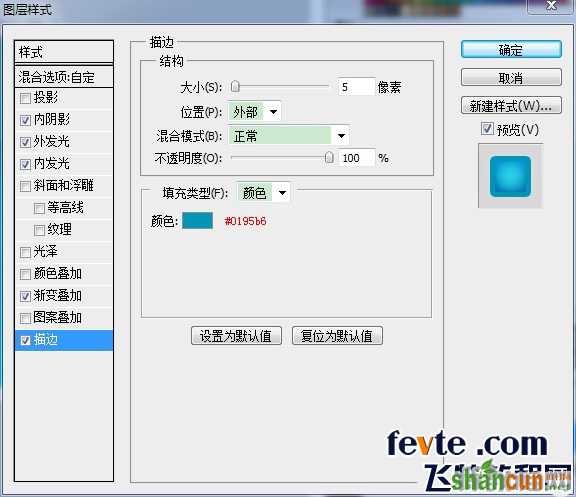
3、设置按钮的图层样式
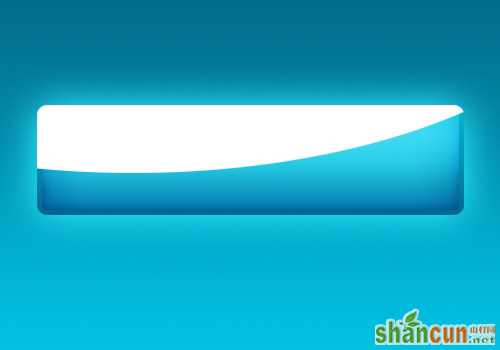
4、为了让按钮看起来更加闪亮,让我们制作高光区域
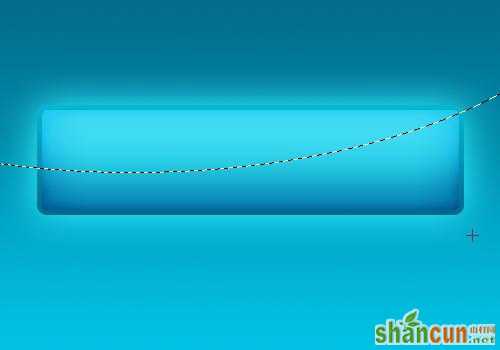
5、填充高光区域
使用白色填充选区
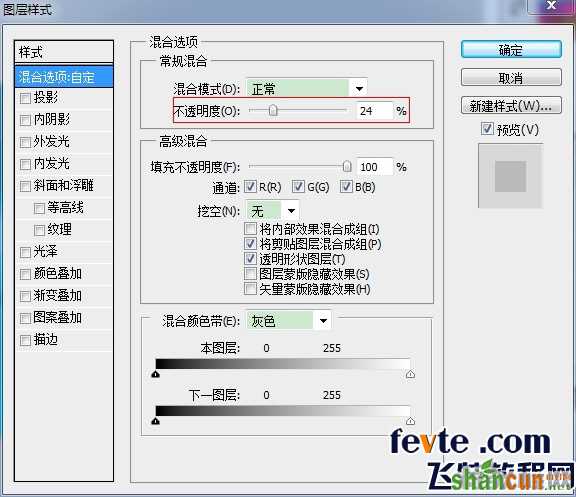
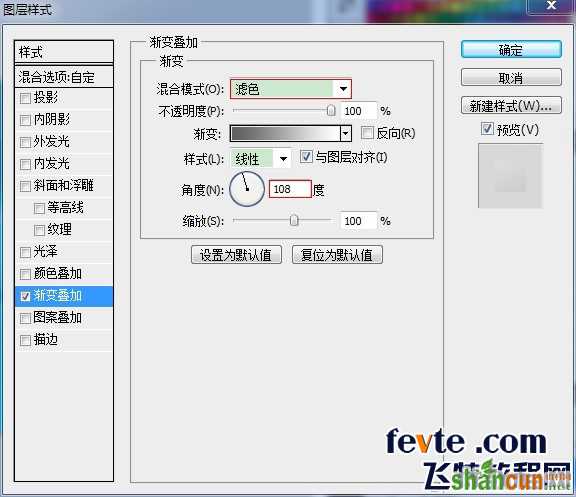
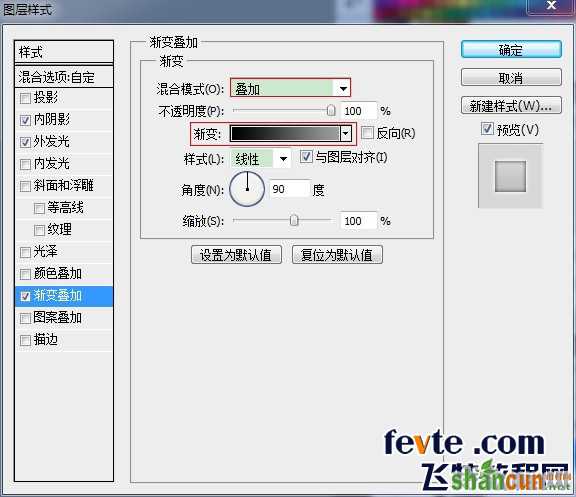
6、保持高光填充层选中,应用如下图层样式设置
这时你应该做好一个反光按钮
7、接着我们来做投影效果
为了使按钮看起来像是在地面浮动,我们可以添加一个阴影。 复制按钮的形状图层并拖动到背景层上方。 通过"图层>图层样式>清除图层样式"将复制的图层样式清除。 然后移动工具将该图层往下移并变换它的高度为一半左右
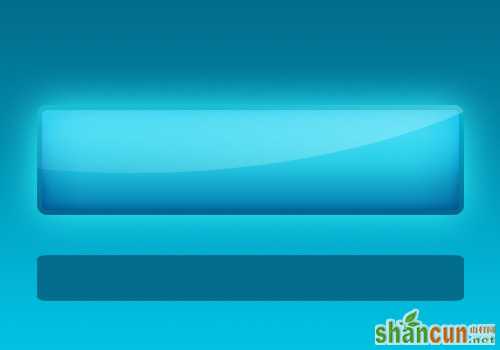
设置这一层的颜色为黑色,并选择"图层>栅格化>图层"栅格化它。然后执行"滤镜<模糊<高斯模糊",半径设置为20像素。最后设置该层的不透明度为70%
8、最后我们来添加文本效果
输入文字,并设置以下的图层样式