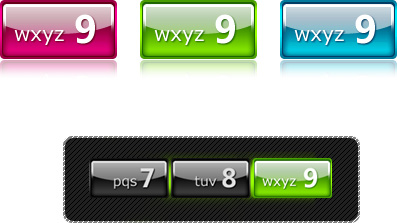
photoshop教程最终效果
1.新建一个300 * 200像素的文件,定义圆角矩形大小为250 * 120
2.复制圆角矩形图层并缩小
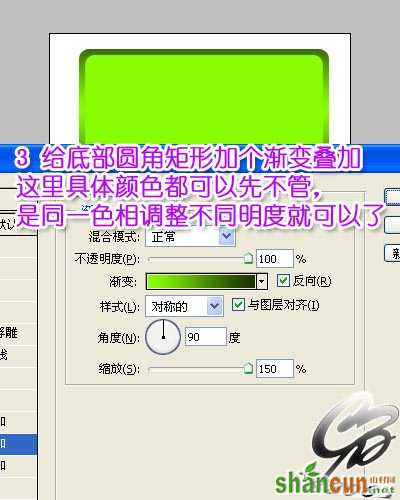
3.给底部圆角矩形加个渐变叠加,这里具体颜色头可以先不管,是同一色相调整不同明度就可以了。
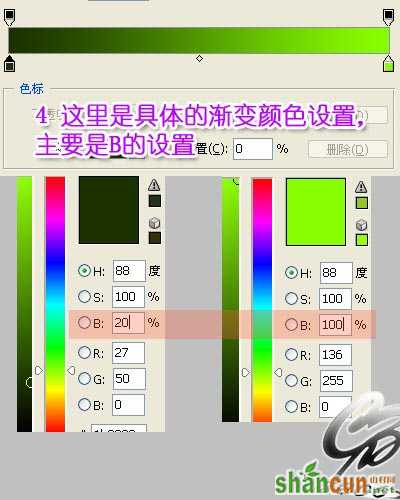
4.这是是具体的简便颜色设置
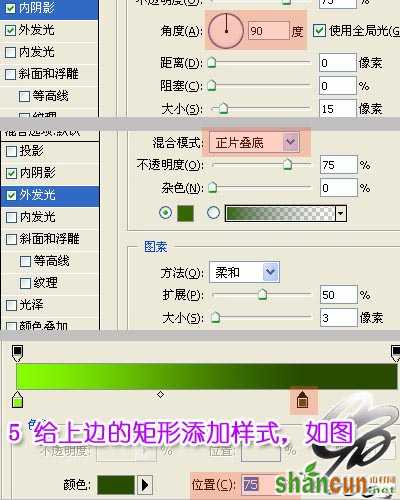
5.给上边的矩形添加样式
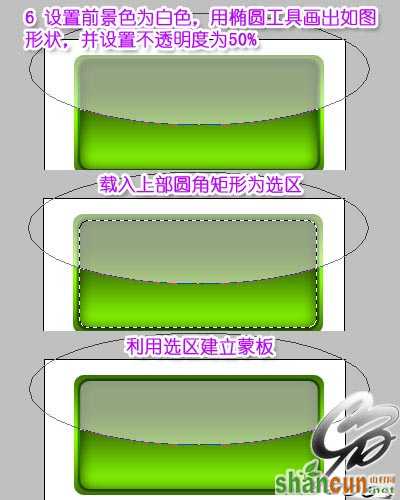
6.设置前景颜色为白色,用椭圆工具画出如图形状并设置不透明度为50%,操作如下图
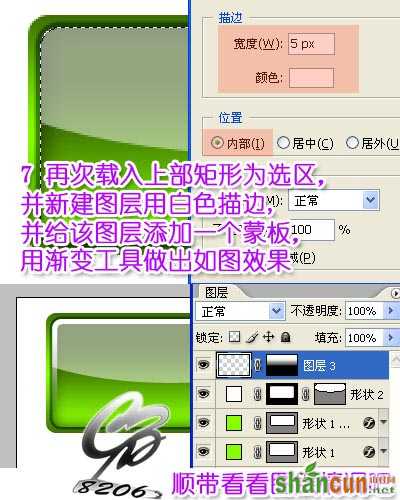
7.载入上部矩形为选区并新建图层用白色描边,并给该图层添加一个蒙版用渐变工具作出下图效果
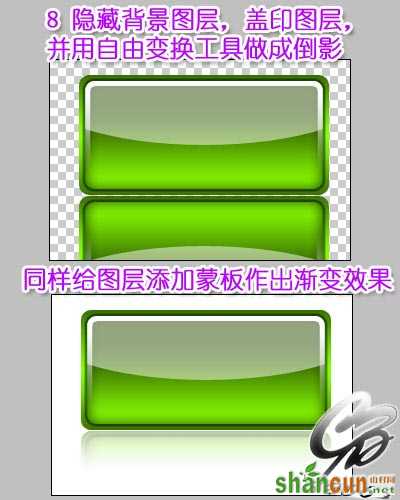
8.隐藏背景图层,盖印图层,并用自由变换工具做成倒影。
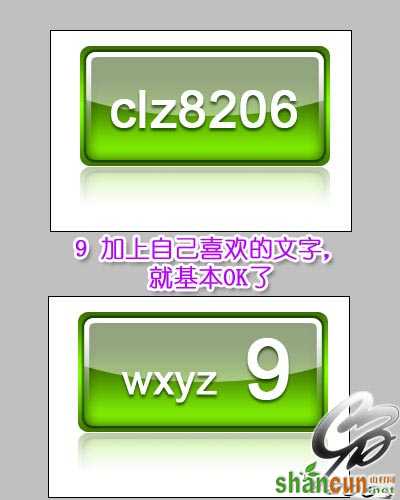
9.加上文字。
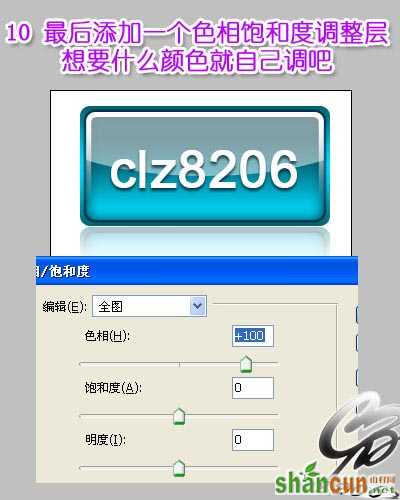
10.最后添加一个色相饱和度可以调成自己喜爱的颜色。