
简单的把教程翻译了一下,有些粗略,喜欢的可以看看!
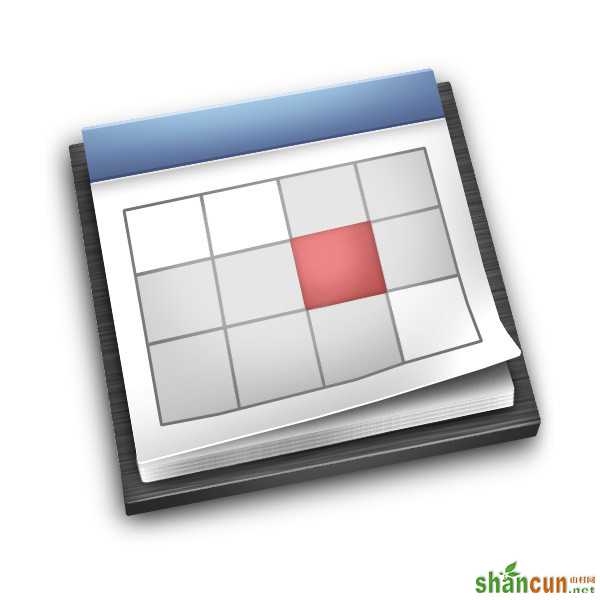
效果图:
教程加载:
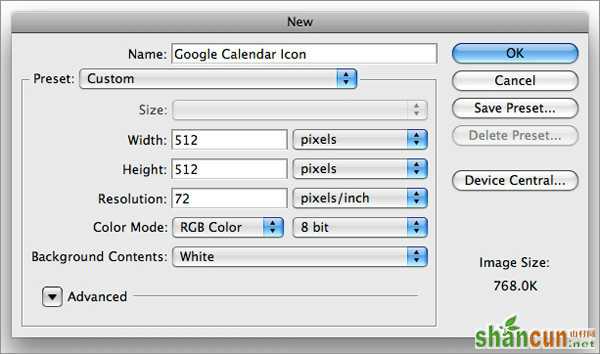
1.新建文档,尺寸自定。
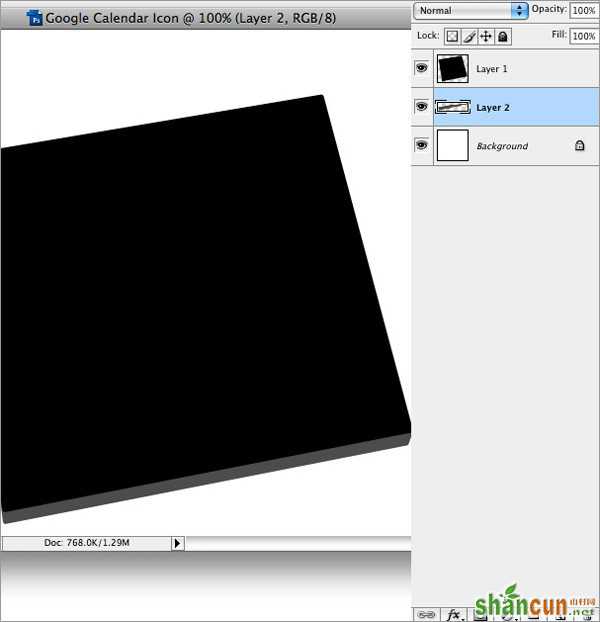
2.使用钢笔工具绘制矩形,颜色填充黑色,效果如图。
3.在图层1下方新建普通图层,使用钢笔工具绘制路径,为其制作立体效果,并填充灰色,如图。
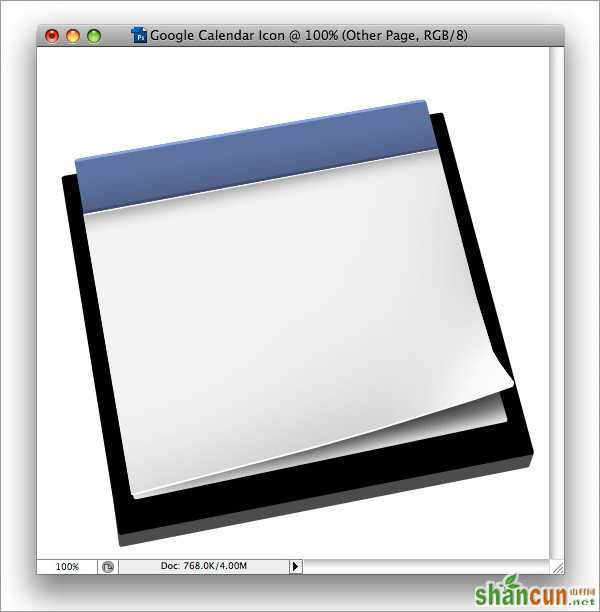
4.同样新建空白图层,使用钢笔工具绘制上方图层,并填充灰色,注意绘制的折角,这样看起来更加的真实。
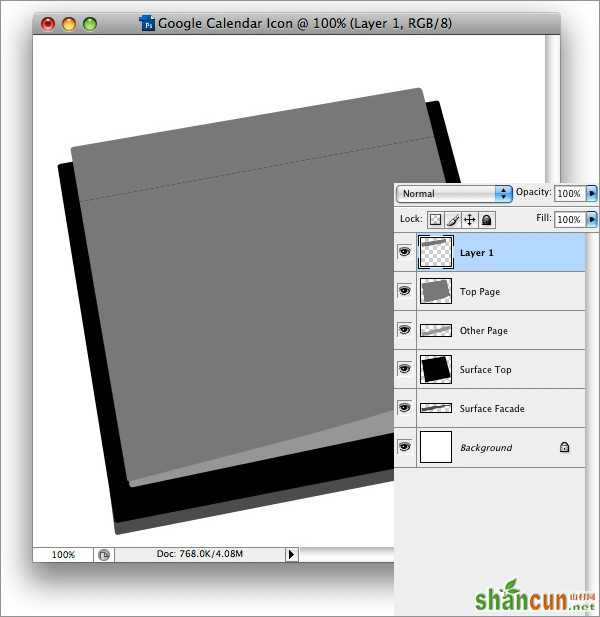
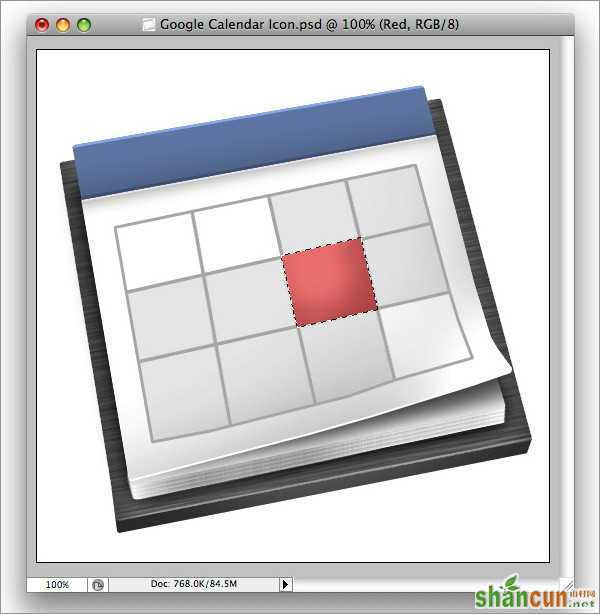
5.使用铅笔工具绘制路径,并转按CTRL+ENTER转换成选区。

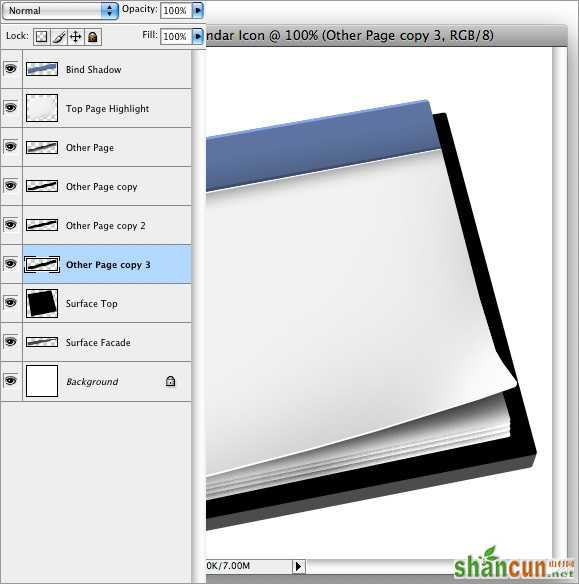
6.按CTRL+X剪切,CTRL+V粘贴,这样可以单独的把选区内的部分生成新的图层。
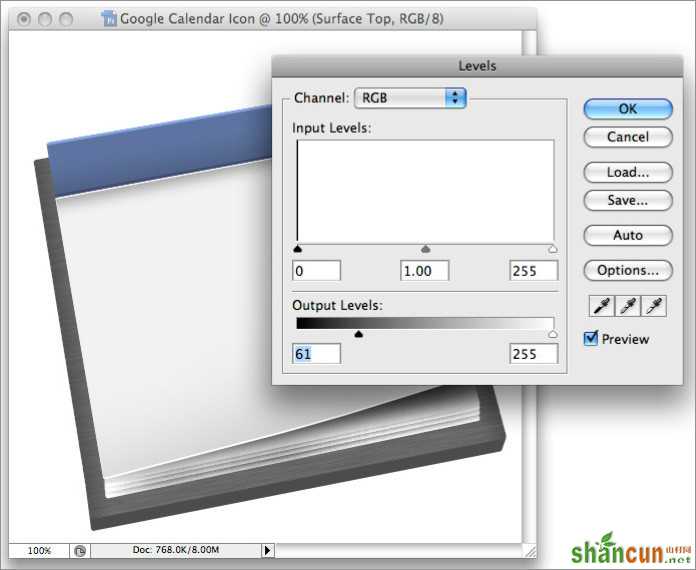
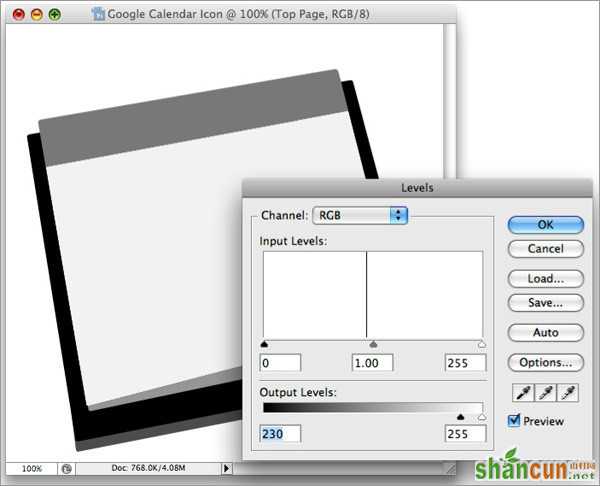
7.按CTRL+L调出色阶调整图层,调暗选区内的颜色,如图。
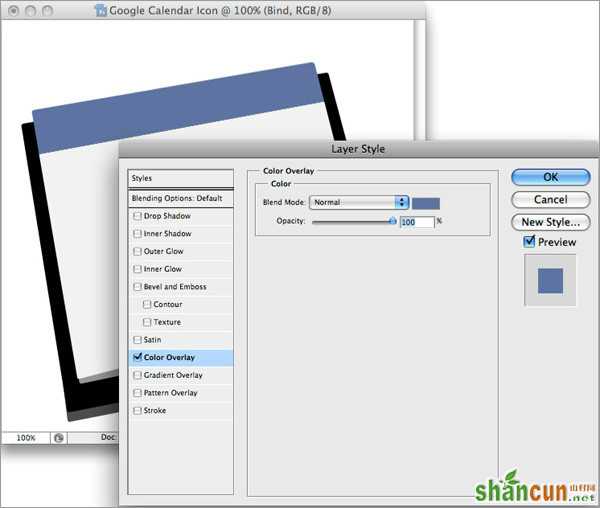
8.为其顶部图像添加图层样式,更改其颜色,效果如图。
9.新建空白图层,选择渐变工具,为其顶部制作由黑到透明的渐变,这样使其看来有种立体感。
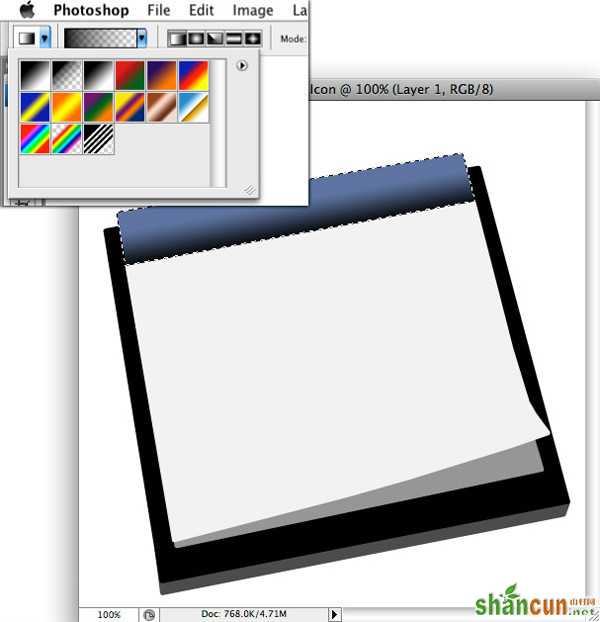
10.更改渐变图层的透明度为25%,这样颜色看起来不那么重。
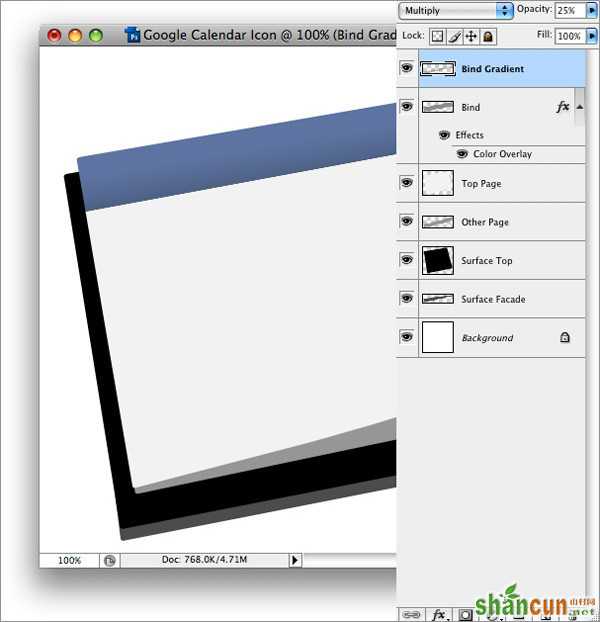
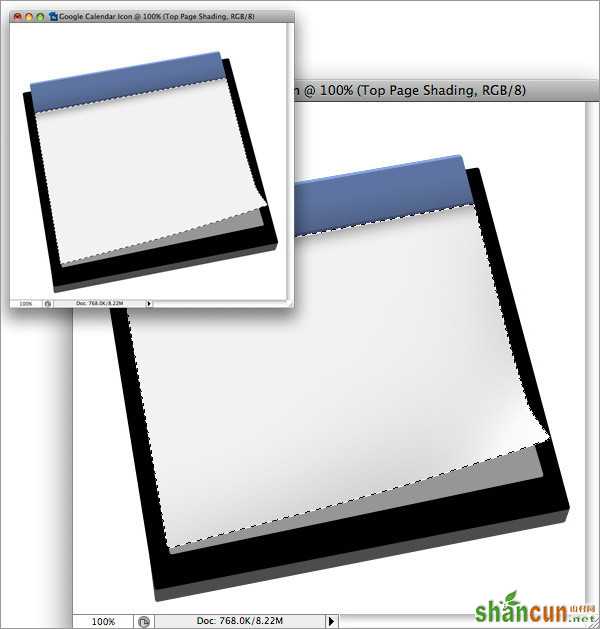
11.使用,同样的方法去制作顶部高光区域,效果如图。
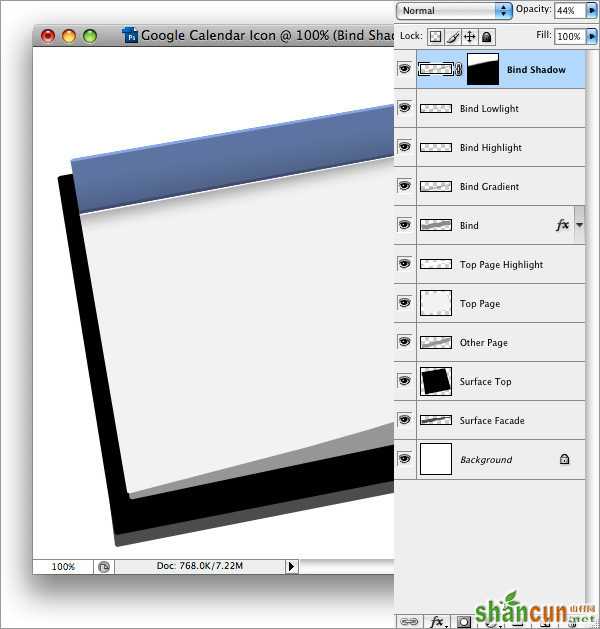
12.同样,为其制作顶部底部阴影区域,并调整图层不透明度为44%,效果如图。
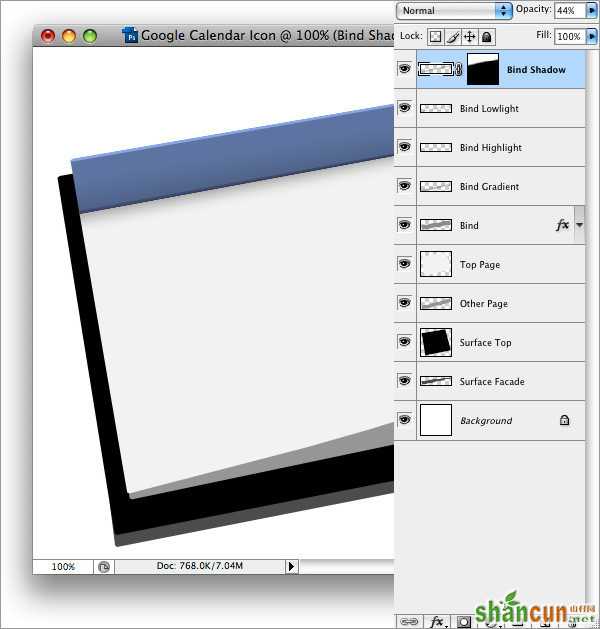
13.注意细节部分,仍然是底部高光区域,如图。(删除不需要的阴影部分即可)。
14.调出底部区域的选区,为其制作明暗效果,如图。
15.为其制作高光及阴影,效果如图。
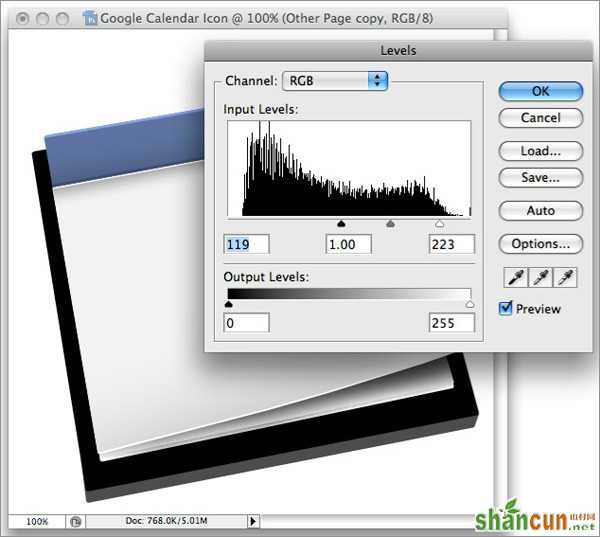
16.利用色阶为其制作纸张效果,注意底部纸张的数量。
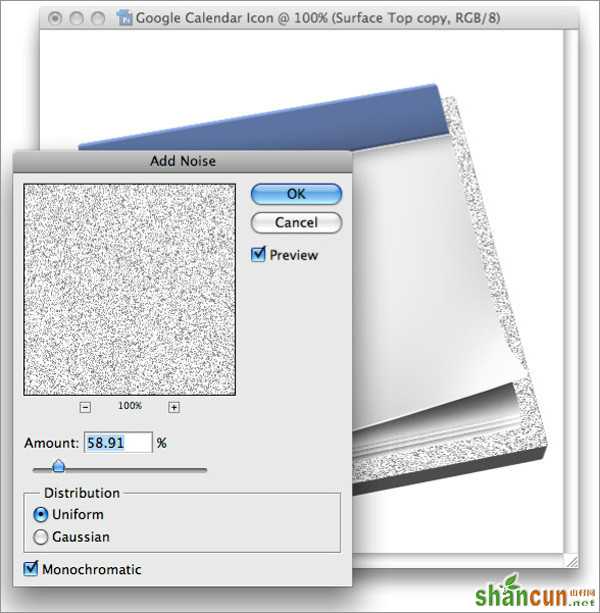
18.开始为底部上制作金属拉丝效果,更改颜色为白色,为其添加杂色,数量如图。
19.执行:滤镜-模糊-动感模糊,这样就会得到拉丝效果了,数值如图。
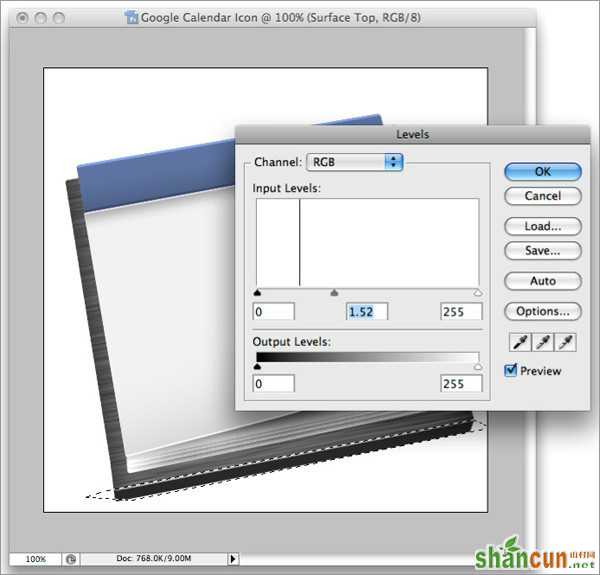
20.利用色阶命名把拉丝图层变的暗些,如图。
21.用同样的方法去制作底部的部分.
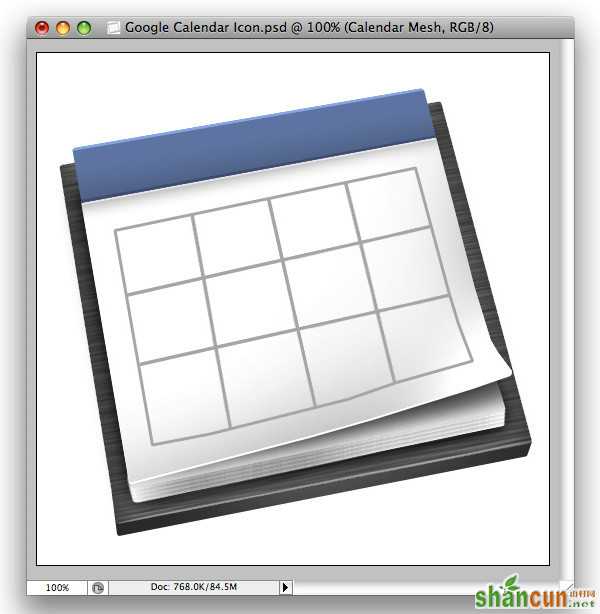
22.制作日历上的网格,效果如图。
23.继续对网格进行调整。
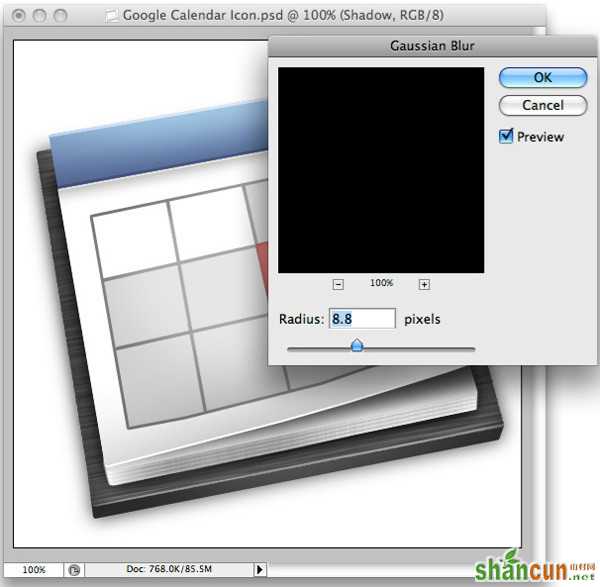
24.为其制作阴影,效果如图。
完成最终效果!


