
本教程介绍较为抽象的图片合成方法。作者用到的素材不是很多,把人物与一些沙漠及星空联系起来,有较强的想象空间,这正是作者想要表现的意境。
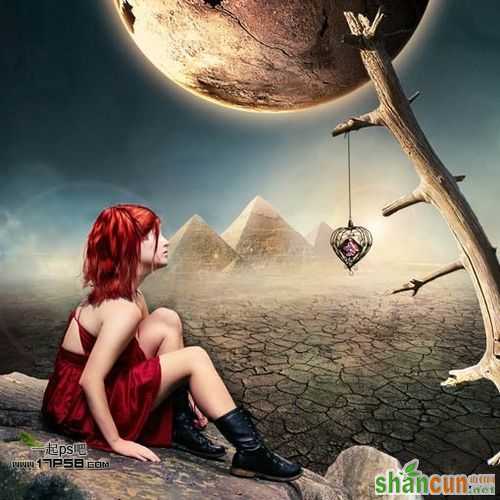
最终效果:
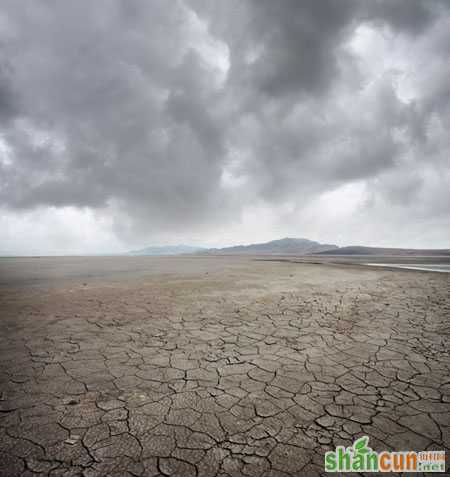
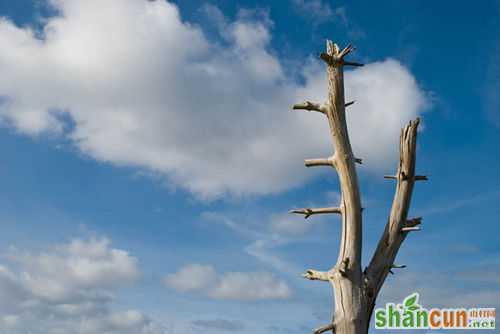
步骤/方法1新建文档800x800像素,将干燥荒地图片拖入,适当缩放,然后打开美女图片,用钢笔去背,也拖入文档中。

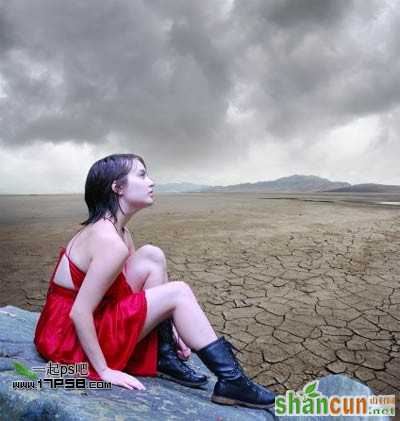
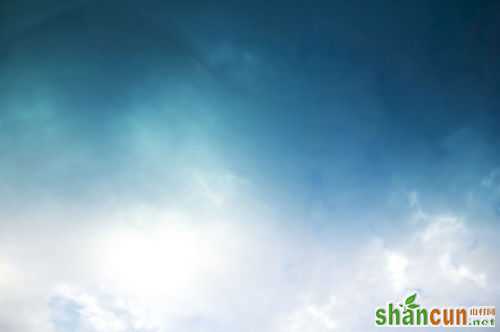
2导入天空图片,放于女孩底层,添加蒙版,黑白直线渐变,产生一种渐隐的效果。
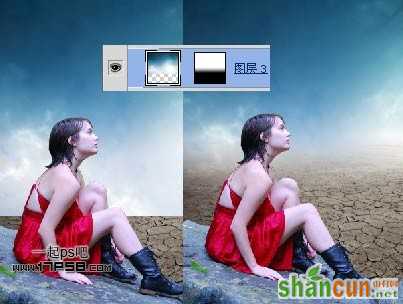
3下面处理一下天空的颜色,选择天空层,添加渐变映射调整层,并形成剪贴蒙版,图层模式颜色,不透明度49%,选择图层1也就是干旱层,添加渐变映射调整层,图层模式线性加深,不透明度50%。

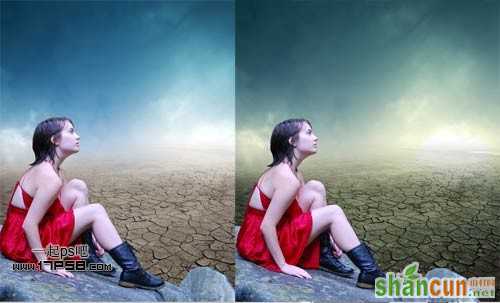
4效果前后对比。
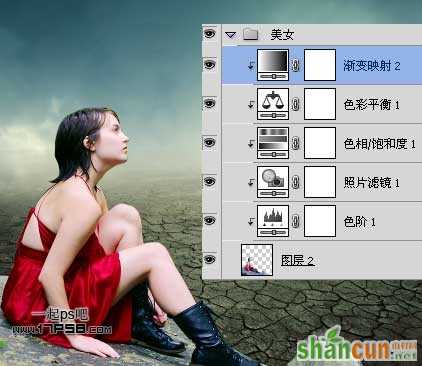
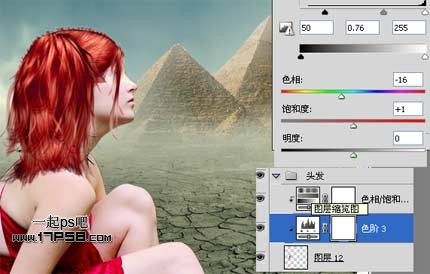
5下面我们来润色美女,选择美女层,添加色阶调整层,并形成剪贴蒙版。
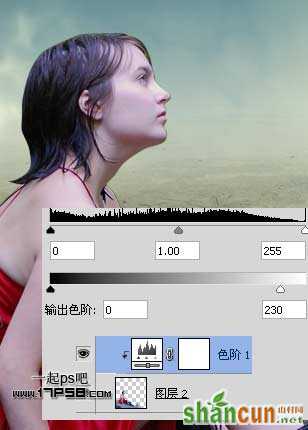
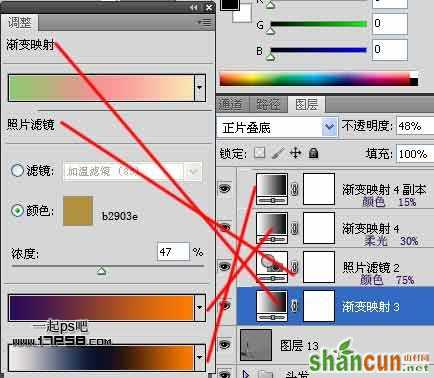
6添加照片滤镜调整层。

7添加色相/饱和度调整层。
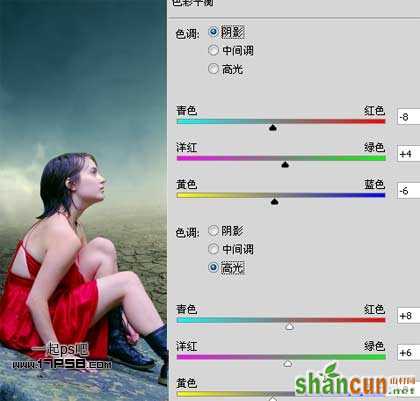
8添加色彩平衡调整层。
9再添加一个渐变映射调整层,图层模式强光,不透明度63%。

10我们会得到类似下图所示效果,把这些层群组,起名美女。
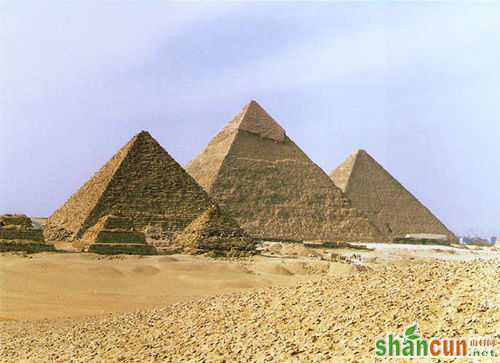
11把金字塔图片打开,用钢笔选出主体部分,拖入文档中,适当缩小,添加蒙版,用黑色柔角笔刷涂抹,产生渐隐效果,添加图层样式,目的是让金字塔看上去远在尘嚣中。

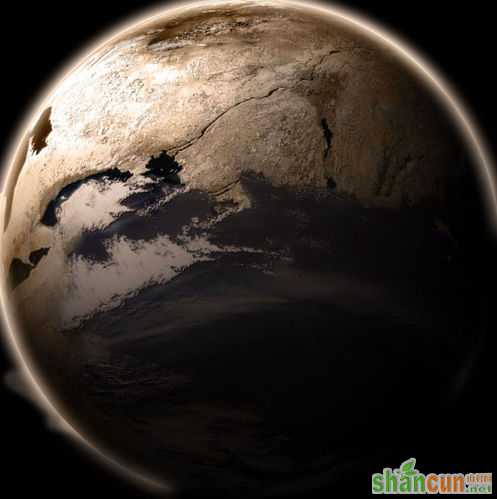
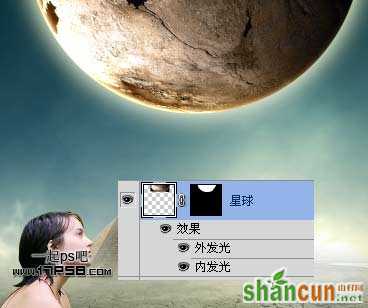
12导入星球图片,选择椭圆工具画一个正圆选区,添加蒙版,添加图层样式,设置默认即可,但尺寸要大一些,把星球放于上方。
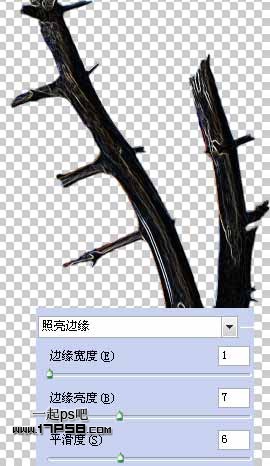
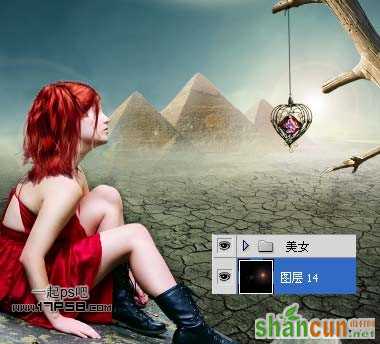
13打开枯枝图片,去背景,拖入文档中,ctrl+J复制一层,滤镜>风格化>照亮边缘。
14与底层形成剪贴蒙版,图层模式颜色减淡,不透明度80%。

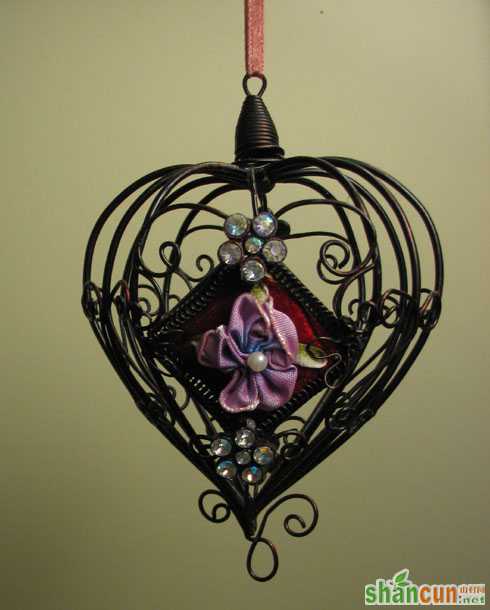
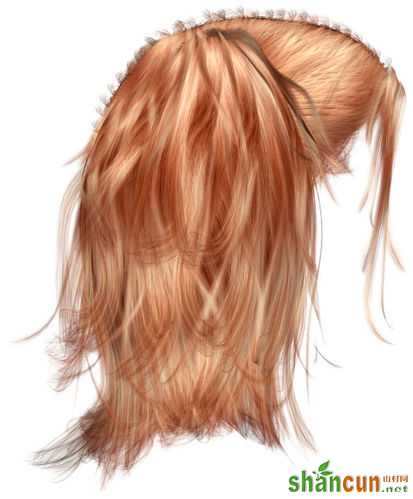
15打开心形笼子图片,去背景,拖入文档中,色阶加亮一些,建新层,用笔刷画出一些线条,当做吊线。
16导入头发,适当缩小,添加色阶调整层和色相/饱和度调整层,形成剪贴蒙版。
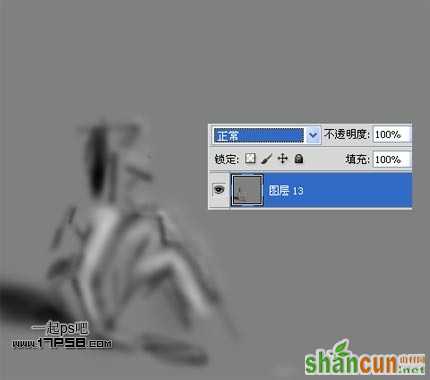
17在所有图层顶部建新层,填充50%的灰色,图层模式叠加,用加深减淡工具曝光度10%左右涂抹,处理人物的暗部和高光细节,下图是正常模式的。暗部就是人物阴影和头发部分,高光部就是人物的腿,胳膊和面部。
18美女群组底部建新层,填充黑色,图层模式滤色,滤镜>渲染>镜头光晕。
19着添加一些调整层,调节色度。
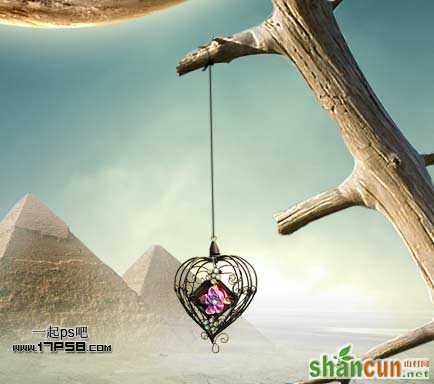
20最后处理一下整体的细节,最终效果如下。
注:更多精彩教程请关注山村photoshop教程栏目,山村PS群:75789345欢迎你的加入


