
妆片修图是个很费时间的事情,一般在修图的时候使用加深减淡及修复画笔工具会比较多一些,这张图的修图,我也是使用的最简单的加深减淡工具。原图的色彩感比较弱,后期的处理上使用了大量的合成及后期光源的绘制。
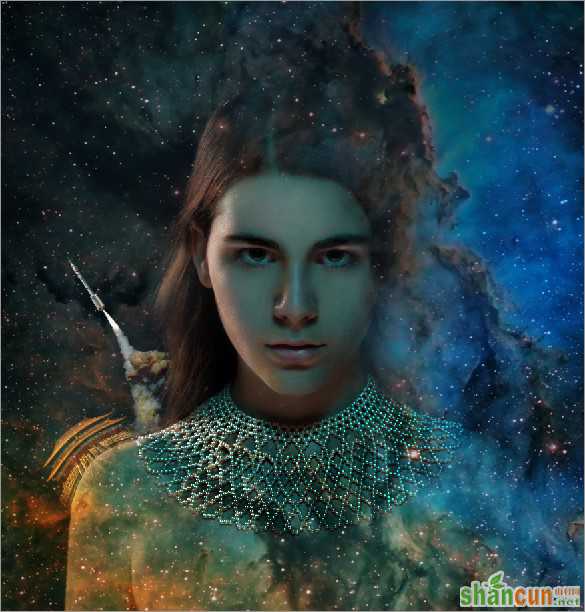
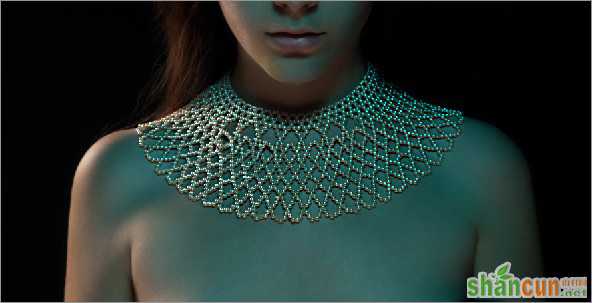
效果图
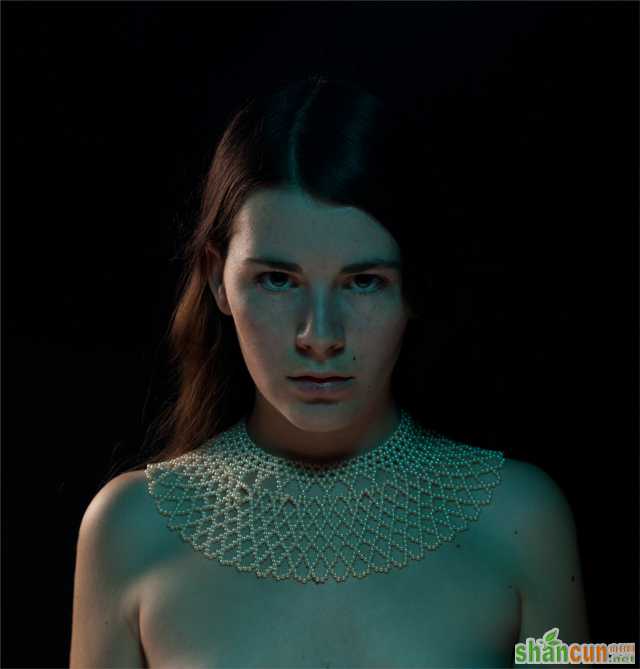
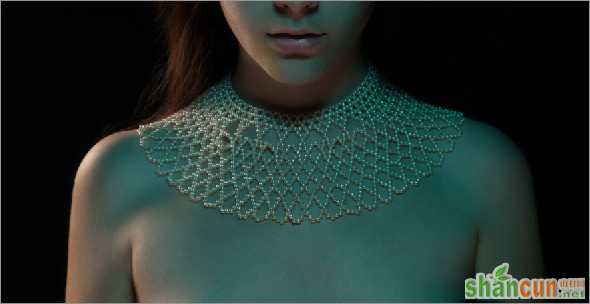
原图
修调技巧和重点:
妆片照片的修图现在多数都是修的很细腻的。修图这方面,首先是形体的处理,需要按照人物的形体让其过渡得更加平滑,五官部分需要进行一些精细的处理。皮肤部分需要分析哪些是属于瑕疵部分,哪些是属于皮肤颜色过渡不均匀部分,这些都是需要处理的地方。光影的处理上,应该尊重原图光影,在原图光影的基础上进行加强,使图片由平面变得更加立体,这一块在妆面修图上显得尤为重要。
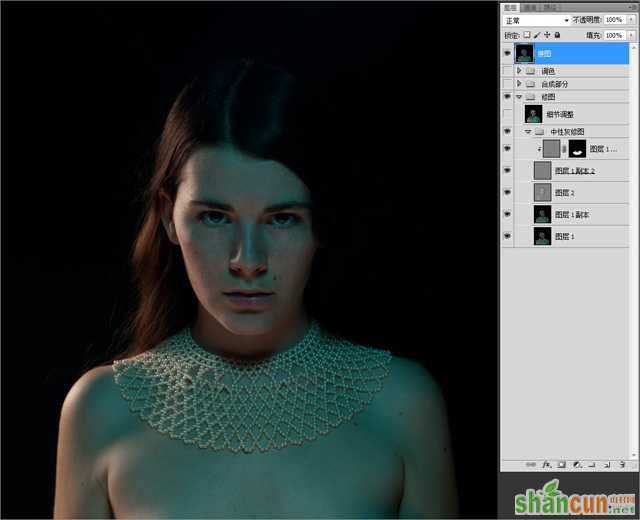
1、首先观察原片,修片方面主要注意三个地方。原片的形态需要稍稍做一些液化修型的处理,脸型尽量使其圆润些,肩部位置可以适当向下液化使其更加纤细。脸部的痣,雀斑等瑕疵需要使用修复画笔工具进行勾饰。最后人物的光影需要加强绘制,这边可以使用加深减淡直接处理,或者使用中性灰图层进行处理。
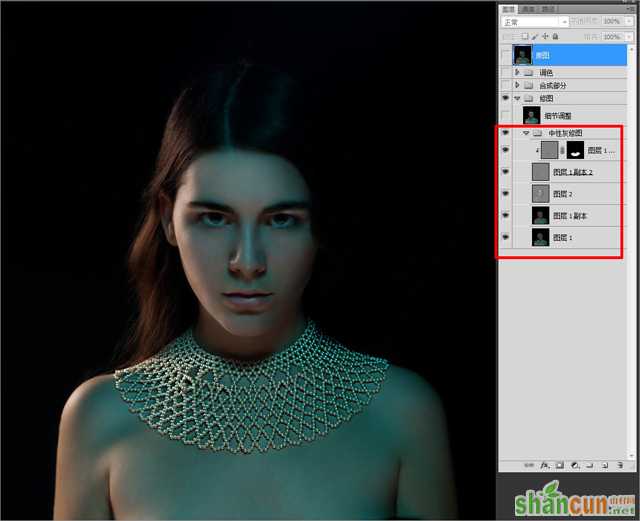
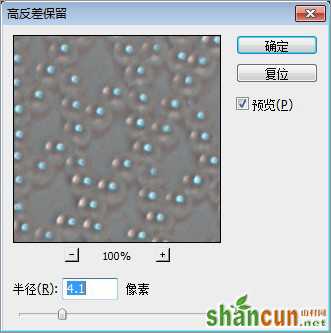
2、使用套索工具讲项链部分圈选出来,羽化30,复制一层。在项链图层做高反差保留,参数为4.1左右,图层模式改为线性光。此步骤目的在于强化首饰部分的锐度。
3、下一步开始我们需要对图片进行合成。合成时候,需要多注意原照片的光线走向,以及我们添加进去的素材在透视上是否合适,这个时候我参考了一些网络的图片。
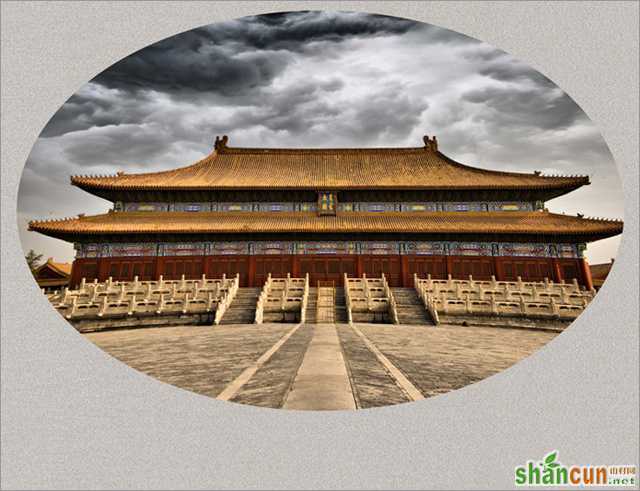
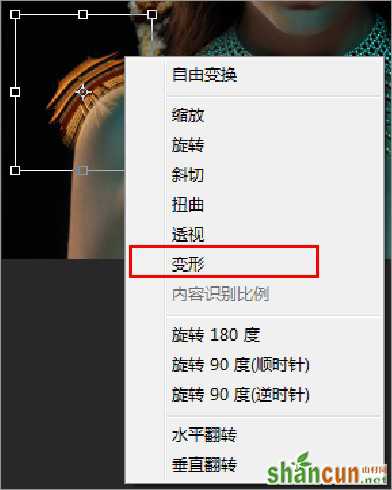
4、对火箭和太庙素材进行抠图【使用磁性套索工具】,摆放入图中,CTR+T调整他们的透视关系。对太庙图层使用CTRL+T,然后右击,选择变形,使太庙紧贴人物身体,给人一种建筑物建在人物身上的感觉。
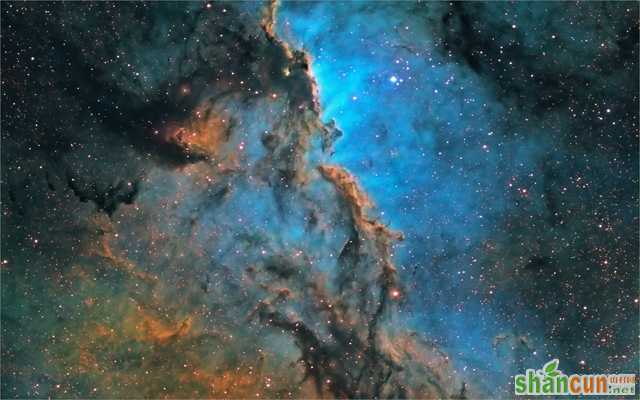
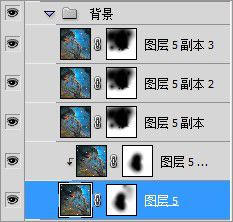
5、该步骤的目的是添加整个背景大图,我选择一张银河的素材,拖入照片,新建蒙版,将人物擦出,调整图层模式为滤色。将银河的图层多复制几层,模式统一为柔光,目的是将背景的颜色饱和度及对比度提升上来。
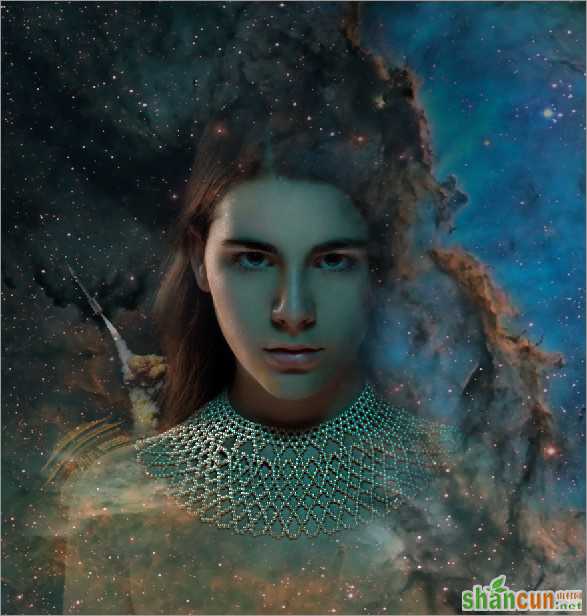
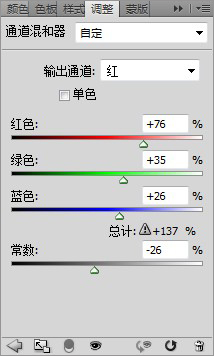
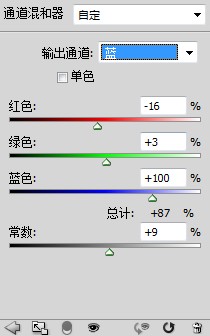
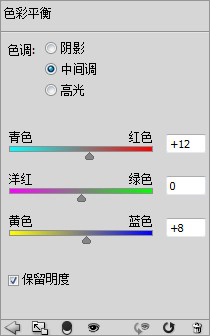
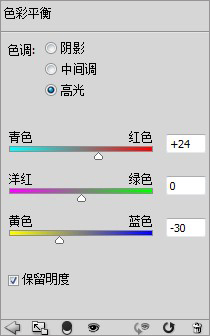
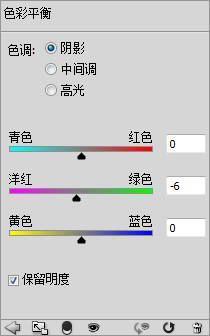
6、该步骤为调色。这张照片的整体色调我想使其偏向蓝调调。先使用通道混合器,红通道参数为(76,35,26,-26),蓝色通道参数为(16,3,100,9),绿色通道不变。接下来是色彩平衡,中间调参数为(12,0,8),高光参数为(24,0,-30),暗调参数为(0,-6,0)
7、最后一步骤为最后颜色细节调整,我使用的可选颜色。具体参数为绿色(-52,13,46,0),青色(0,0,-19,0),蓝色(0,0,-7,0),白色(0,0,18,4),中性灰(0,-3,-8,0),黑色(1,2,-17,8)。


