
本教程重点是水晶球部分的制作。作者用简单的滤镜加上一些高光笔刷来完成。过程也比较简单:先用云彩滤镜做出底纹,然后用液化等滤镜加强体积感。大致球体做好后适当改变图层混合模式,只保留高光部分,然后用高光笔刷加强中心的高光即可。
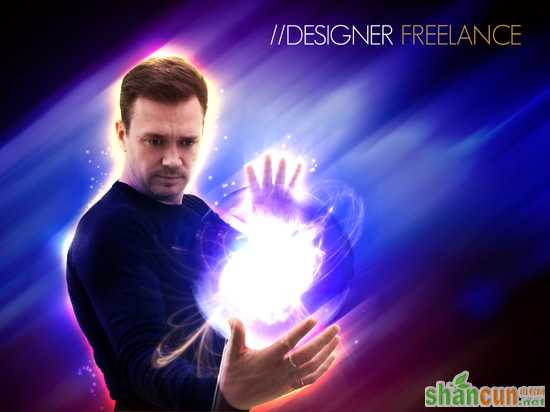
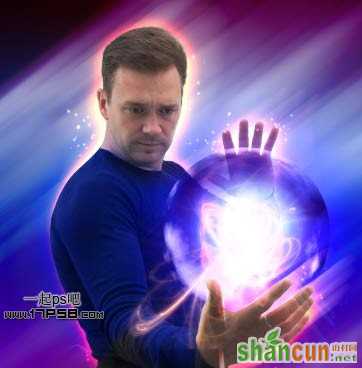
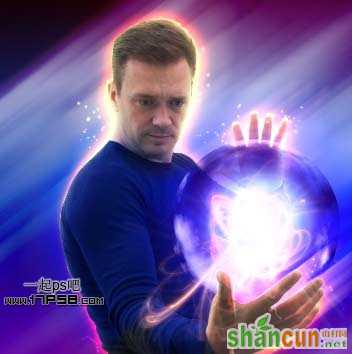
最终效果
1、首先打开一个帅哥摆造型的图片,用钢笔工具把主体人物抠出,转为选区,ctrl+J复制选区到新层。
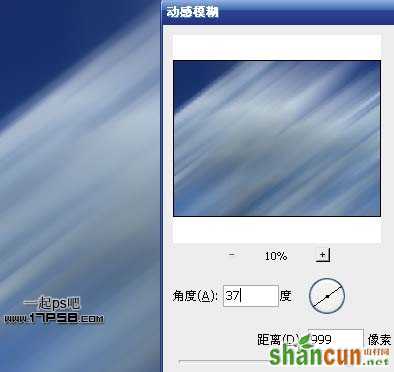
2、打开云彩图片。滤镜>模糊>动感模糊。
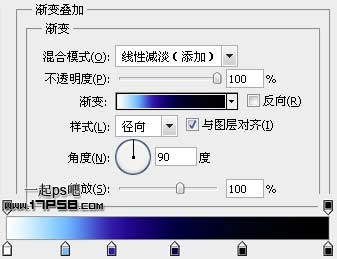
3、建新层,选择并设置渐变工具。
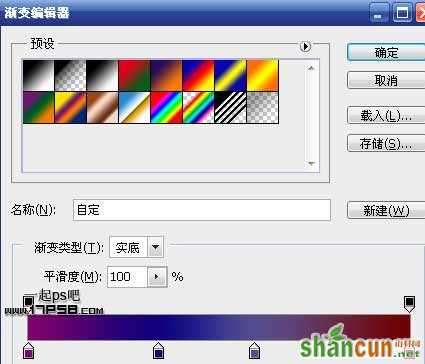
4、垂直方向渐变,图层模式叠加。

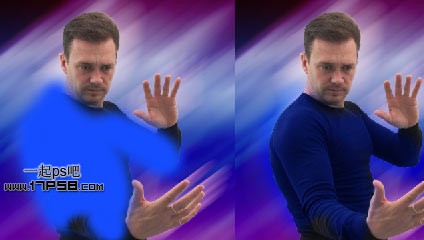
5、把帅哥拖入文档中,适当缩放,ctrl+J复制一层,滤镜>模糊>动感模糊,图层模式滤色,把此层挪到底部,产生一种速度感。

6、再复制一层,增强动感。

7、建新层,用蓝色柔角画笔涂抹,图层模式柔光。
8、新建文档400x400像素,滤镜>渲染>云彩,画一正圆选区。
9、Ctrl+J复制一层,隐藏背景。滤镜>液化,选择膨胀工具,设置和球体一样大的笔刷,在球体上点几下。
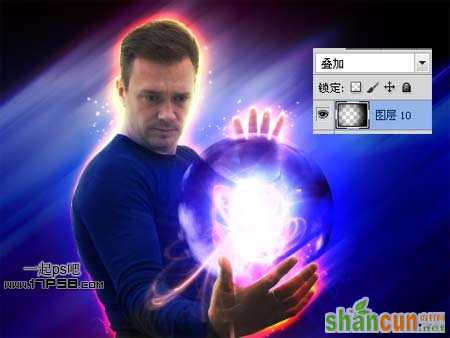
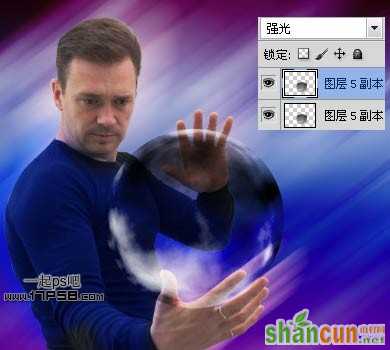
10、将光球拖入文档中,大小位置如下。图层模式强光,ctrl+J复制一层。
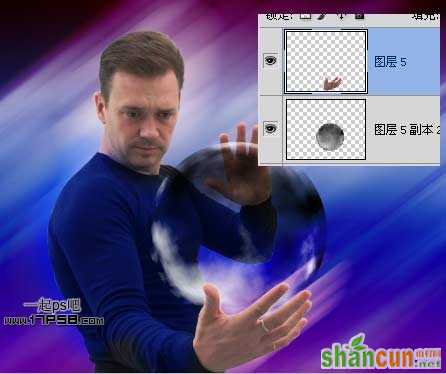
11、我们看到帅哥的右手被光球挡住了,选择帅哥图层,把手选出,ctrl+J把得到的层挪到图层顶部。
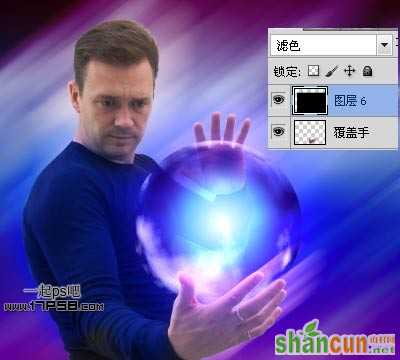
12、建新层,填充黑色,添加图层样式。
13、把光点挪到能量球中心,图层模式滤色,效果如下。
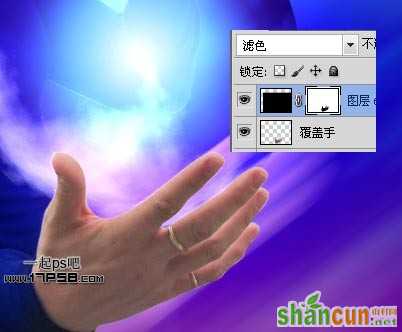
14、由于上一步骤的图层模式,帅哥的右手又被影响了,添加蒙版,调出手的选区,填充黑色即可。
15、选择覆盖手层,ctrl+J复制一层,挪到图层最顶部,滤镜>风格化>照亮边缘。
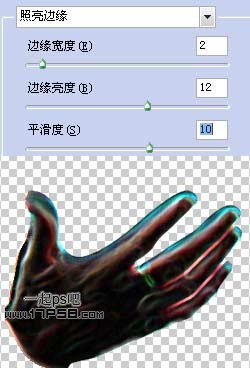
16、图层模式滤色,效果如下。
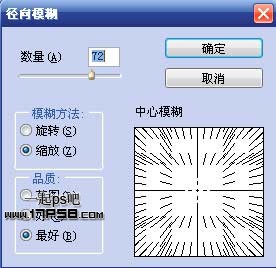
17、滤镜>模糊>径向模糊。
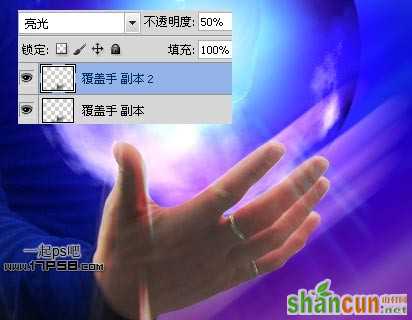
18、图层模式亮光,不透明度50%。
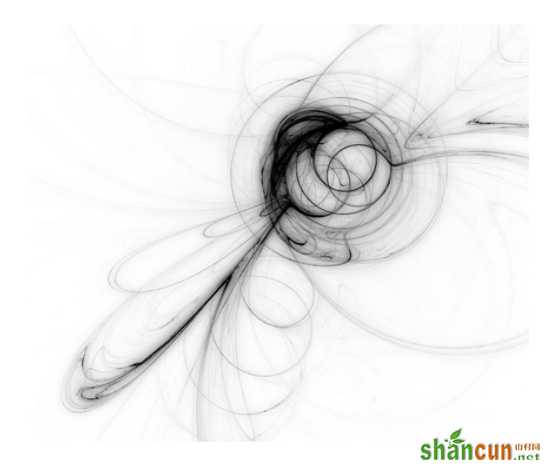
19、定义下面的光效笔刷,各自建新层点一下,添加外发光图层样式,用蒙版删除多余部分。

19、定义下面的光效笔刷,各自建新层点一下,添加外发光图层样式,用蒙版删除多余部分。


20、选择帅哥层,添加外发光图层样式。
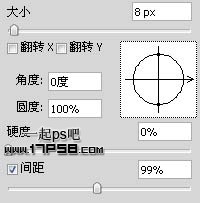
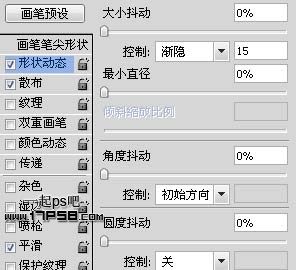
21、选择画笔工具,设置。
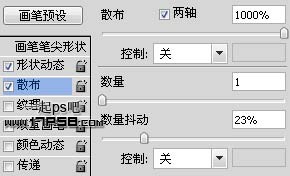
22、建新层,前景色白色画一些光点。图层模式叠加。
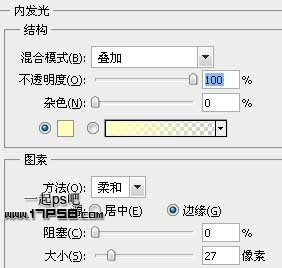
23、再次选择帅哥,添加内发光。
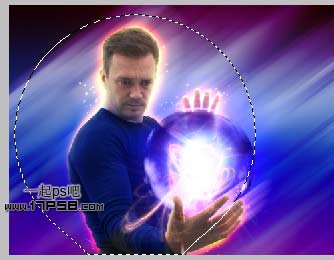
24、顶部建新层,画一正圆选区,反选,羽化80像素,填充黑色,图层模式叠加。
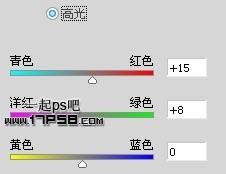
25、最后顶部添加色彩平衡调整层。
把帅哥左手也添加上动感光效,方法同上,完成最终效果。


