
原图

最终效果图

第一步:启动打开Photoshop软件,打开 我们需要制作的图片,如图

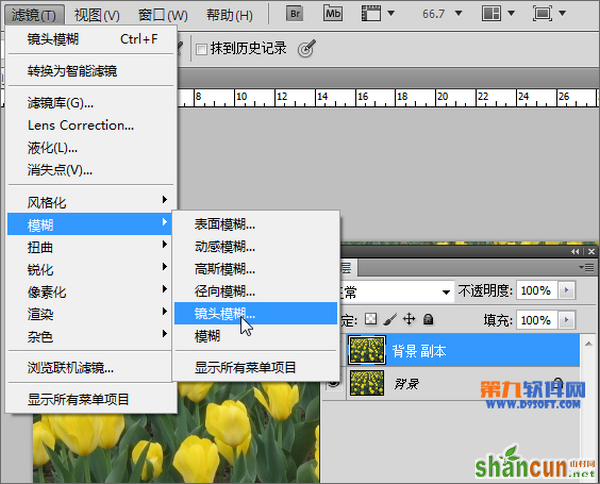
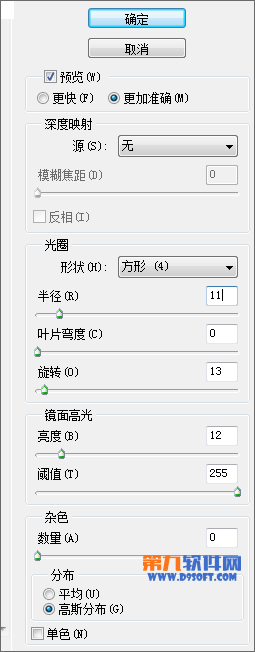
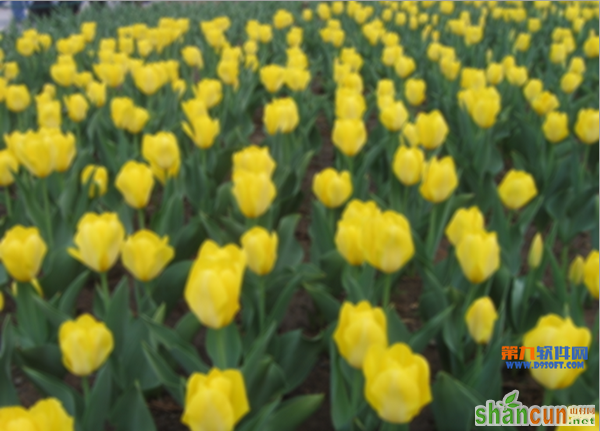
第二步:复制图层为背景副本图层,选择副本执行【滤镜——模糊——镜头模糊】,设置如图参数,得到如图模糊的效果
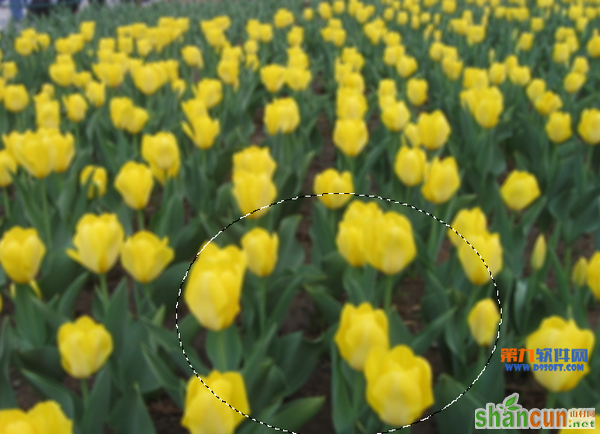
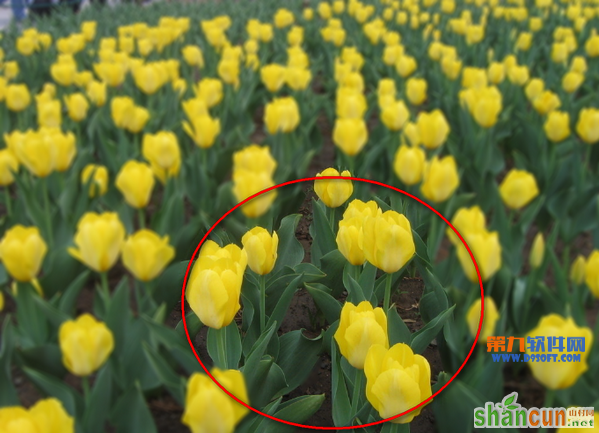
第三步:我们使用椭圆框选工具,选出我们需要镜头清晰的部分,使用橡皮擦将其擦除
这时我们可以看出效果已经出来啦!是不是很简单呢,相信你一定也能做出来啦。
原图
最终效果图
第一步:启动打开Photoshop软件,打开 我们需要制作的图片,如图
第二步:复制图层为背景副本图层,选择副本执行【滤镜——模糊——镜头模糊】,设置如图参数,得到如图模糊的效果
第三步:我们使用椭圆框选工具,选出我们需要镜头清晰的部分,使用橡皮擦将其擦除
这时我们可以看出效果已经出来啦!是不是很简单呢,相信你一定也能做出来啦。

手机看新闻


网站客服
法定工作日
8:30-17:30
微信扫描关注


