

首先打开两个文件,如下图

a

b
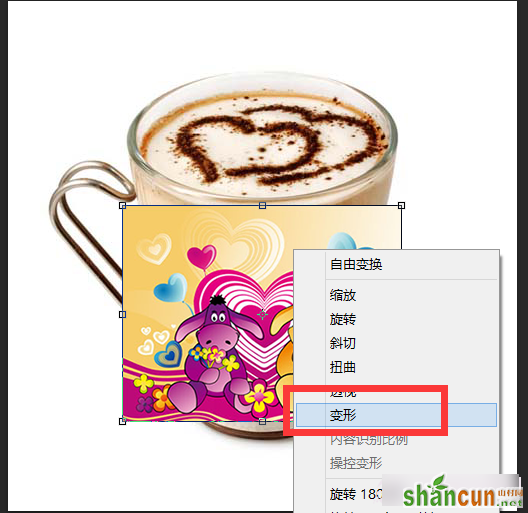
一、使用“移动工具”将卡通图像拖到咖啡文档中。按下“ctrl+t”快捷键显示定界框,在图像上单击右键,在打开的快捷菜单中选择“变形”命令,如图1所示,显示变形网格,如图2。
1

2
二、将4个角上的锚点拖到杯体边缘,使之与边缘对其,如下图

三、拖动左侧两个锚点上的方向点,使图片向内收缩,如图4,拖动右边两个锚点,的方向点,使右侧图片也向内收缩如图5,但要注意的是,要让图片覆盖住被子,不要空隙。(大家可以把图放大后在调整)

4

5
四、按回车确认变形操作

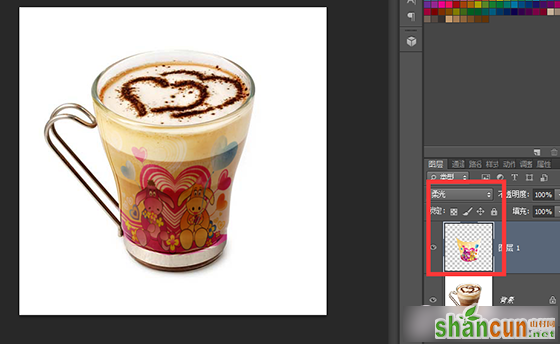
五、打开“图层”面板,将“图层1”混合模式设置为“柔光”,是贴图更加真实,如下图
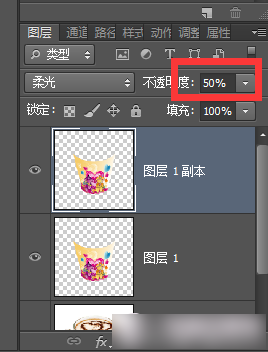
六、按下“ctrl+j”快捷键复制图层,是贴纸更加清晰,将图层不透明度调整为50%,如下图
七、保存PS看效果图,如下图所示。


