
最终效果图:

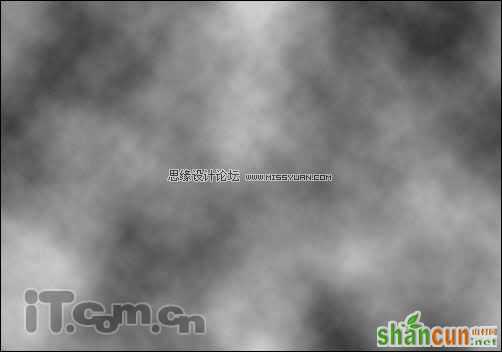
1、首先创建一个新文档,选择滤镜—渲染—云彩命令,然后不断按Ctrl+F重复执行云彩命令,直到黑白均匀为止,如图所示。
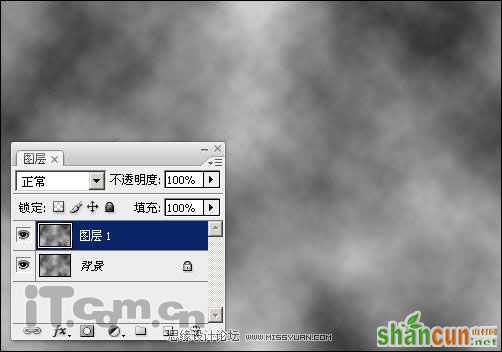
2、按下Ctrl+J复制出图层1,如图所示。
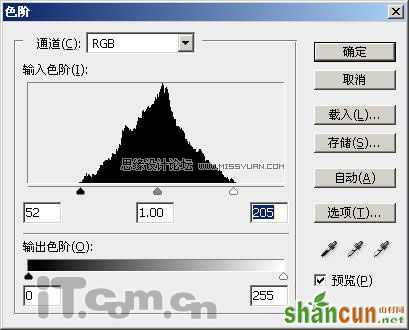
3、选择图像—调整——色阶,接近高光和阴影两个调整点的距离,如图所示。
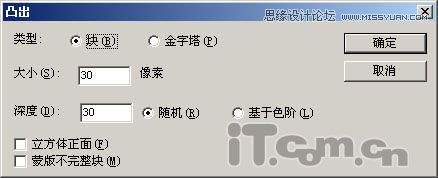
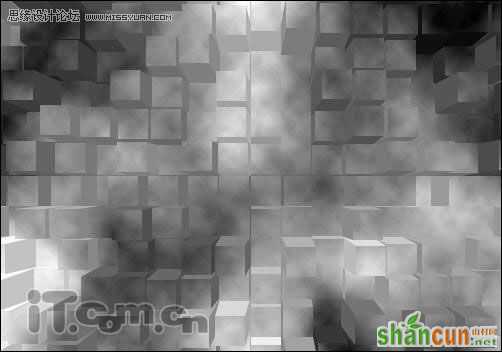
4、选择滤镜—风格化—凸出,设置大小和深度的数值,如图所示。用户可以根据实际情况设定参数的大小。
效果图:
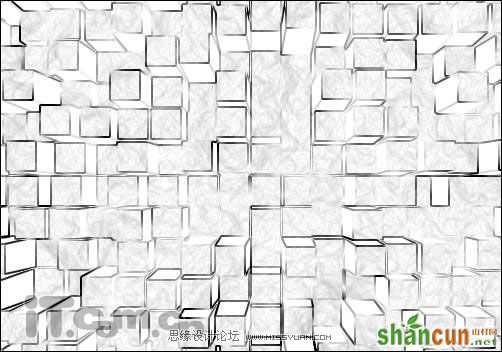
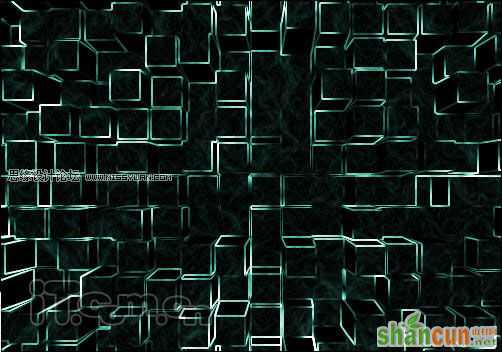
5、选择滤镜—风格化—查找边沿命令,如图所示。
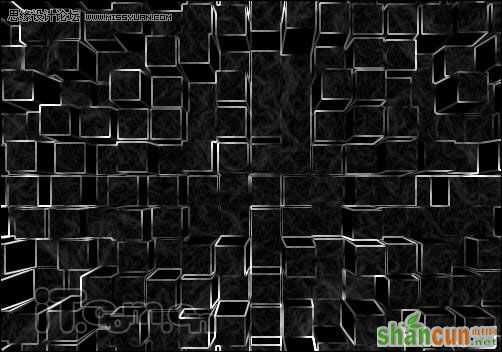
6,选择图像—调整—反相命令,或按下Ctrl+I快捷键进行反相,效果如图所示。
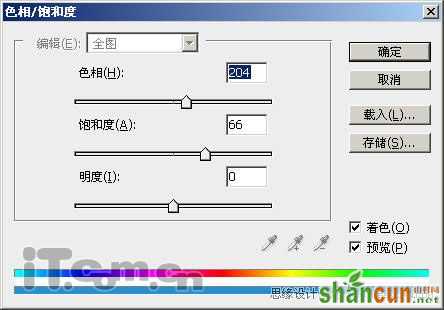
7、选择图像—调整—色相/饱和度命令,勾选择着色复选框,调整色相、饱和度进行上色,如图所示。
8、复制出图层1副本,然后再使用色相/饱和度上色,如图所示。
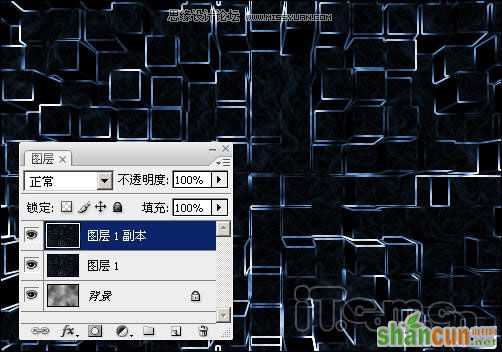
9、使用橡皮擦工具擦除图层1副本上的部分内容,如图所示。
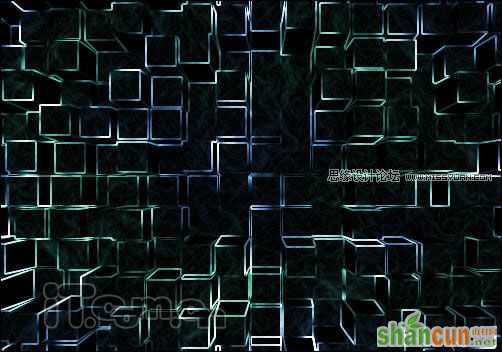
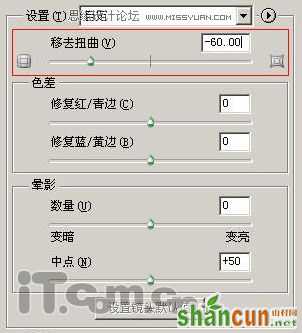
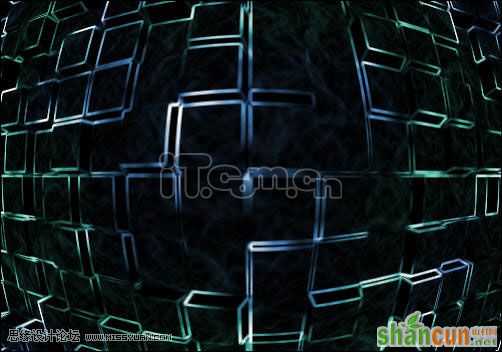
10、按下Ctrl+E向下合并图层,然后选择滤镜—扭曲—镜头校正,设置移去扭曲的参数为负值,具体参数可以根据实际情况而定,如图所示。
效果图:
11、加强图片颜色的饱和度,如图所示。
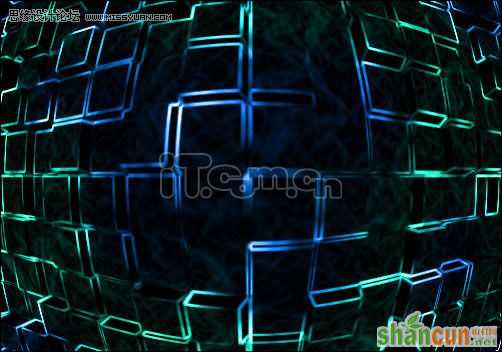
最后加上文字或其它素材即可,如图所示。


