
教程中的文字效果主要分为两个大的过程:首先需要用滤镜等给文字加上放射效果;然后用渐变或色彩叠加给整体加上色彩即可。
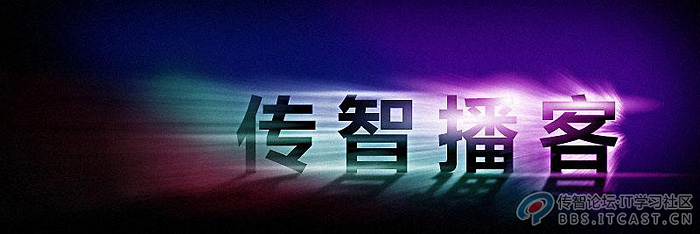
最终效果

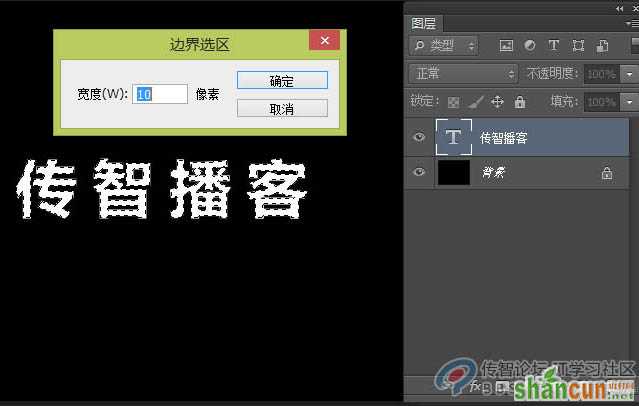
1、新建文件输入文本,如图。

2、按ctrl键点击文字图层小窗口,调出选区,点击菜单选择---修改---边界如图。
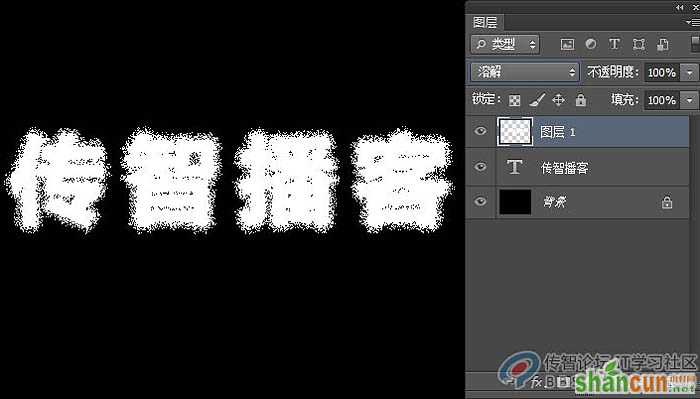
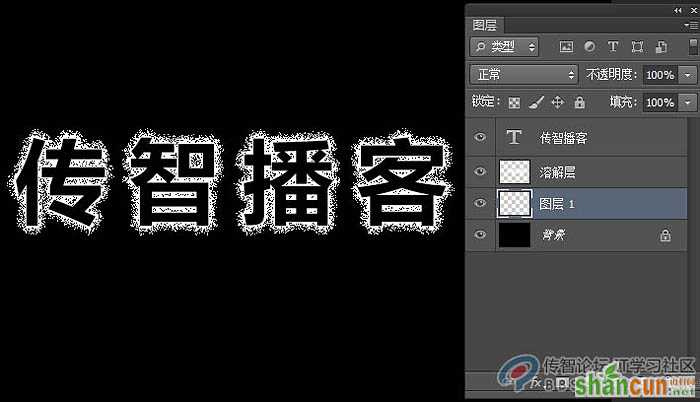
3、新建图层填充白色,将图层模式改成溶解。
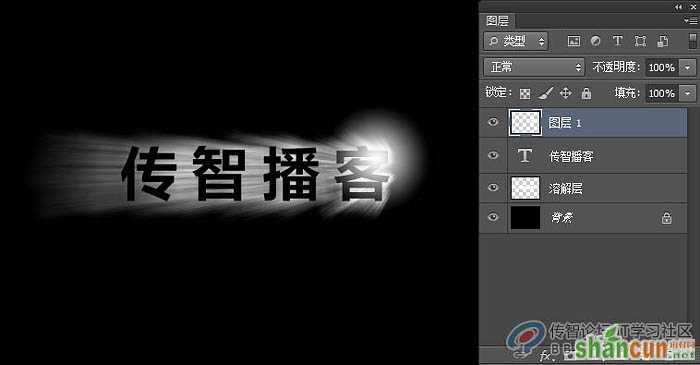
4、将文字图层移到顶层,改成黑色如图。
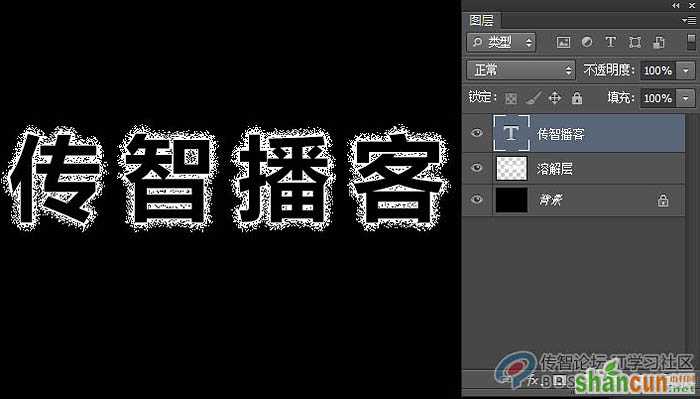
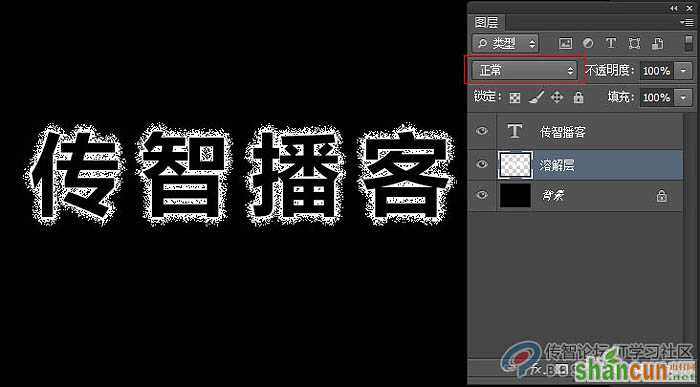
5、新建图层放置溶解层下层,然后ctrl+E进行合并(目的,让溶解层变成正常图层)。
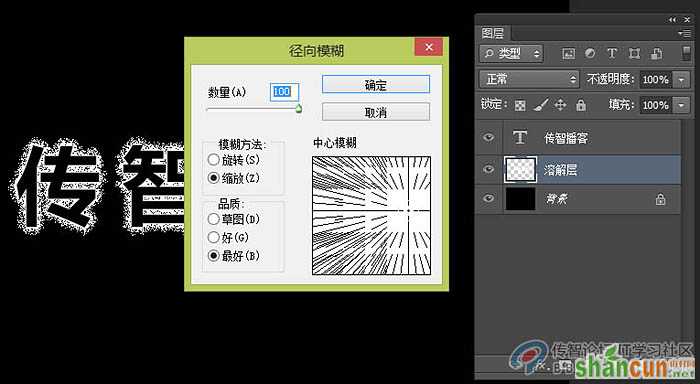
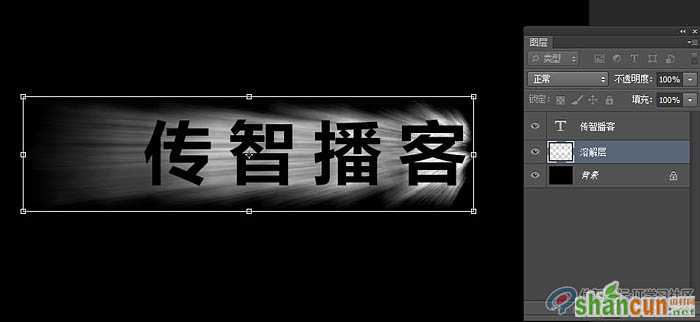
6、选择溶解层,点击滤镜--模糊--径向模糊,ctrl+t自由变换在调整一下。如图。
7、新建图层,绘制选区填充径向渐变,如图。
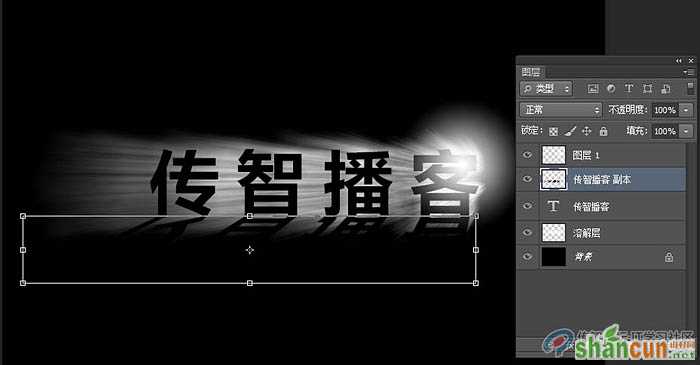
8、文字从新复制一层,栅格化,ctrl+T自由变换,调出透视如图。
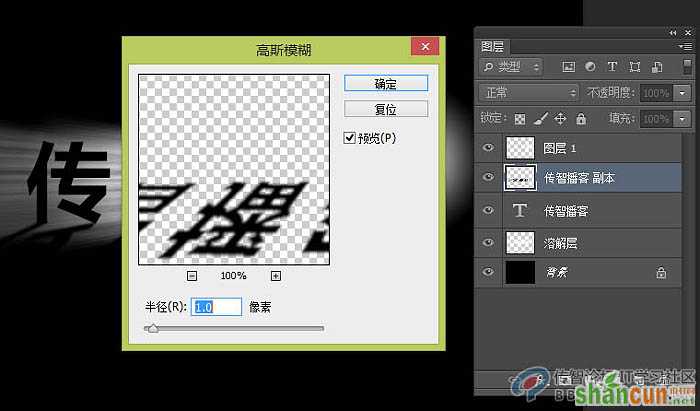
9、点击滤镜模糊高斯模糊,设置如图。
10、选择文字图层,打开图层样式,混合颜色带,做出透光效果,设置如图。

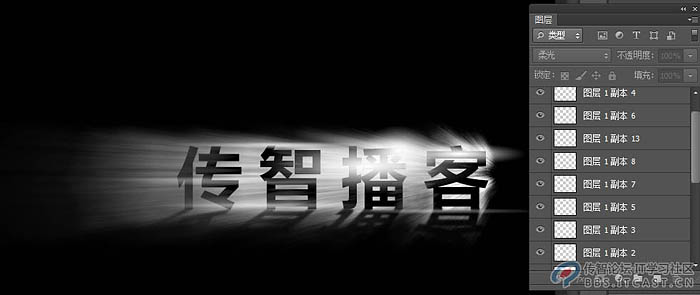
11、将圆形进行压缩,多复制些,让光更强烈些。如图。
12、在背景层上新建图层,用画笔绘制出如图蓝色背景,(画笔最好用边缘比较圆滑的)。
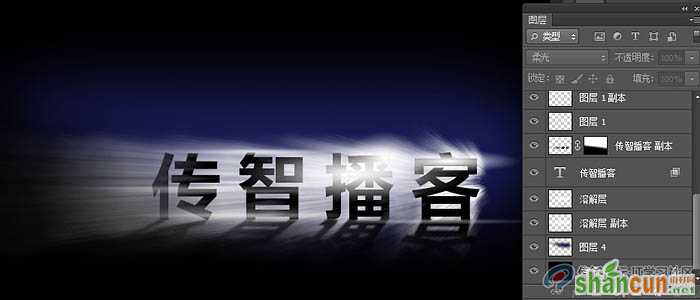
13、在最上层新建图层,用画笔绘制如图,(这个的目的是通过图层混合模式来调出文字的质感)。
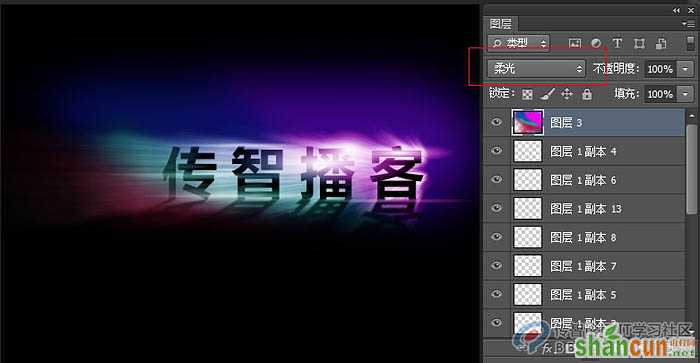
14、将图层模式改成柔光如图。
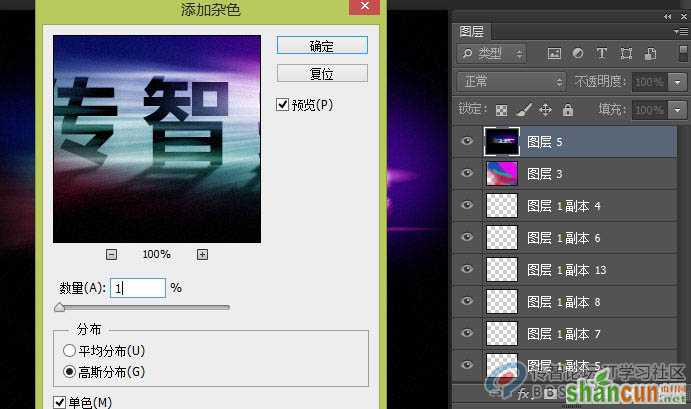
15、三键+E盖印一层,点击菜单滤镜--杂色--添加杂色。如图。
16、点击菜单--滤镜--锐化--锐化边缘,如图。

也可以给文字换颜色哦。
注:更多精彩教程请关注山村photoshop教程栏目,山村PS群:339853166欢迎你的加入


