
电路背景看上去是非常复杂的,不过用滤镜来制作却不是很复杂。先把一些纹理处理成网格效果,然后用查找边缘等滤镜加强网络的边缘线条,后期细化一下线条,调整一下颜色即可。
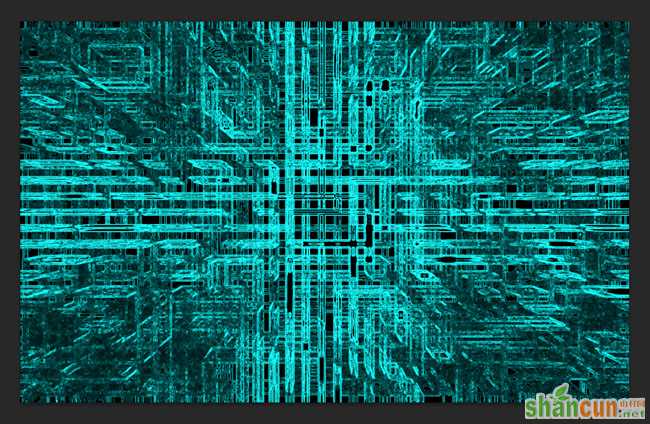
最终效果

<点小图查看大图>


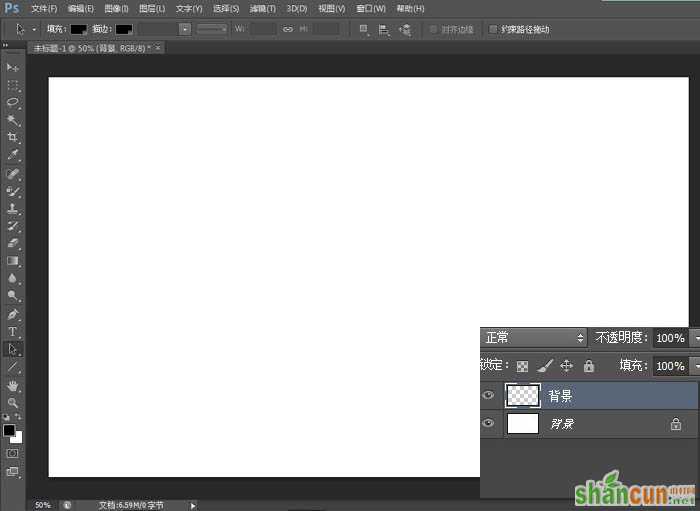
1、创建大小为1920*1200像素的空白背景,前景色为白色,分辨率为72 dpi ,快捷键“D”设置前景色与背景色分别为黑色与白色,新建一个图层,命名为“背景”。
2、现在我们要利用滤镜来完成我们的背景咯,童鞋们按照步骤来,→ 滤镜 → 渲染 → 云彩。
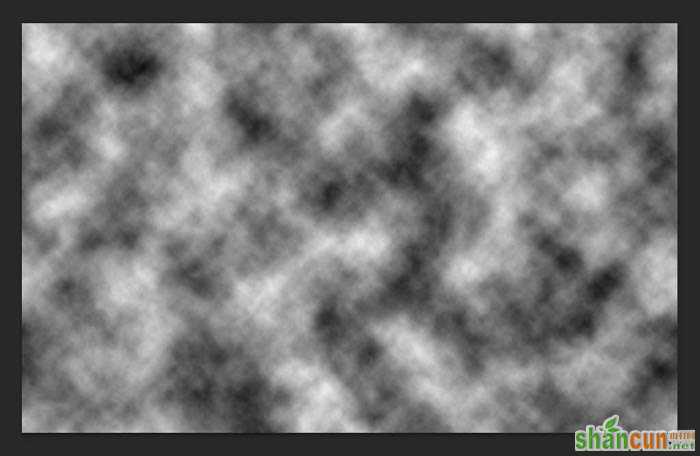
3、这一步更简单,→ 滤镜 → 像素化 → 马赛克,参数就这样。

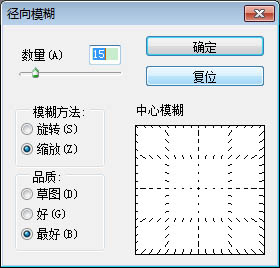
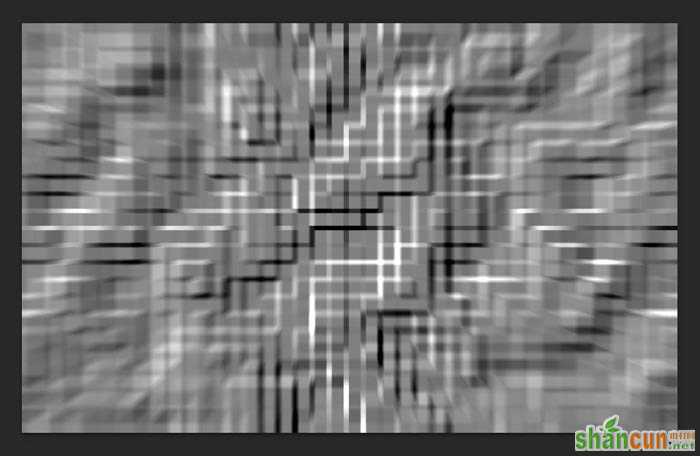
4、滤镜 → 模糊 → 径向模糊,参数设置如下。

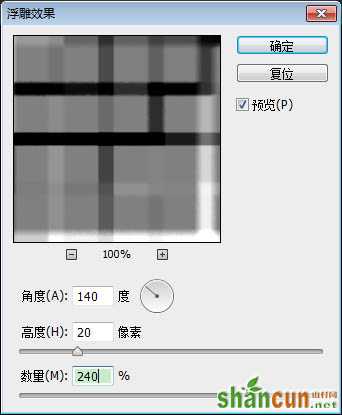
5、好棒,你做到这一步了!快成型了对吗?恩,没错,滤镜 → 风格化 → 浮雕效果,跟着我,这样来设置参数。
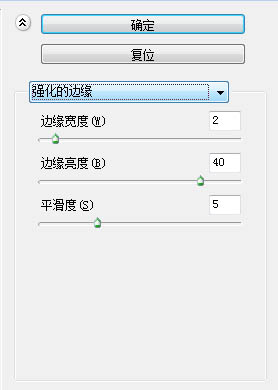
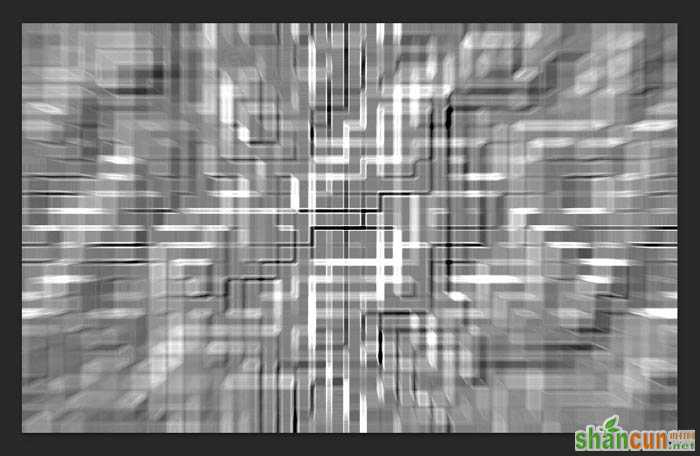
6、滤镜 → 滤镜库 → 画笔描边 → 强化边缘,参数设置。
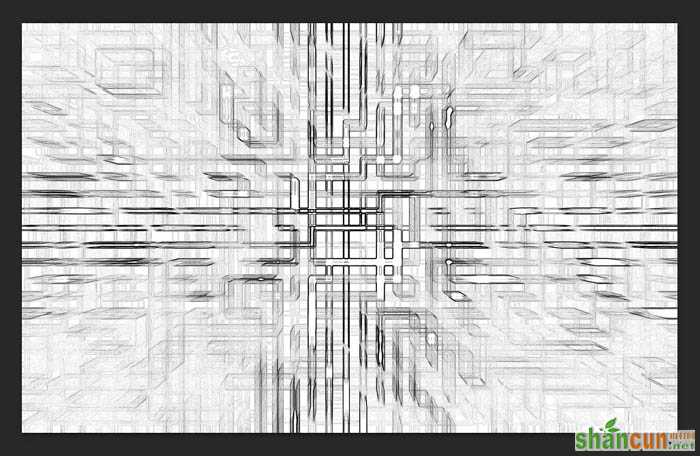
7、风格化 → 查找边缘。
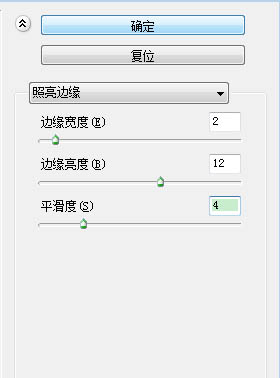
8、最后一个滤镜咯,→ 滤镜库 → 风格化,照亮边缘,参数看图不说话。
9、图像,调整,色相/饱和度,参数在这儿。
10、们需要把它修改得锐利一点,滤镜 → 模糊 → 表面模糊,参数如下。

最终效果:


