
原图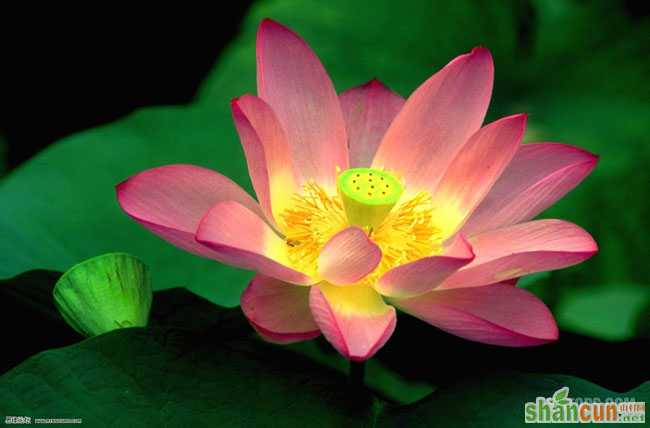 nmousewheel="return bbimg(this)" onload="javascript:resizepic(this)" border="0"/>
最终效果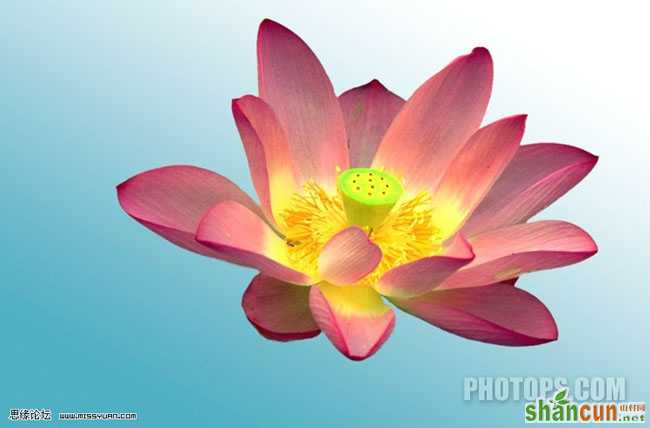 nmousewheel="return bbimg(this)" onload="javascript:resizepic(this)" border="0"/>
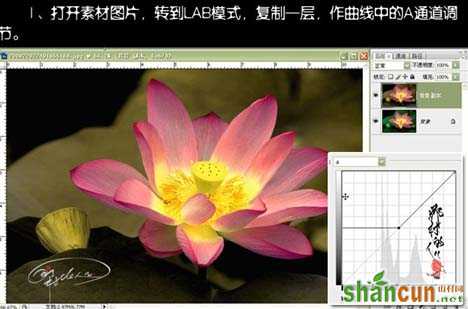
1、打开原图素材,选择菜单:图像 > 模式 > Lab颜色,然后把背景图层复制一层,按Ctrl + M调整曲线,选择a通道,参数设置如下图。
 nmousewheel="return bbimg(this)" onload="javascript:resizepic(this)" border="0"/>
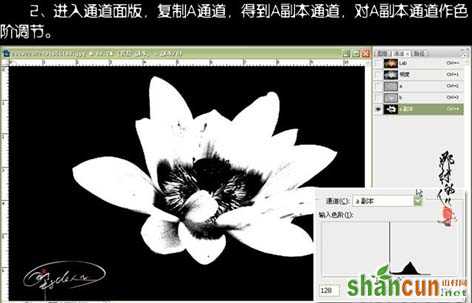
2、进入通道面板,把a通道复制一层,得到a副本通道,然后对a副本通按Ctrl + L调整色阶,参数设置如下图。
 nmousewheel="return bbimg(this)" onload="javascript:resizepic(this)" border="0"/>
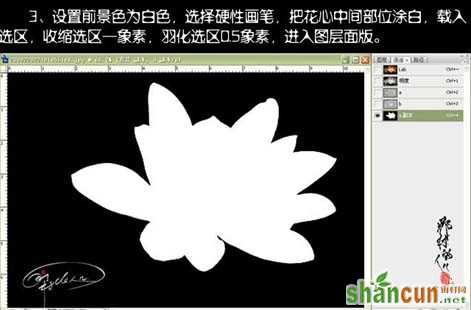
3、把前景颜色设置为白色,选择硬性画笔,把花心中间部分涂白,载入选区,选择菜单:选择 > 修改 > 收缩,数值为1,按Ctrl + Alt + D羽化,数值为0.5,然后点图层面板。
 nmousewheel="return bbimg(this)" onload="javascript:resizepic(this)" border="0"/>
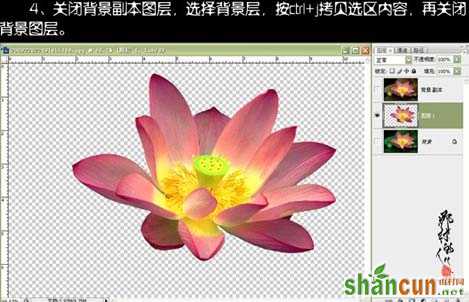
4、关闭背景副本图层,选择背景图层,按Ctrl + J把选区部分复制到新的图层,然后关闭背景图层。
 nmousewheel="return bbimg(this)" onload="javascript:resizepic(this)" border="0"/>
5、在花图层下方加上自己喜爱的背景,3lian.com,完成最终效果。
nmousewheel="return bbimg(this)" onload="javascript:resizepic(this)" border="0"/>


