 nmousewheel="return bbimg(this)" onload="javascript:resizepic(this)" border="0"/>
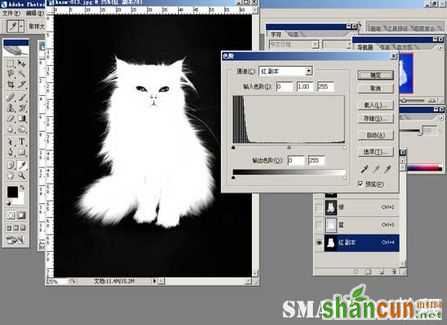
图39
2、用画笔把整个猫身内部涂白。
 nmousewheel="return bbimg(this)" onload="javascript:resizepic(this)" border="0"/>
图40
3、按住Ctrl单击红色通道,得到选区。适当调整选区范围,可利用选择/扩大选取或选择/修改/扩边。
 nmousewheel="return bbimg(this)" onload="javascript:resizepic(this)" border="0"/>
图41
4、Ctrl+J,得到图层1,这就是我们想要的图像。
 nmousewheel="return bbimg(this)" onload="javascript:resizepic(this)" border="0"/>
图425、同样进行颜色替换调节一下。
 nmousewheel="return bbimg(this)" onload="javascript:resizepic(this)" border="0"/>
图43
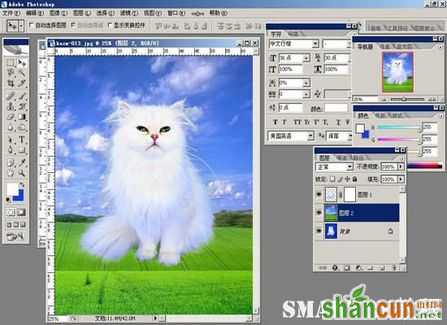
6、拖入背景图片,进行观察调整。
 nmousewheel="return bbimg(this)" onload="javascript:resizepic(this)" border="0"/>
图44
7、把背景图片放到下一层,再进行细部调整。
 nmousewheel="return bbimg(this)" onload="javascript:resizepic(this)" border="0"/>
图45
8、通过调整后得到的最终效果图:
 nmousewheel="return bbimg(this)" onload="javascript:resizepic(this)" border="0"/>
图46
9、提示一下,还可以运用计算来抠图,原理是一样的。3lian素材,方法还很多,不再一一细讲了,自己去体验一下。
学习重点:
1、抽出
2、通道
3、蒙版
4、历史记录画笔工具
扩展思维:
方法还很多,但根本原理是相同的,都是利用色彩的反差进行调节。在实际抠图中,我们可以采取更加细致的范围抠图,比如,作不同的选区调整,以达到更加完美的抠图效果。


