一、通道抠图photoshop教程
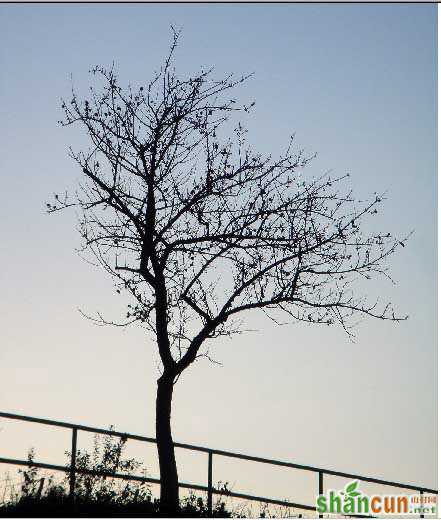
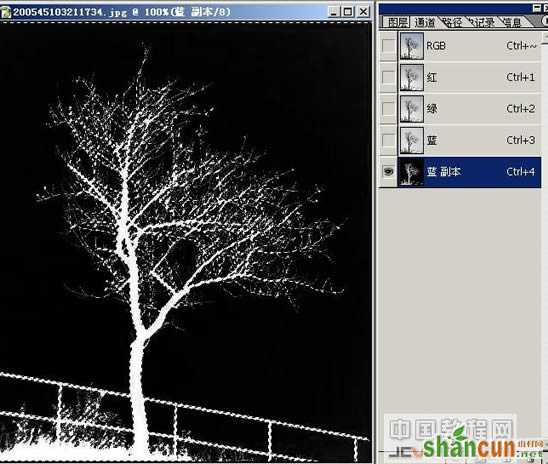
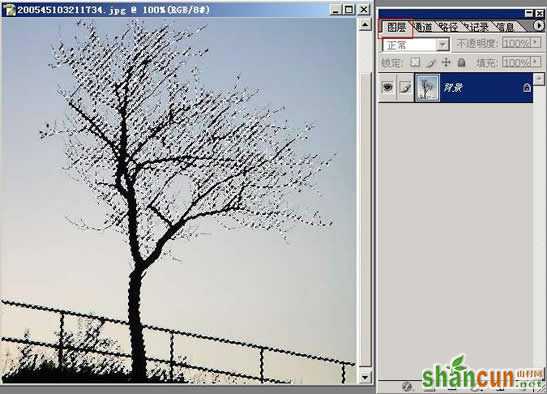
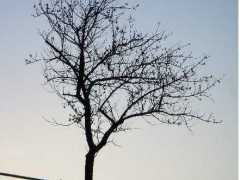
1.打开图片,进入通道

2.复制蓝色图层
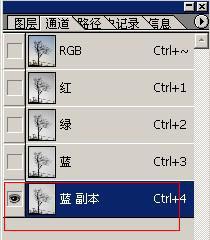
3.得到蓝副本点ctrl+i反向.ctrl+l,调整色阶如图:
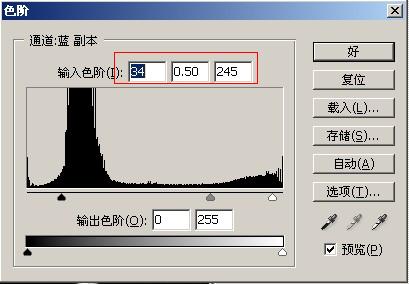
4.点载入选区
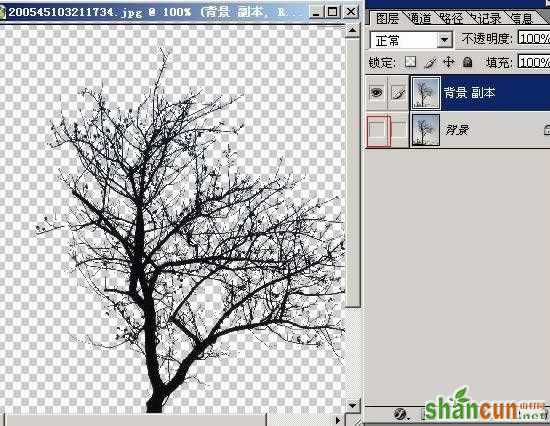
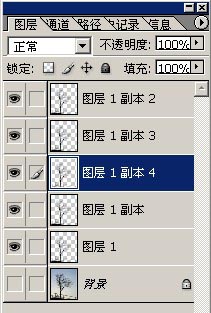
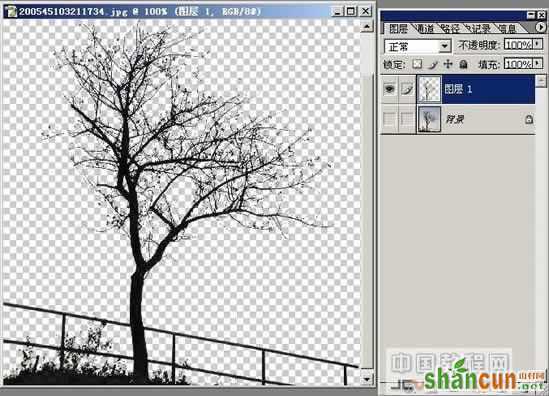
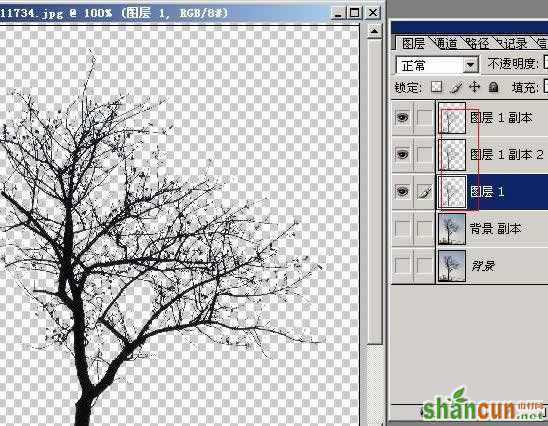
5.回到图层,点ctrl+j抠出

6.图像有点模糊.复制抠出的图层
二、色彩范围抠图
1.进入通道,复制蓝色图层
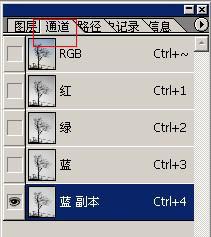
2.得到蓝副本点ctrl+i反向,选择,色彩范围
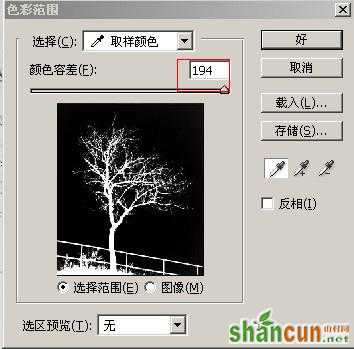
3.回到图层点ctrl+j抠出
三、通道计算抠图
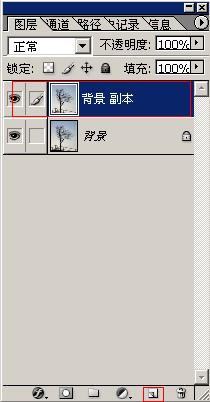
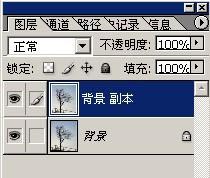
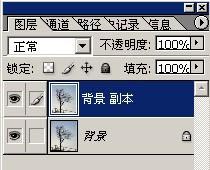
1.复制一份新图层
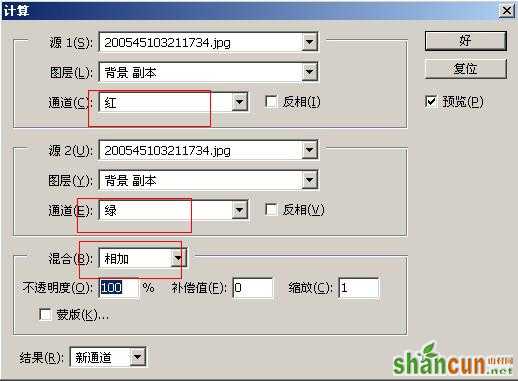
2.图像,计算:红+绿
3.得到alpha,选中Alpha通道,ctrl+I(反相),载入alpha通道
4:ctrl+J抠出图像,抠出的图有点模糊复制几份
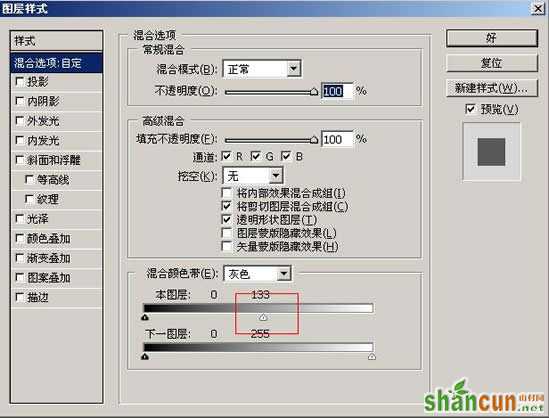
四、图层样式抠图
1:复制层
2:选择图层样式
3:调整如图
4:隐藏背景层的眼睛。