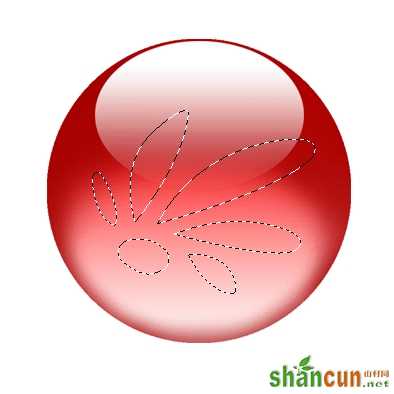
最终效果图 nmousewheel="return bbimg(this)" onload="javascript:resizepic(this)" border="0"/>
1.新建文件,宽、高都为5,单位cm,分辨率200,模式为RGB,白色背景。
 nmousewheel="return bbimg(this)" onload="javascript:resizepic(this)" border="0"/>
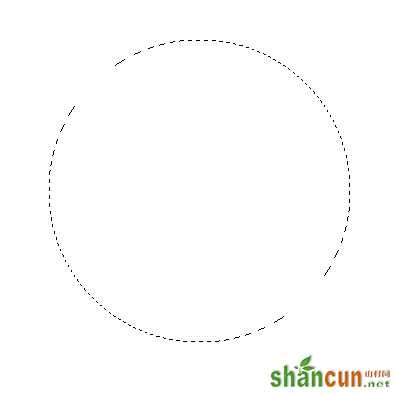
2.用圆形选框工具画出圆形选框,在选区内点鼠标右键,选“通过拷贝的图层”项(图层1)。
 nmousewheel="return bbimg(this)" onload="javascript:resizepic(this)" border="0"/>
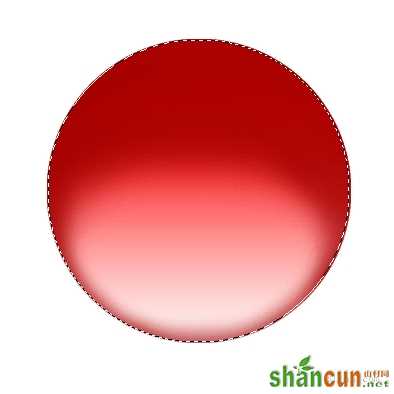
3.新建图层(图层2),使用渐变工具,设置成“前景色到透明渐变”,前景色设置为R:255,拉出如图渐变。
 nmousewheel="return bbimg(this)" onload="javascript:resizepic(this)" border="0"/>
4.新建图层(图层3),在新图层上用喷笔画出阴影(也可填充颜色,然后用椭圆选区羽化后删除,但是那样效果没有用喷笔来得自然好看,小魔星就不在此赘述:P)
 nmousewheel="return bbimg(this)" onload="javascript:resizepic(this)" border="0"/>
5.新建图层(图层4),在新图层上画出椭圆选区。
 nmousewheel="return bbimg(this)" onload="javascript:resizepic(this)" border="0"/>
6.在图层4上使用渐变工具,前景色设置为R:255;G:255;B:255。
 nmousewheel="return bbimg(this)" onload="javascript:resizepic(this)" border="0"/>
7.新建图层(图层5),使用钢笔工具任意画一个图形。
 nmousewheel="return bbimg(this)" onload="javascript:resizepic(this)" border="0"/>
8.在路径工作区中点选“将路径作为选区载入”,3lian素材,将钢笔路径转换成选区。
 nmousewheel="return bbimg(this)" onload="javascript:resizepic(this)" border="0"/>
 nmousewheel="return bbimg(this)" onload="javascript:resizepic(this)" border="0"/>
9.填充前景色。
 nmousewheel="return bbimg(this)" onload="javascript:resizepic(this)" border="0"/>
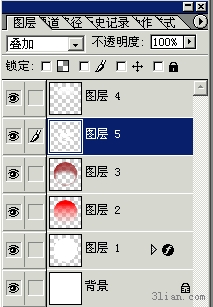
10.将图层5拉至图层4之下。
 nmousewheel="return bbimg(this)" onload="javascript:resizepic(this)" border="0"/>
11.图层属性设置为“叠加”。
 nmousewheel="return bbimg(this)" onload="javascript:resizepic(this)" border="0"/>
 nmousewheel="return bbimg(this)" onload="javascript:resizepic(this)" border="0"/>
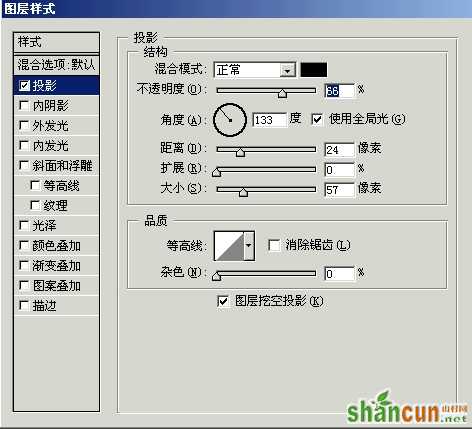
12.把工作区换到图层1(通过拷贝的白色圆形),双击图层,跳出图层样式框,参数设置如图。
 nmousewheel="return bbimg(this)" onload="javascript:resizepic(this)" border="0"/>
13.现在就是大功告成拉~~哈哈哈~~~如果想再做其他颜色的水晶按钮不必再一个个重复做~只要点ctrl+U调整色相就OK了:)
 nmousewheel="return bbimg(this)" onload="javascript:resizepic(this)" border="0"/>


