
Photoshop CS4制作《红楼梦》封面效果
大家都知道《红楼梦》是我国古代四大名著之一,文学经典作品;现在与大家用Photoshop CS4为《红楼梦》作封面设计。
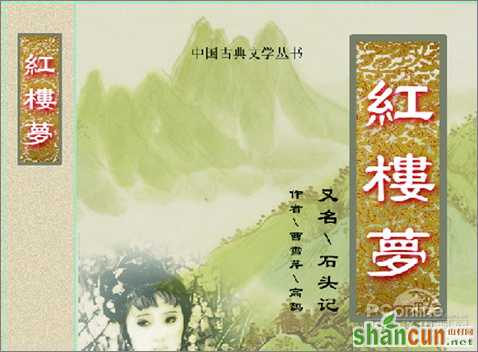
看看一下效果图:
 nmousewheel="return bbimg(this)" onload="javascript:resizepic(this)" border="0"/>
立体效果图
 nmousewheel="return bbimg(this)" onload="javascript:resizepic(this)" border="0"/>
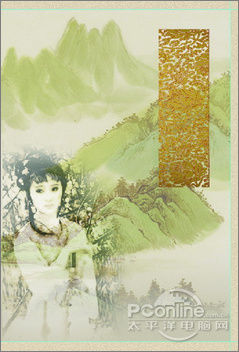
平面效果图
 nmousewheel="return bbimg(this)" onload="javascript:resizepic(this)" border="0"/>
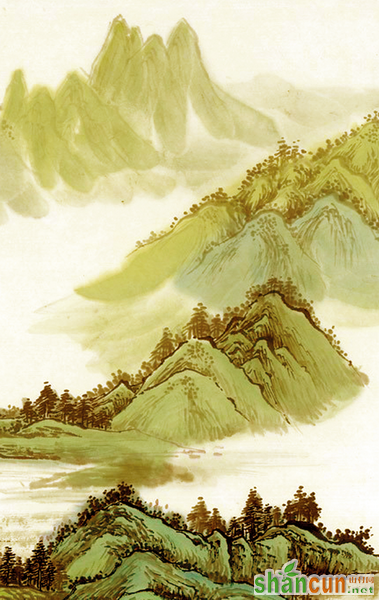
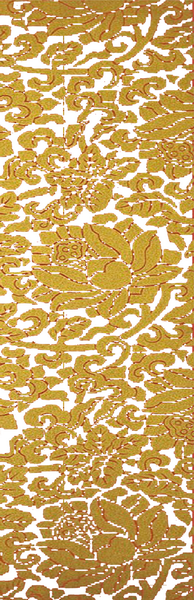
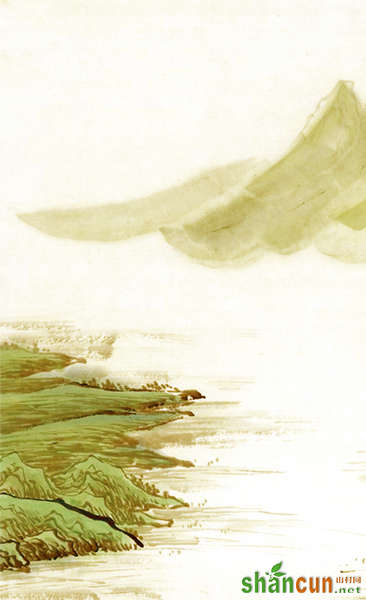
素材1
 nmousewheel="return bbimg(this)" onload="javascript:resizepic(this)" border="0"/>
 nmousewheel="return bbimg(this)" onload="javascript:resizepic(this)" border="0"/>
素材1
 nmousewheel="return bbimg(this)" onload="javascript:resizepic(this)" border="0"/>
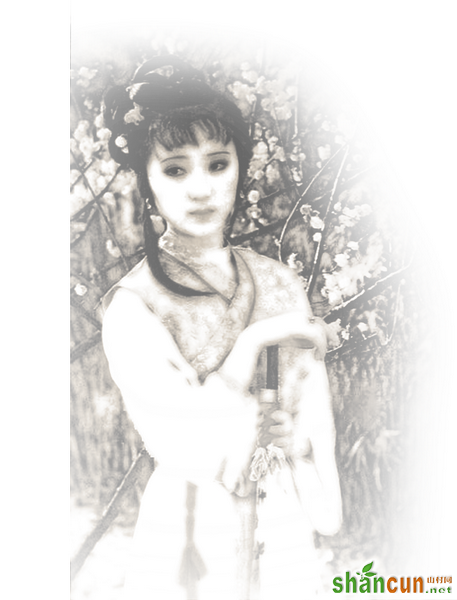
素材1
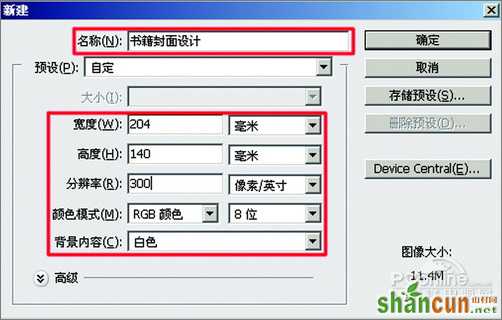
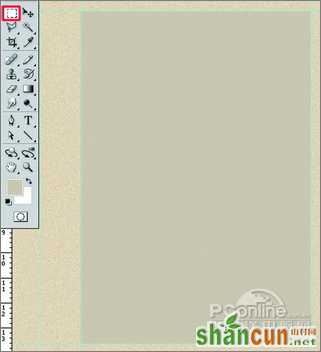
1、打开Photoshop CS4软件,执行菜单:“文件”/“新建”(快捷键Ctrl+N),弹出的新建对话框,名称:书籍封面设计,宽度:204毫米,高度:140毫米,分辨率: 300像素/英寸,颜色模式:RGB颜色、8位,背景内容:白色,设置完毕后单击“确定”按钮,如图1所示。
nmousewheel="return bbimg(this)" onload="javascript:resizepic(this)" border="0"/>
图1
2、按组合键Ctrl+R显示出标尺,选择工具箱的移动工具,在标尺边缘拖出辅助线,如图2所示。
 nmousewheel="return bbimg(this)" onload="javascript:resizepic(this)" border="0"/>
图2
3、把前景色设置为黄色(#e5d7bc),按组合键Alt+Delere,填充颜色,如图3所示。
nmousewheel="return bbimg(this)" onload="javascript:resizepic(this)" border="0"/>
图3
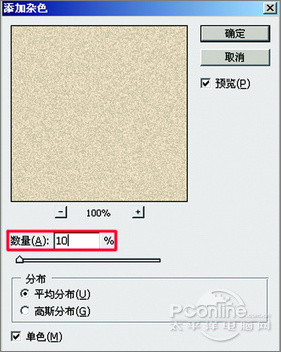
4、执行菜单:“滤镜”/“杂色”/“添加杂色”,弹出“添色杂色”对话框,设置数量为10%,分布:平均分布,单色,如图4所示。
 nmousewheel="return bbimg(this)" onload="javascript:resizepic(this)" border="0"/>
图4
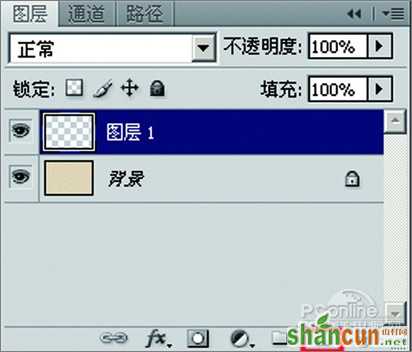
5、单击图层面板下方的创建新图层按钮,新建“图层1”,如图5所示;选择工具箱矩形选框工具,在页面右部画出矩形,前景色设置为:#d2c7b2,按组合键Alt+Delete,填充颜色,再按Ctrl+D键,取消选区,如图6所示。
 nmousewheel="return bbimg(this)" onload="javascript:resizepic(this)" border="0"/>
图5
 nmousewheel="return bbimg(this)" onload="javascript:resizepic(this)" border="0"/>
图6
6、执行菜单:“文件”/“置入”,弹出置入话框,置入:“封面设计素材01.png”,调好位置,按Enter键,再执行菜单:“图层”/“栅格化”/“图层”,如图7所示。
 nmousewheel="return bbimg(this)" onload="javascript:resizepic(this)" border="0"/>
图7
7、在图层面板上把“书籍封面设计素材01”的图层的不透明度设置为:50%,如图8所示。
 nmousewheel="return bbimg(this)" onload="javascript:resizepic(this)" border="0"/>
图8
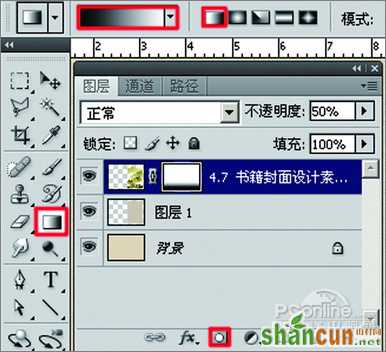
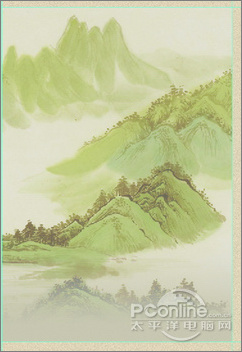
8、选择“书籍封面设计素材01”的图层,单击图层面板下方的添加图层蒙板按钮,添加图层蒙板,再选择工具箱的渐变工具,在工具选项栏上选择选择“黑,白渐变”样式和线性渐变,然后在页面拖曳渐变,如图9所示;得到效果如图10所示。
 nmousewheel="return bbimg(this)" onload="javascript:resizepic(this)" border="0"/>
图9
 nmousewheel="return bbimg(this)" onload="javascript:resizepic(this)" border="0"/>
图10
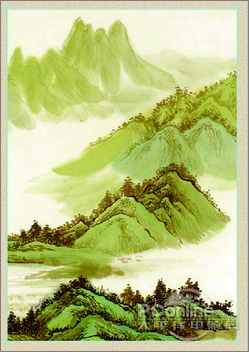
9、执行菜单:“文件”/“置入”,弹出置入话框,置入:“封面设计素材02.png”,调好位置,按Enter键,再执行菜单:“图层”/“栅格化”/“图层”,如图11所示。
 nmousewheel="return bbimg(this)" onload="javascript:resizepic(this)" border="0"/>
图11
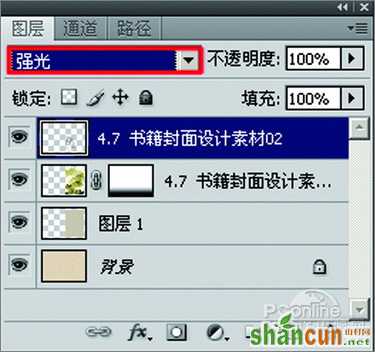
10、在图层面板上把“封面设计素材02.png”的图层的混合模式设置为“强光”,如图12所示。
 nmousewheel="return bbimg(this)" onload="javascript:resizepic(this)" border="0"/>
图12
11、执行菜单:“文件”/“置入”,弹出置入话框,置入:“封面设计素材03.png”,调好位置,按Enter键,再执行菜单:“图层”/“栅格化”/“图层”,如图13所示。
nmousewheel="return bbimg(this)" onload="javascript:resizepic(this)" border="0"/>
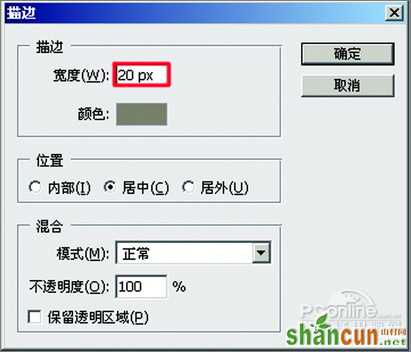
图13 12、选择工具箱中的矩形选框工具,在页面的“封面设计素材03”图层画出同一样大小矩形,执行菜单:“文件”/“编辑”/“描边”,弹出“描边”的对话框,设置宽度为:20px,颜色设置为:#8a7f6d,设置完毕后单击“确定”按钮,如图14所示。得到效果如图15所示。
 nmousewheel="return bbimg(this)" onload="javascript:resizepic(this)" border="0"/>
图14
 nmousewheel="return bbimg(this)" onload="javascript:resizepic(this)" border="0"/>
图15
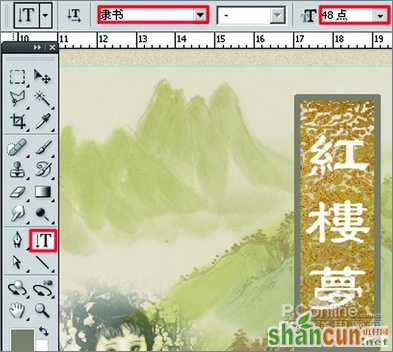
13、选择工具箱中的直排文字工具,输入:紅樓夢,设置字体为:隶书,大小为:48点,颜色为:白色,如图16所示。
nmousewheel="return bbimg(this)" onload="javascript:resizepic(this)" border="0"/>
图16
14、右键点击文字图层,选择右键菜单中的“混合选项”,弹出“图层样式”的对话框,勾选投影选项,设置混合模式为:正片叠底,阴影的颜色设置为红色,不透明度为:100 %,角度为:120度,勾选全局光,距离为:8像素,扩展为:0%,大小为:18像素,如图17所示。
nmousewheel="return bbimg(this)" onload="javascript:resizepic(this)" border="0"/>
图17
15、选择工具箱中的直排文字工具,输入:又名/石头记,设置字体为:隶书,大小为:14点,颜色为:黑色,如图18所示。
 nmousewheel="return bbimg(this)" onload="javascript:resizepic(this)" border="0"/>
图18
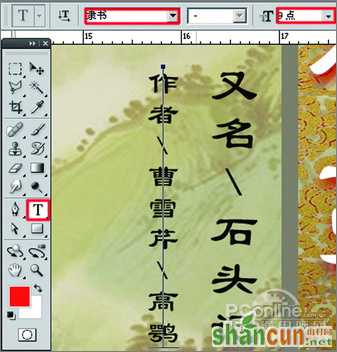
16、选择工具箱中的直排文字工具,输入:作者/曹雪芹/高鹗,设置字体为:隶书,大小为:9点,颜色这:黑色,如图19所示。
 nmousewheel="return bbimg(this)" onload="javascript:resizepic(this)" border="0"/>
图19
17、选择工具箱中的横排文字工具,输入:中国古典文学丛书,设置字体为:宋书,大小为:9点,颜色为:黑色,如图20所示。
 nmousewheel="return bbimg(this)" onload="javascript:resizepic(this)" border="0"/>
图20
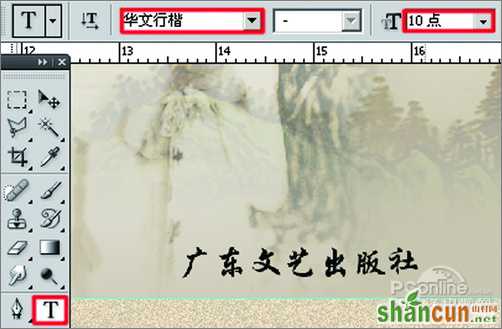
18、选择工具箱中的横排文字工具,输入:广东文艺出版社,设置字体为:华文行楷,大小为:10点,颜色为:黑色,如图21所示。
 nmousewheel="return bbimg(this)" onload="javascript:resizepic(this)" border="0"/>
图21
19、在书面上复制出书名和素材边框,移动在书脊上,执行菜单:“编辑”/“自由变换”(快捷键Ctrl+T),调整大小,如图22所示。
 nmousewheel="return bbimg(this)" onload="javascript:resizepic(this)" border="0"/>
图22
20、选择工具箱中的直排文字工具,在书脊上输入:作者/曹雪芹/高鹗,设置字体为:隶书,大小为:8点,颜色为:黑色,如图23所示。
 nmousewheel="return bbimg(this)" onload="javascript:resizepic(this)" border="0"/>
图23
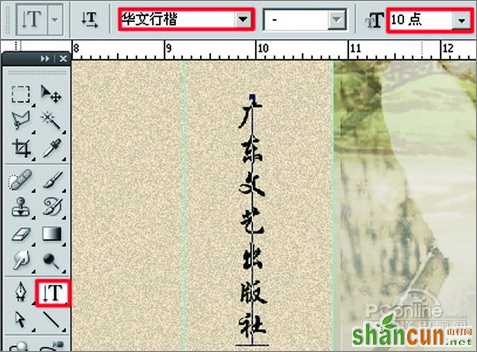
21、选择工具箱中的直排文字工具,输入:广东文艺出版社,设置字体为:华文行楷,大小为:10点,颜色为:黑色,如图24所示。
nmousewheel="return bbimg(this)" onload="javascript:resizepic(this)" border="0"/>
图24
22、在书脊上的效果如图25所示。
 nmousewheel="return bbimg(this)" onload="javascript:resizepic(this)" border="0"/>
图25


