教程的制作基本上都是用画笔来完成,可见鼠绘中画笔的应用非常重要。尤其是画不同的色块时需要选择合适的笔刷,这样画出来的效果才自然。
最终效果 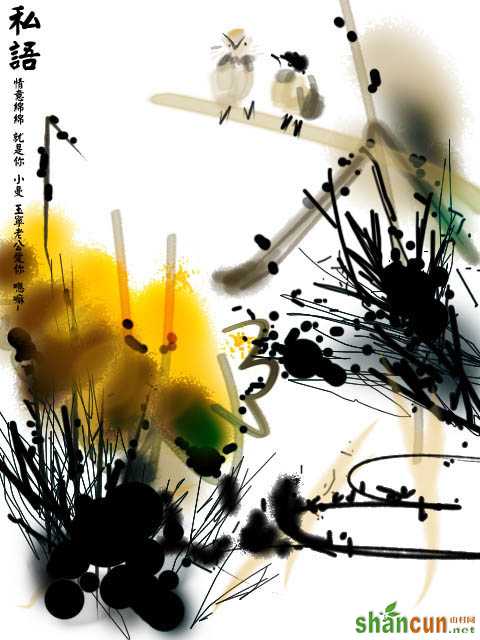 nmousewheel="return bbimg(this)" onload="javascript:resizepic(this)" border="0"/>
1、建立一个文档,尺寸大小自定。
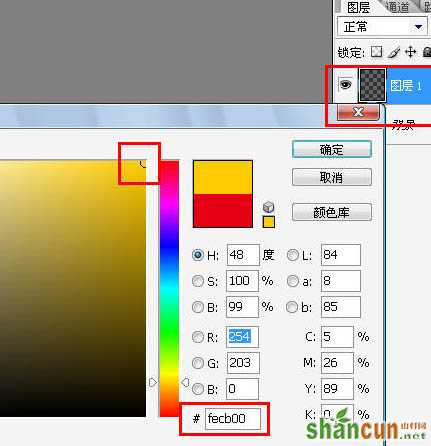
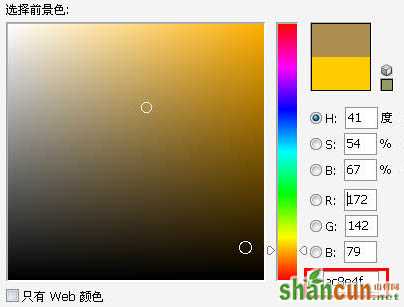
2、新建图层,选择前景色为中黄色!
 nmousewheel="return bbimg(this)" onload="javascript:resizepic(this)" border="0"/>
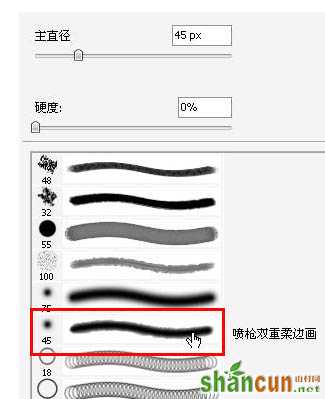
3、按下“B”选择画笔工具,鼠标右键选择笔刷,这里我选择“喷枪双重柔边画笔”。
 nmousewheel="return bbimg(this)" onload="javascript:resizepic(this)" border="0"/>
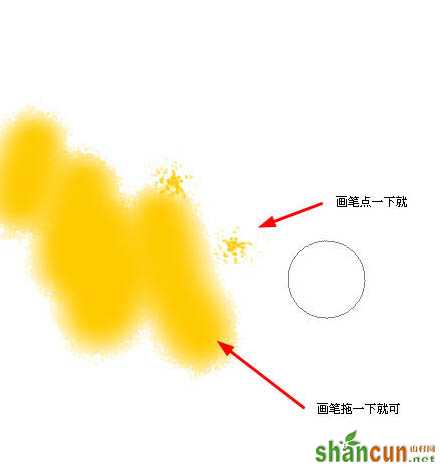
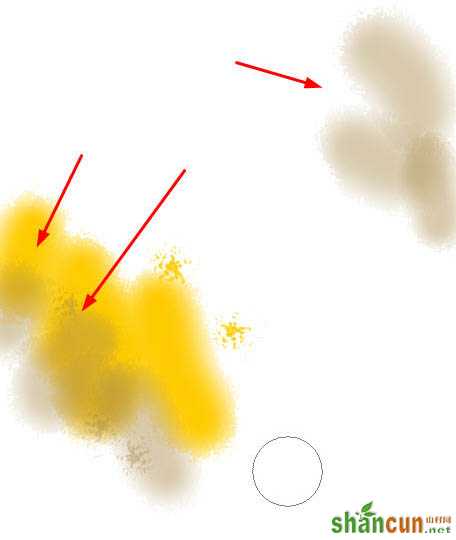
4、在新建的图层上绘制几篇枯黄荷花叶子。注意走向。
 nmousewheel="return bbimg(this)" onload="javascript:resizepic(this)" border="0"/>
5、再次选择较深的颜色,使用同样的画笔绘制一些暗色,是色彩有点层次感!
 nmousewheel="return bbimg(this)" onload="javascript:resizepic(this)" border="0"/>
 nmousewheel="return bbimg(this)" onload="javascript:resizepic(this)" border="0"/>
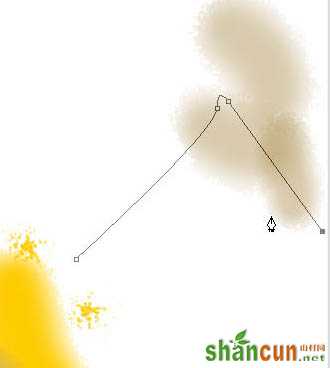
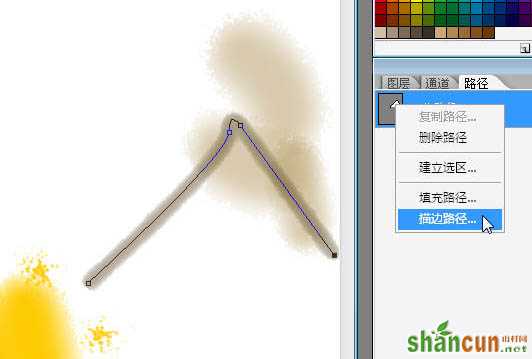
6、选择钢笔工具,绘制一条折线!
 nmousewheel="return bbimg(this)" onload="javascript:resizepic(this)" border="0"/>
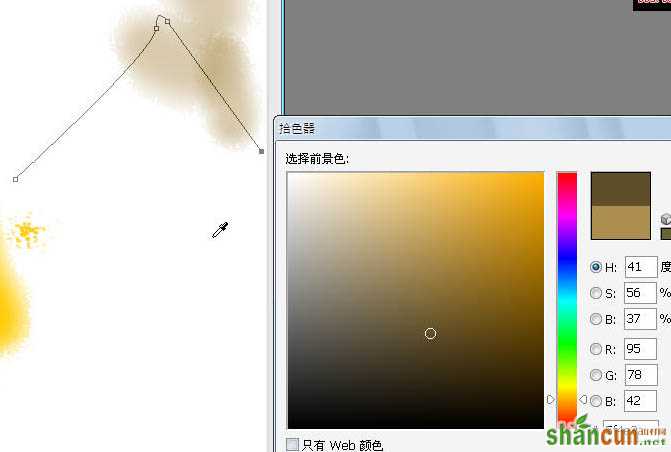
7、选择一种深褐色,在路径面板,鼠标右击路径,选择“描边路径”。
 nmousewheel="return bbimg(this)" onload="javascript:resizepic(this)" border="0"/>
 nmousewheel="return bbimg(this)" onload="javascript:resizepic(this)" border="0"/>
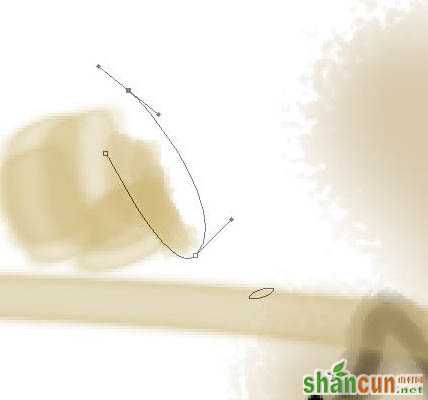
8、颜色加深一个层次。
 nmousewheel="return bbimg(this)" onload="javascript:resizepic(this)" border="0"/>
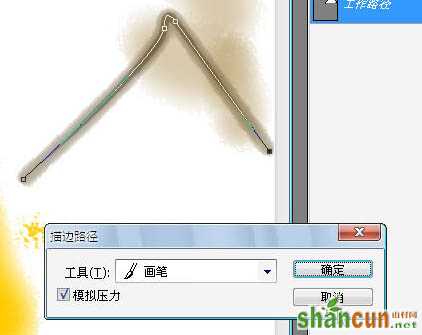
画笔缩小一个尺寸,再次做描边注意这次要勾选“模拟压力”了。
 nmousewheel="return bbimg(this)" onload="javascript:resizepic(this)" border="0"/>
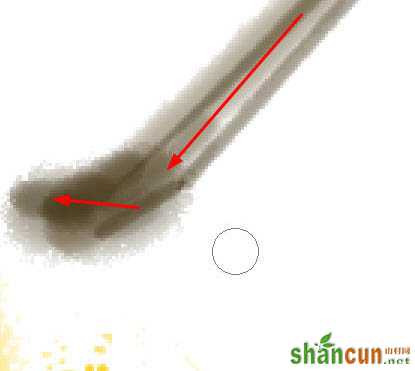
9、细细的修改一下画面效果,绘书法和绘画中有回峰的笔法,主要是欲扬先抑的运笔方法。
 nmousewheel="return bbimg(this)" onload="javascript:resizepic(this)" border="0"/>
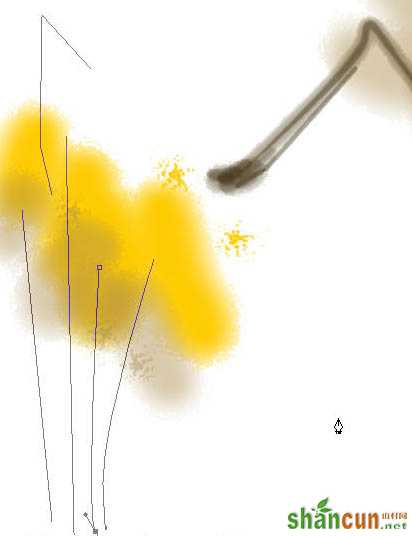
10、随意的绘制几条芦苇和水草路径。
 nmousewheel="return bbimg(this)" onload="javascript:resizepic(this)" border="0"/>
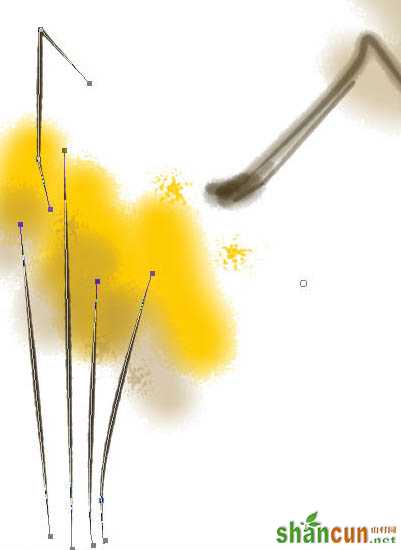
11、前景色黑色,继续描边。
 nmousewheel="return bbimg(this)" onload="javascript:resizepic(this)" border="0"/>
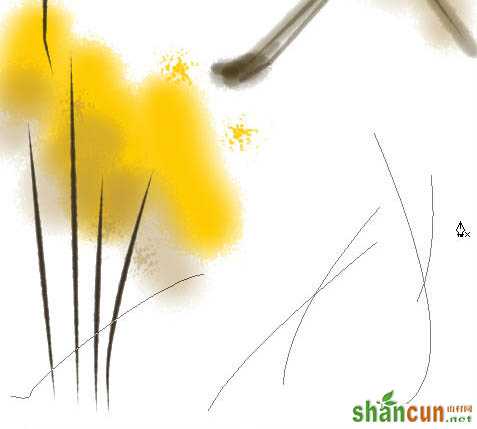
12、选择一种浅黄色,绘制前面的水草路径。
 nmousewheel="return bbimg(this)" onload="javascript:resizepic(this)" border="0"/>
 nmousewheel="return bbimg(this)" onload="javascript:resizepic(this)" border="0"/>
描边路径。
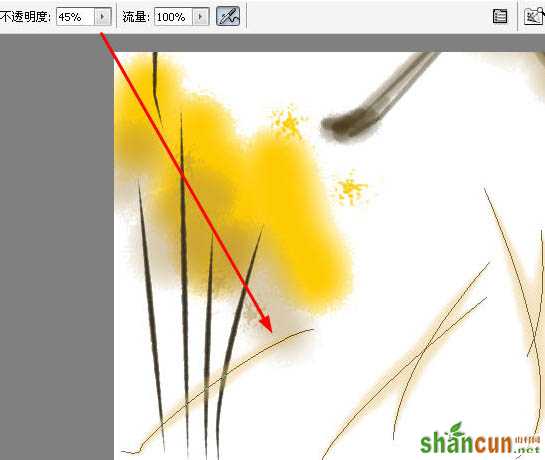 nmousewheel="return bbimg(this)" onload="javascript:resizepic(this)" border="0"/>
13、加一些水墨的味道效果,选择莫默认的画笔。
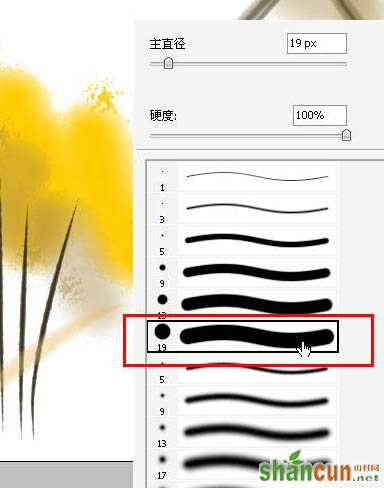 nmousewheel="return bbimg(this)" onload="javascript:resizepic(this)" border="0"/>
前景色黑色在途中随意点击几个大小不等的效果,可以实时用柔边的画笔做晕染的修饰。
 nmousewheel="return bbimg(this)" onload="javascript:resizepic(this)" border="0"/>
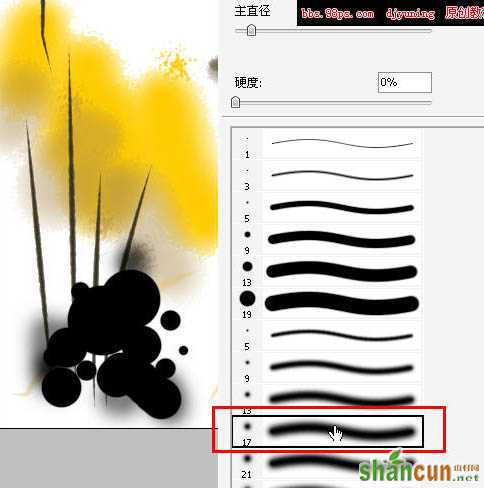 nmousewheel="return bbimg(this)" onload="javascript:resizepic(this)" border="0"/>
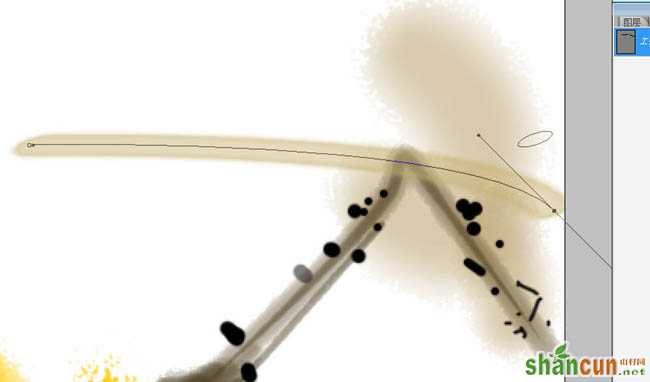
14、选择“圆头水彩画笔”。
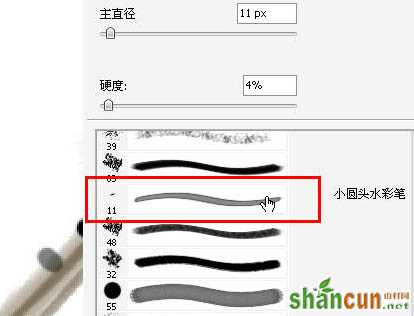 nmousewheel="return bbimg(this)" onload="javascript:resizepic(this)" border="0"/>
绘制一条横向的苇子。
 nmousewheel="return bbimg(this)" onload="javascript:resizepic(this)" border="0"/>
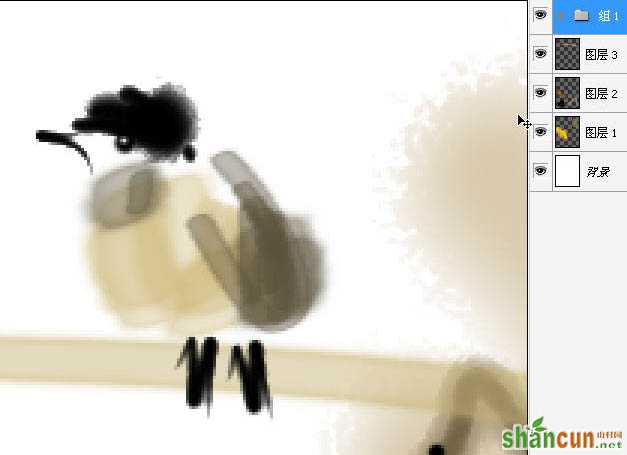
15、还是“水彩画笔”绘制出肥肥的肚子。
 nmousewheel="return bbimg(this)" onload="javascript:resizepic(this)" border="0"/>
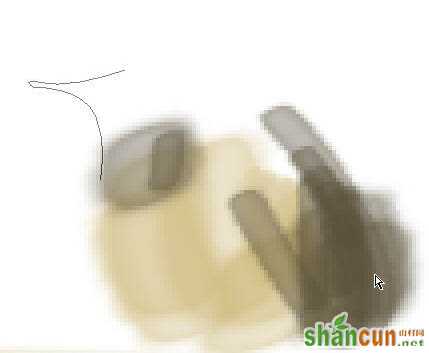
16、绘制出翅膀和脖子上的羽毛。
 nmousewheel="return bbimg(this)" onload="javascript:resizepic(this)" border="0"/>
17、对勾画的嘴做描边。
 nmousewheel="return bbimg(this)" onload="javascript:resizepic(this)" border="0"/>
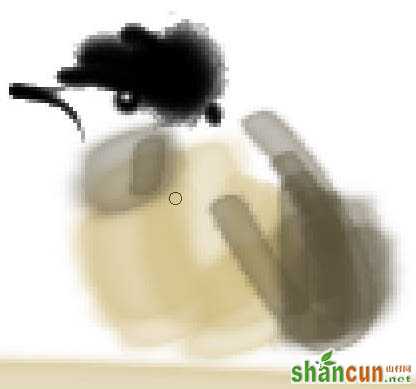
18、脑袋修饰一下,点上小眼睛。
 nmousewheel="return bbimg(this)" onload="javascript:resizepic(this)" border="0"/>
19、加上脚。
 nmousewheel="return bbimg(this)" onload="javascript:resizepic(this)" border="0"/>
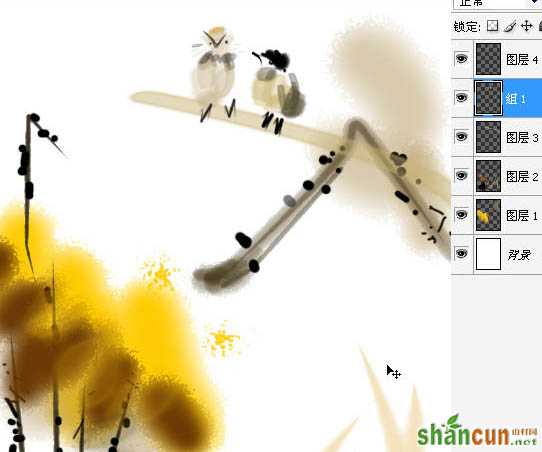
20、同样的方法绘制另一个鸡,并调整位置~效果如下。
 nmousewheel="return bbimg(this)" onload="javascript:resizepic(this)" border="0"/>
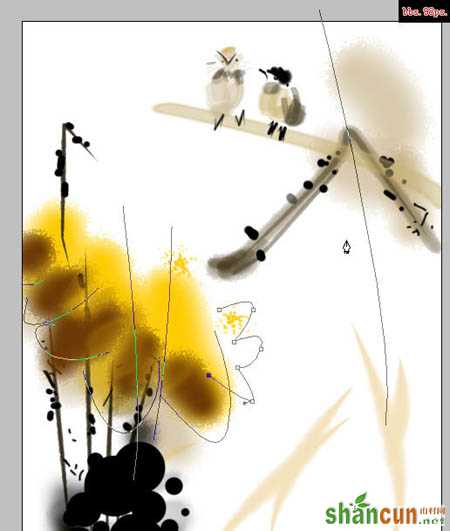
21、用钢笔随意勾选一下物体的边缘。
 nmousewheel="return bbimg(this)" onload="javascript:resizepic(this)" border="0"/>
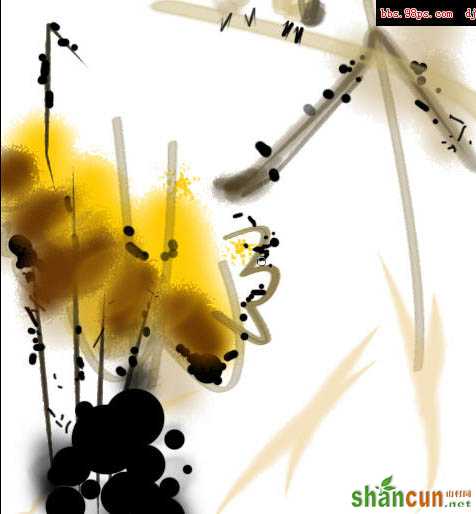
22、再次描边。
 nmousewheel="return bbimg(this)" onload="javascript:resizepic(this)" border="0"/>


