 nmousewheel="return bbimg(this)" onload="javascript:resizepic(this)" border="0"/>
制作背景
新建一文件,大小自定,这里是600*400为例。设置前景色:#1592d7,背景颜色:#136da2,选择径向渐变工具。从中间拖动得到下面效果:
 nmousewheel="return bbimg(this)" onload="javascript:resizepic(this)" border="0"/>
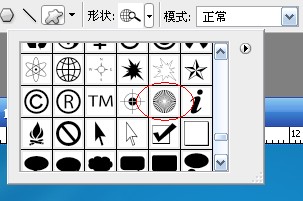
添加散射光条文。新建一层,左边工具栏选择-圆角矩形按钮-自定义形状按钮。找到下面这个形状,如果没有可以点击右边的小箭头,追加形状。
 nmousewheel="return bbimg(this)" onload="javascript:resizepic(this)" border="0"/>
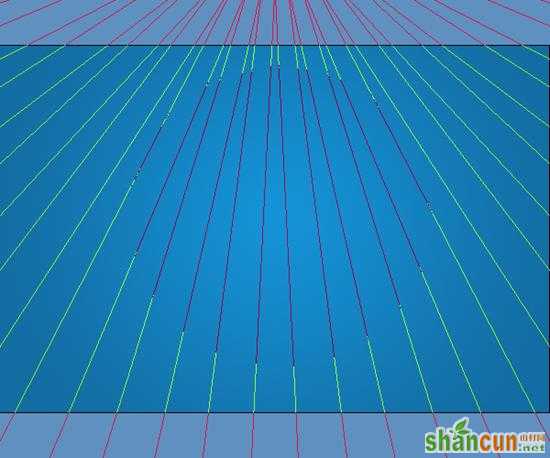
选中并在图层上拖动得到如下效果:
 nmousewheel="return bbimg(this)" onload="javascript:resizepic(this)" border="0"/>
前景色设为白色(#ffffff),选择钢笔工具,右击路径--填充路径。得到下图:
 nmousewheel="return bbimg(this)" onload="javascript:resizepic(this)" border="0"/>
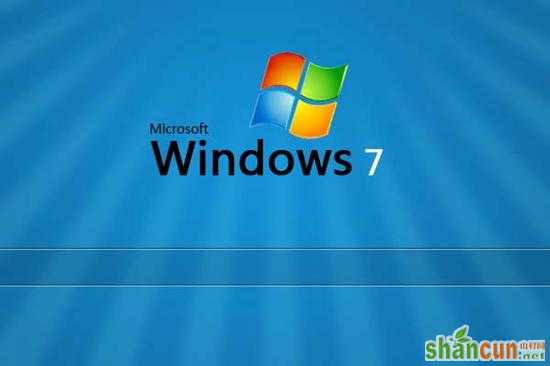
右击路径--删除路径。选择“滤镜”-模糊-高斯模糊-5个像素。3lian.com,单击确定。图层混合模式改为“柔光”。不透明度为30%。
 nmousewheel="return bbimg(this)" onload="javascript:resizepic(this)" border="0"/>
制作导航背景
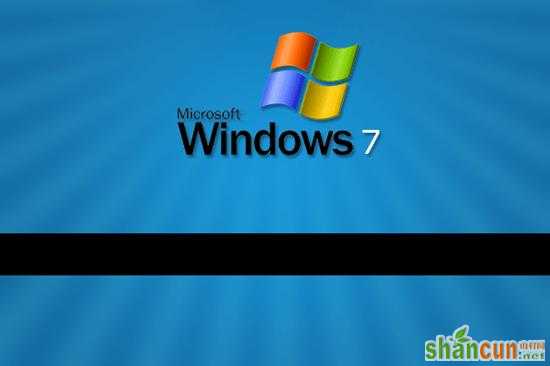
添加Windows 7字样及logo,新建一图层命名为“nav”。拖出一个黑色矩形框。高度根据自己需要来定。
 nmousewheel="return bbimg(this)" onload="javascript:resizepic(this)" border="0"/>
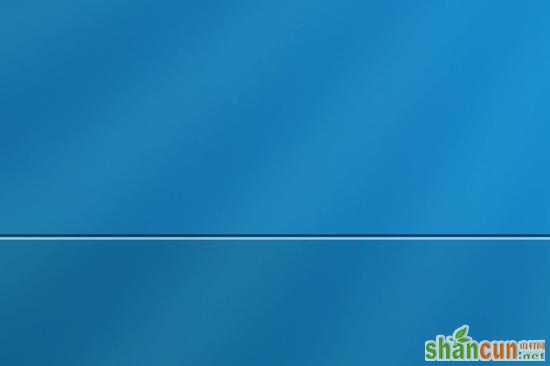
填充改为:10%。新建一图层,制作边线。画两根1px线,上边一根黑色,透明度50%,下面一根白色。
 nmousewheel="return bbimg(this)" onload="javascript:resizepic(this)" border="0"/>
复制顶线,移动至底部:
 nmousewheel="return bbimg(this)" onload="javascript:resizepic(this)" border="0"/>
制作导航按钮
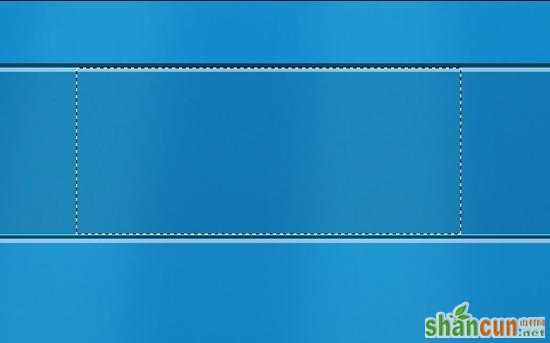
新建图层,做出如下选区,注意上下边缘:
 nmousewheel="return bbimg(this)" onload="javascript:resizepic(this)" border="0"/>
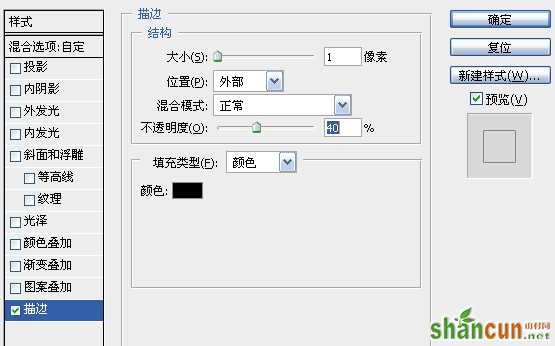
填充黑色,不透明设为“0”,描边:
 nmousewheel="return bbimg(this)" onload="javascript:resizepic(this)" border="0"/>
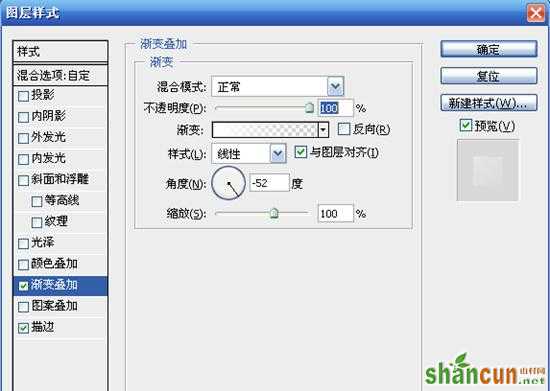
复制上面的图层,3lian素材,清除图层样式,添加如下样式:
 nmousewheel="return bbimg(this)" onload="javascript:resizepic(this)" border="0"/>
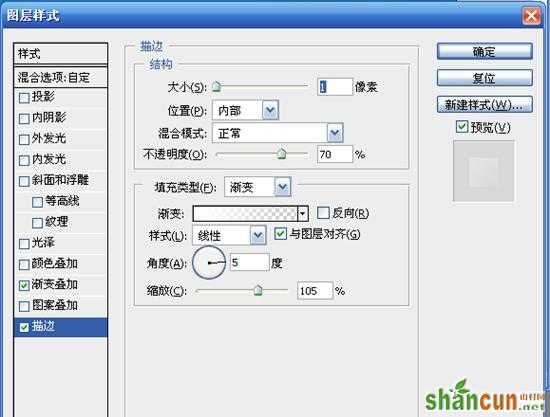
渐变叠加,颜色由白色 到透明。描边:
 nmousewheel="return bbimg(this)" onload="javascript:resizepic(this)" border="0"/>
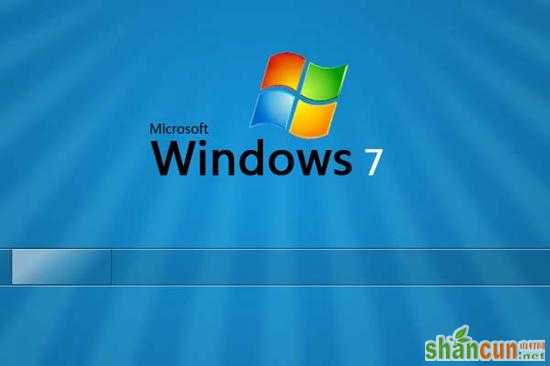
得到如下图:
 nmousewheel="return bbimg(this)" onload="javascript:resizepic(this)" border="0"/>
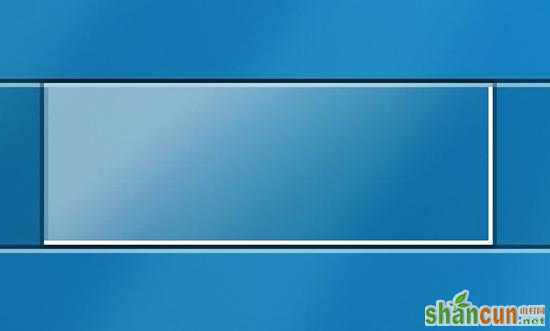
制作右下角高光边框:
 nmousewheel="return bbimg(this)" onload="javascript:resizepic(this)" border="0"/>
添加图层蒙版,前景黑色背景白色。拖动得到如下效果:
 nmousewheel="return bbimg(this)" onload="javascript:resizepic(this)" border="0"/>
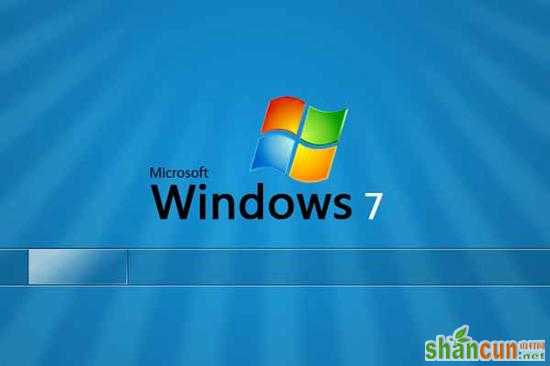
添加相关文字,3lian.com,完成最终效果。
 nmousewheel="return bbimg(this)" onload="javascript:resizepic(this)" border="0"/>


