
最终效果图  nmousewheel="return bbimg(this)" onload="javascript:resizepic(this)" border="0"/>
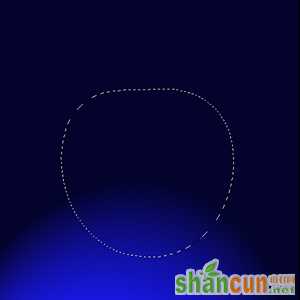
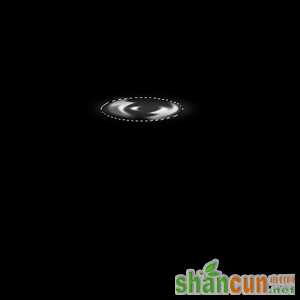
1、建500x500的图像,以黑色填充。做光照效果到图示效果。
 nmousewheel="return bbimg(this)" onload="javascript:resizepic(this)" border="0"/>
2、用钢笔工具(Pen tool)勾出苹果的轮廓,当路径封闭后按小键盘上的Enter,使路径成为选区。这里有一个窍门:可以用圆形选框工具根据苹果的大小拉出一个圆,转换到路径面板,点右上角的小黑三角,在弹出的菜单中选“生成工作路径(MakeWorkPath),使选区成为路径,再用钢笔工具调整到苹果的外形,这样比直接用钢笔勾要方便的多。
 nmousewheel="return bbimg(this)" onload="javascript:resizepic(this)" border="0"/>
 nmousewheel="return bbimg(this)" onload="javascript:resizepic(this)" border="0"/>
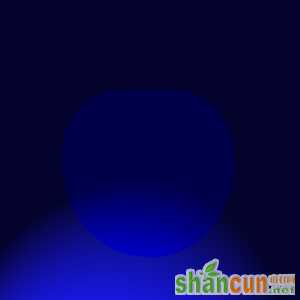
4、继续保持选区,转换到通道面板,新建一个通道Alpha 1,以白色填充待用。
 nmousewheel="return bbimg(this)" onload="javascript:resizepic(this)" border="0"/>
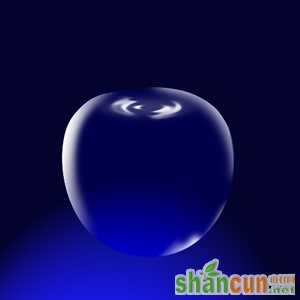
5、回到层面板,新建一个层。用套索工具(Lasso Tool)沿苹果轮廓的边缘做出选区并羽
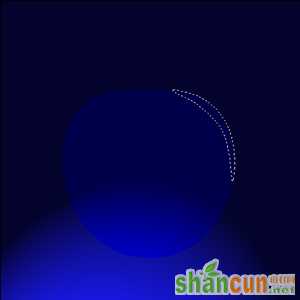
6、用同样的方法做出其他的反光。注:左边为受光面,要亮一点。
 nmousewheel="return bbimg(this)" onload="javascript:resizepic(this)" border="0"/>
 nmousewheel="return bbimg(this)" onload="javascript:resizepic(this)" border="0"/>
8.按ctrl点击Alpha 2,使选区浮动,回到层面板新建一层以白色填充,可适当降低层的透明度。
 nmousewheel="return bbimg(this)" onload="javascript:resizepic(this)" border="0"/>
9.用钢笔工具勾出苹果柄的轮廓3lian素材。
 nmousewheel="return bbimg(this)" onload="javascript:resizepic(this)" border="0"/>
 nmousewheel="return bbimg(this)" onload="javascript:resizepic(this)" border="0"/>
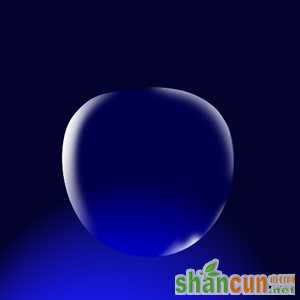
11.用钢笔工具勾出高光的轮廓。
 nmousewheel="return bbimg(this)" onload="javascript:resizepic(this)" border="0"/>
12.使路径成为选区,双击渐变工具(Linear Gradient Tool)编辑渐变,选“前景色到透明”(Foreground to Transparent),新建一层在选区内从左向右拉渐变。
 nmousewheel="return bbimg(this)" onload="javascript:resizepic(this)" border="0"/>
 nmousewheel="return bbimg(this)" onload="javascript:resizepic(this)" border="0"/>
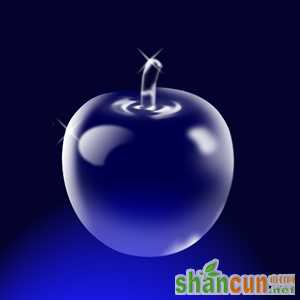
14.加上文字,按透视做一点变形,3lian素材,就做好了。
nmousewheel="return bbimg(this)" onload="javascript:resizepic(this)" border="0"/>


