
最终效果图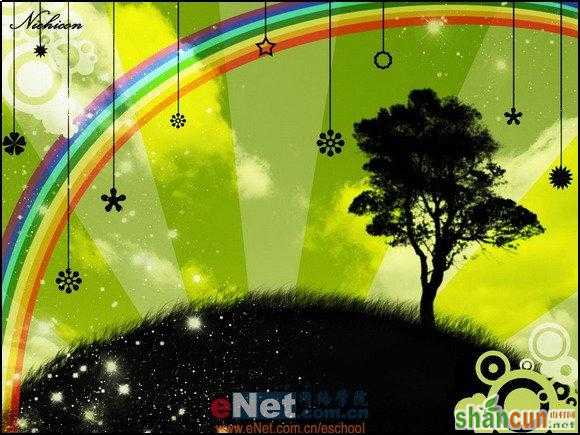 nmousewheel="return bbimg(this)" onload="javascript:resizepic(this)" border="0"/>
1、首先CTRL+N新建一个文件。
 nmousewheel="return bbimg(this)" onload="javascript:resizepic(this)" border="0"/>
2、用油漆筒工具把背景层填充一个合适的颜色。
 nmousewheel="return bbimg(this)" onload="javascript:resizepic(this)" border="0"/>
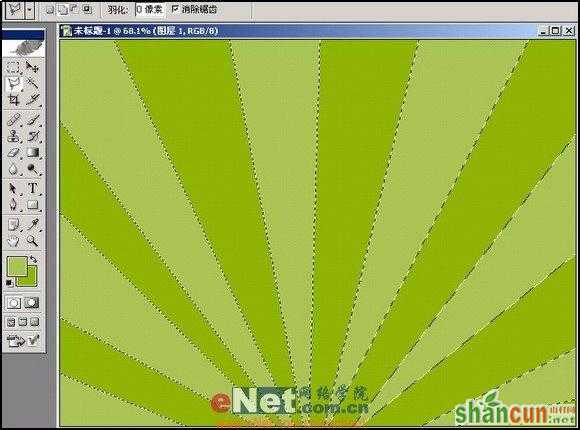
3、新建立一个图层,现在选用多边形套锁工具在图层中做出几道光线选区然后用合适的颜色填充。
nmousewheel="return bbimg(this)" onload="javascript:resizepic(this)" border="0"/>
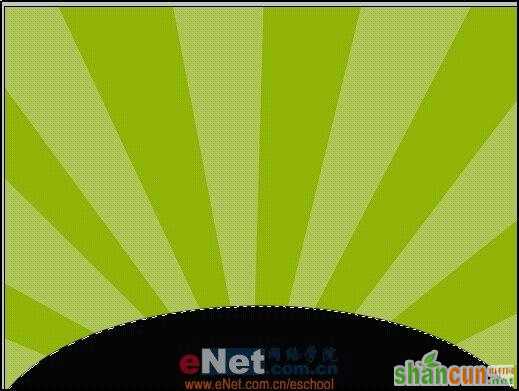
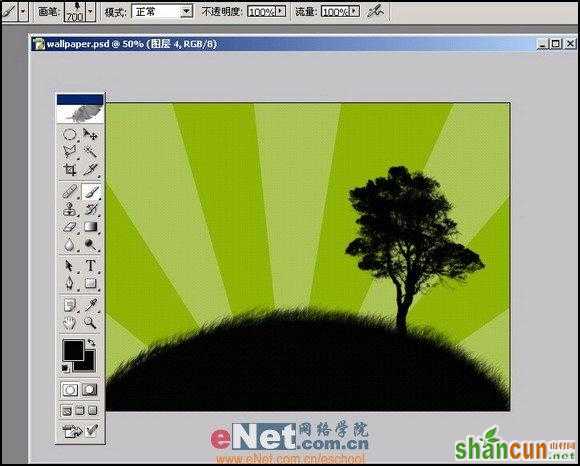
4、按CTRL+D取消选择,然后用椭圆选框工具在图象中做出以下形状并用黑色填充。
 nmousewheel="return bbimg(this)" onload="javascript:resizepic(this)" border="0"/>
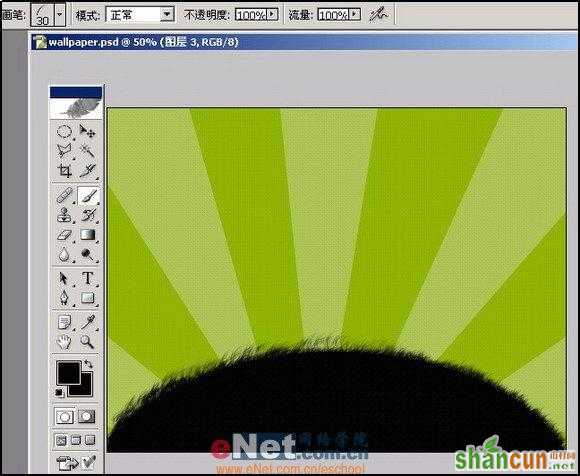
5、现在选用笔刷工具,来制作草皮。先用小号点的笔刷,在黑色椭圆的边缘出进行编辑。在把边缘出处理好以后在用大号点的笔刷进行编辑。
 nmousewheel="return bbimg(this)" onload="javascript:resizepic(this)" border="0"/>
 nmousewheel="return bbimg(this)" onload="javascript:resizepic(this)" border="0"/>
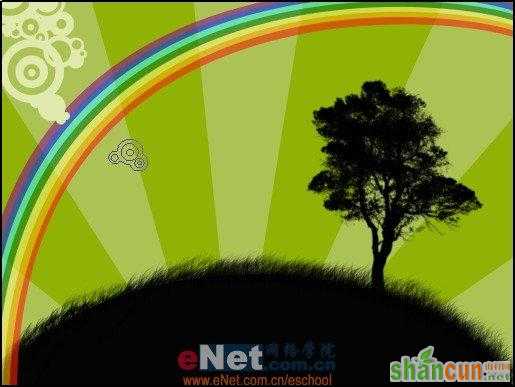
6、现在在用我事先下载好的笔刷为其添加一棵大树(文章结尾出有该笔刷下载),使用这个笔刷的方法是在笔刷设置栏中点右边的黑色小三角形点载入笔刷即可。
 nmousewheel="return bbimg(this)" onload="javascript:resizepic(this)" border="0"/>
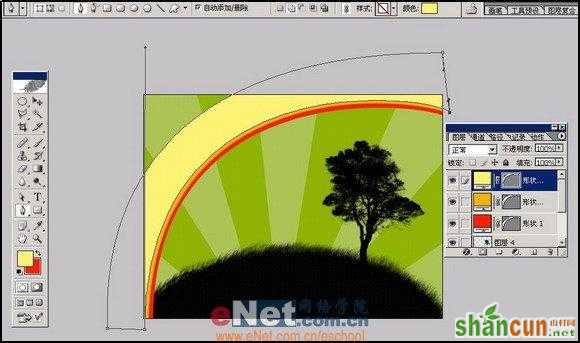
7、下面这一步可能要复杂点,我们要用钢笔工具为这个图中增加彩虹给它一点活力。选择钢笔工具设置栏中的形状图层一项,然后在图中进行编辑。当编辑完彩虹的其中一种颜色后按CTRL+J把形状图层复制一次,然后双击左边的图层来改变颜色。
 nmousewheel="return bbimg(this)" onload="javascript:resizepic(this)" border="0"/>
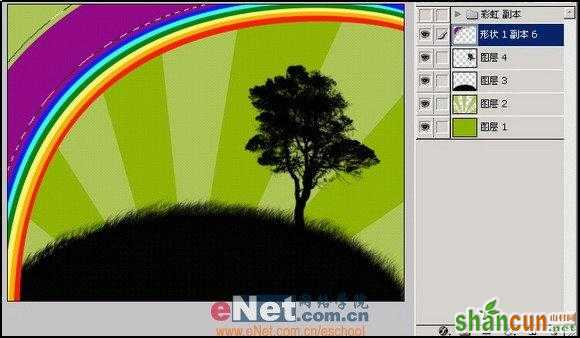
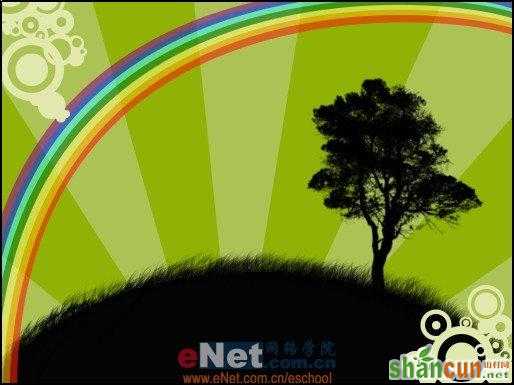
8、在将所有的颜色编辑完成以后把最后的颜色的形状图层在复制一次,然后将除此副本以外的所有形状图层合并CTRL+E,3lian素材,在次回到副本图层按CTRL+ENTER将图层中的路径转换成选区,按DELTEL删掉多余的部分最后将彩虹图层的图层透明度设置为60%。
 nmousewheel="return bbimg(this)" onload="javascript:resizepic(this)" border="0"/>
 nmousewheel="return bbimg(this)" onload="javascript:resizepic(this)" border="0"/>
 nmousewheel="return bbimg(this)" onload="javascript:resizepic(this)" border="0"/>
10、现在在此用画笔工具载入事先准备好的笔刷样式,为其添加一些形状做些修饰。
 nmousewheel="return bbimg(this)" onload="javascript:resizepic(this)" border="0"/>
 nmousewheel="return bbimg(this)" onload="javascript:resizepic(this)" border="0"/>
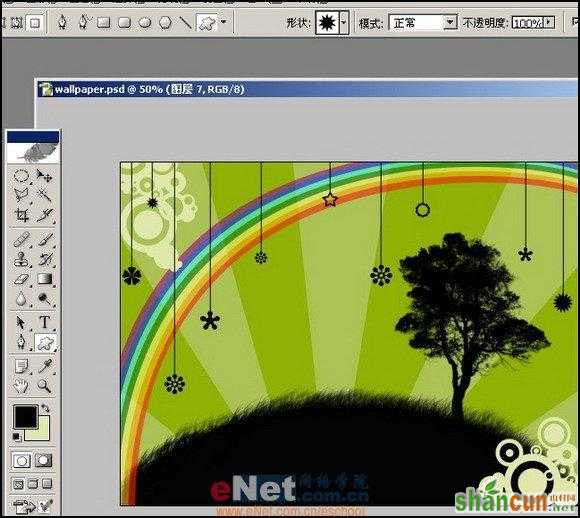
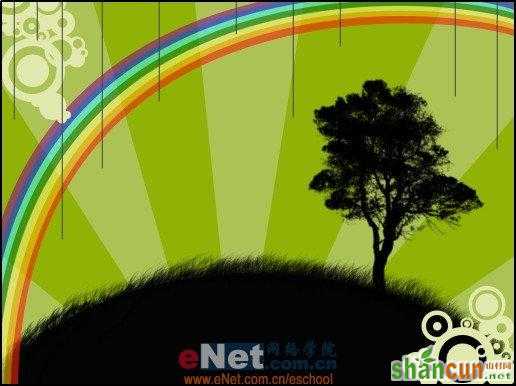
11、现在选择直线工具,粗细大小为2象素。在图中添加一些直线;然后选用自定义形状工具在直线下添加一些你所喜欢的小图案。
 nmousewheel="return bbimg(this)" onload="javascript:resizepic(this)" border="0"/>
nmousewheel="return bbimg(this)" onload="javascript:resizepic(this)" border="0"/>
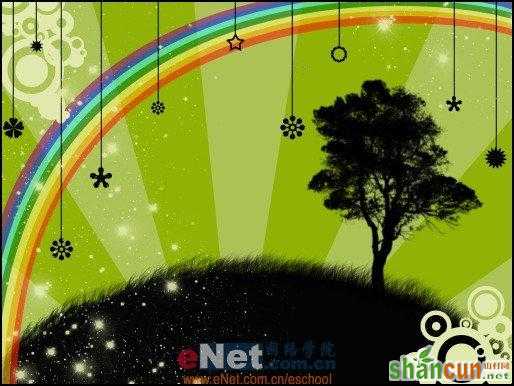
12、现在载入星型笔刷图案,在图中增加少许星光。
 nmousewheel="return bbimg(this)" onload="javascript:resizepic(this)" border="0"/>
 nmousewheel="return bbimg(this)" onload="javascript:resizepic(this)" border="0"/>
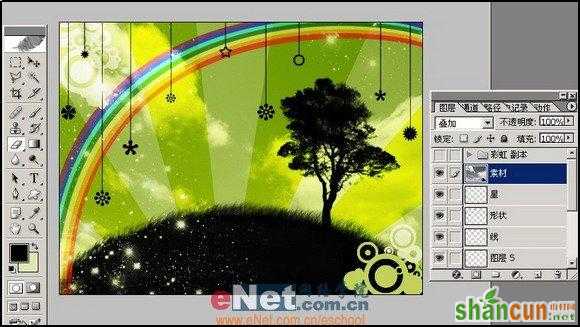
13、现在找到一个比较有代表性的天空云彩的素材,将其复制到其中。复制进以后先将素材做去色处理(图象-调整-去色),然后将素材图层的图层混合模式改成叠加。
 nmousewheel="return bbimg(this)" onload="javascript:resizepic(this)" border="0"/>
好了,在来看下最终效果。
nmousewheel="return bbimg(this)" onload="javascript:resizepic(this)" border="0"/>


