最终效果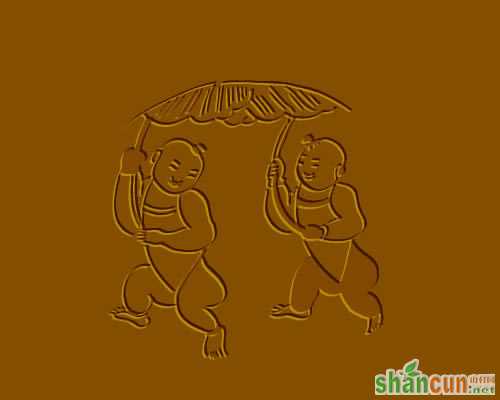 nmousewheel="return bbimg(this)" onload="javascript:resizepic(this)" border="0"/>
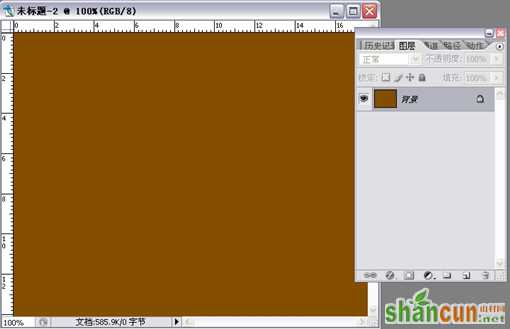
1、新建一个文档,填充一深色(深色效果要好,因为这是不是浮雕的浮雕效果),作为背景层
 nmousewheel="return bbimg(this)" onload="javascript:resizepic(this)" border="0"/>
2、将素材图拖进来。
 nmousewheel="return bbimg(this)" onload="javascript:resizepic(this)" border="0"/>
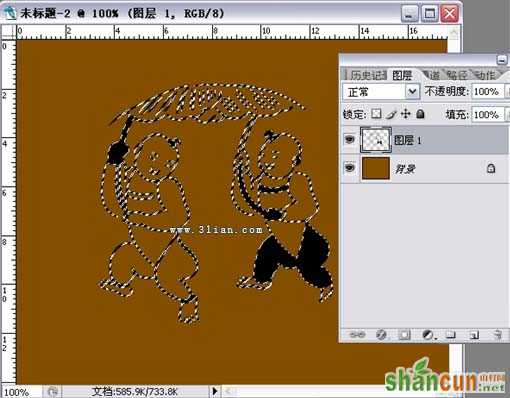
3、转化成选区。
 nmousewheel="return bbimg(this)" onload="javascript:resizepic(this)" border="0"/>
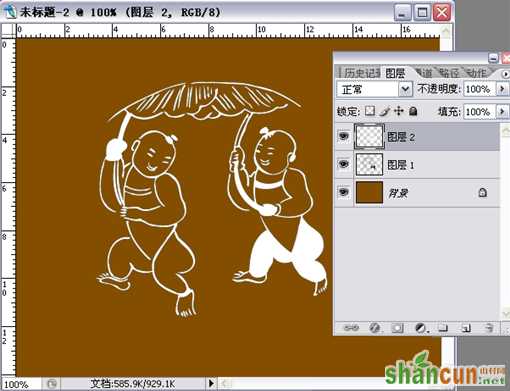
4、将选区填充为黑色,保持选区不变,新建一层,将选区填充为白色!并取消选择。
 nmousewheel="return bbimg(this)" onload="javascript:resizepic(this)" border="0"/>
 nmousewheel="return bbimg(this)" onload="javascript:resizepic(this)" border="0"/>
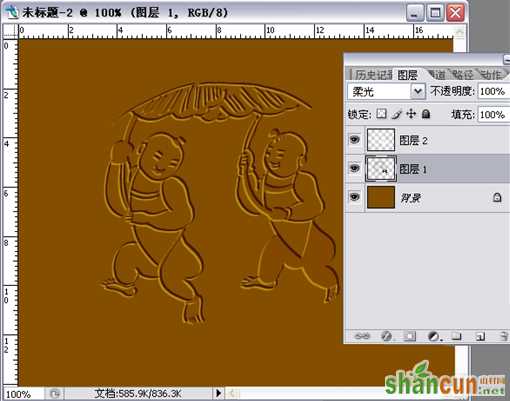
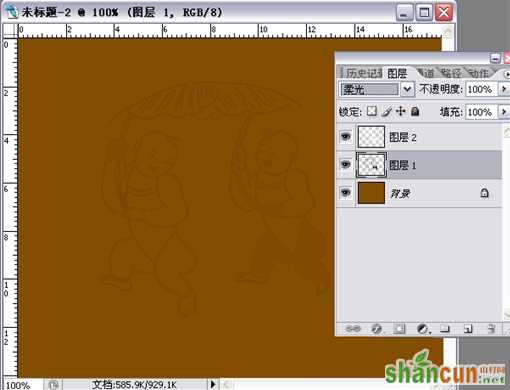
5、将图层1和图层2的模式都改为柔光 。
 nmousewheel="return bbimg(this)" onload="javascript:resizepic(this)" border="0"/>
6、选中图层1,选择移动工具,按方向键轻轻的移动几个,(上、下、左、右随你)这时效果已经出来了。到这里整个过程就完成了,怎么样?是不是应该称为“不是浮雕的浮雕”呀?当你把图层1移得很远时,会发现图层1和2分开了,也看不到浮雕效果了,这里我们所看到的浮雕效果,只是视觉差产生的,图片并没有真正的浮起来。
 nmousewheel="return bbimg(this)" onload="javascript:resizepic(this)" border="0"/>


