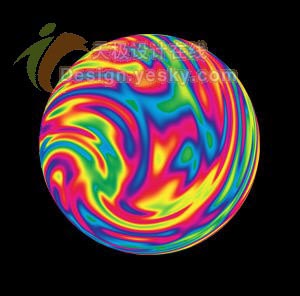
最终效果图 nmousewheel="return bbimg(this)" onload="javascript:resizepic(this)" border="0"/>
1、新建一个文件。新建图层1,选择工具箱中的“渐变工具”,设置渐变颜色如图01所示。
 nmousewheel="return bbimg(this)" onload="javascript:resizepic(this)" border="0"/>
在图像窗口中填充渐变,效果如图02所示。
 nmousewheel="return bbimg(this)" onload="javascript:resizepic(this)" border="0"/>
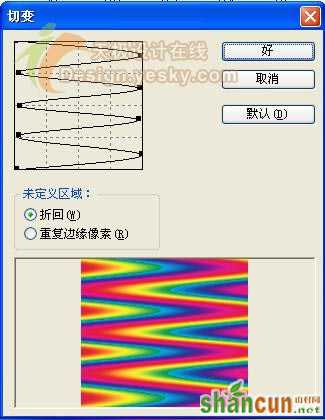
2、执行菜单栏中的“滤镜”“扭曲”“切变”命令,在打开的对话框中设置参数如图03所示。
 nmousewheel="return bbimg(this)" onload="javascript:resizepic(this)" border="0"/>
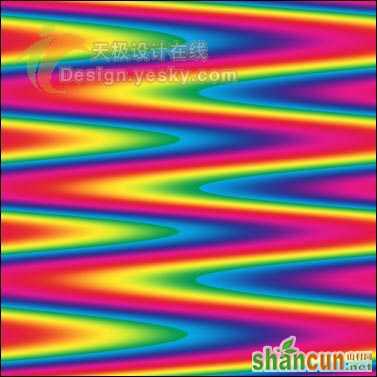
画面效果如图04所示。
 nmousewheel="return bbimg(this)" onload="javascript:resizepic(this)" border="0"/>
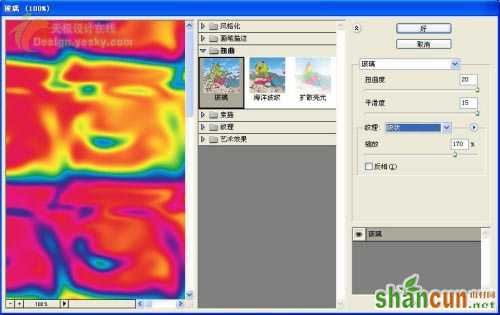
3、执行菜单栏中的“滤镜”“扭曲”“玻璃”命令,在打开的对话框中设置参数如图05所示。
 nmousewheel="return bbimg(this)" onload="javascript:resizepic(this)" border="0"/>
画面效果如图06所示。
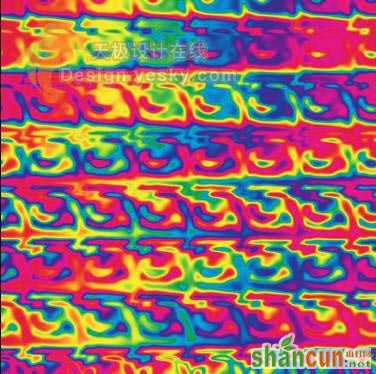 nmousewheel="return bbimg(this)" onload="javascript:resizepic(this)" border="0"/>
4、执行菜单栏中的“编辑”“变换”“旋转90度顺时针”命令,将图像旋转一定的角度,画面效果如图07所示。
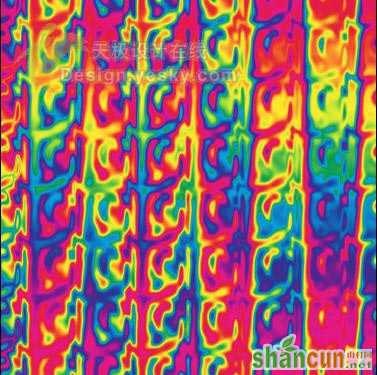 nmousewheel="return bbimg(this)" onload="javascript:resizepic(this)" border="0"/>
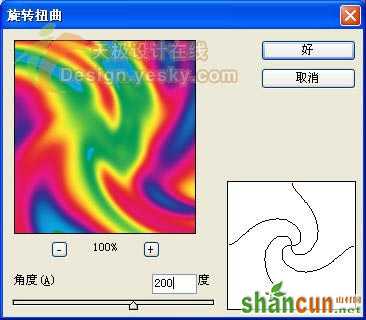
5、执行菜单栏中的“滤镜”“扭曲”“旋转扭曲”命令,在打开的对话框中设置参数如图08所示。
 nmousewheel="return bbimg(this)" onload="javascript:resizepic(this)" border="0"/>
画面效果如图09所示。
 nmousewheel="return bbimg(this)" onload="javascript:resizepic(this)" border="0"/>
6、选择工具箱中的“椭圆选框工具”,按住Shift键的同时在图像窗口漩涡位置创建一个正圆选区,如图10所示。
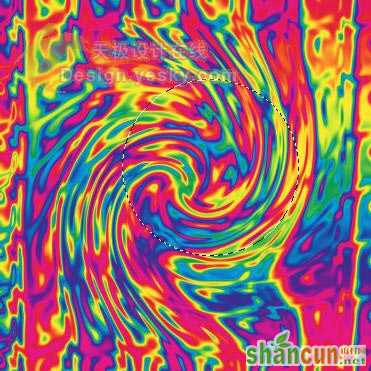 nmousewheel="return bbimg(this)" onload="javascript:resizepic(this)" border="0"/>
保持选区,执行菜单栏中的“滤镜”“扭曲”“球面化”命令,在打开的对话框中设置参数如图11所示。
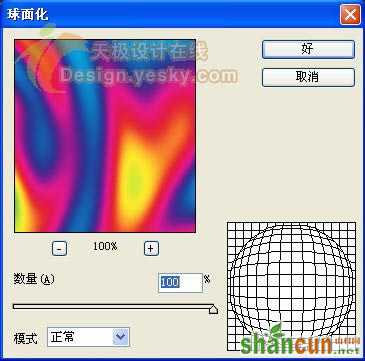 nmousewheel="return bbimg(this)" onload="javascript:resizepic(this)" border="0"/>
效果不明显,按Ctrl+F键重复一次,画面效果如图12所示。
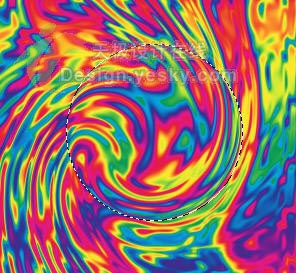 nmousewheel="return bbimg(this)" onload="javascript:resizepic(this)" border="0"/>
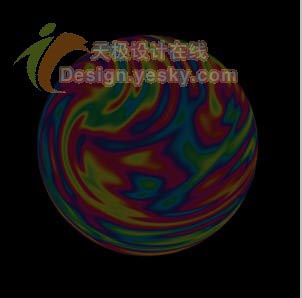
7、按Ctrl+N键,新建一个宽度为300像素,高度为300像素,分辨率为350文件,然后填充黑色。
8、将上面制做的选区拖拽到新建文件中,调整大小,效果如图13所示。
 nmousewheel="return bbimg(this)" onload="javascript:resizepic(this)" border="0"/>
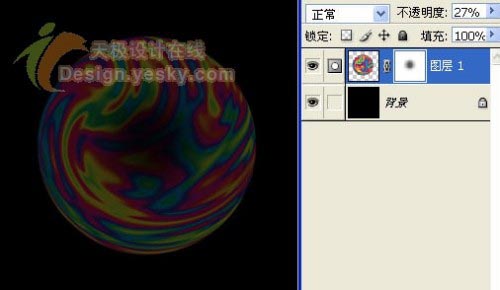
9、将图层1的不透明度设置为27%,然后单击“添加图层蒙版”按钮,为图层1添加图层蒙版,设置画笔的不透明度为50%,画笔大小为100像素,在蒙版中心单击,效果如图14所示。
 nmousewheel="return bbimg(this)" onload="javascript:resizepic(this)" border="0"/>
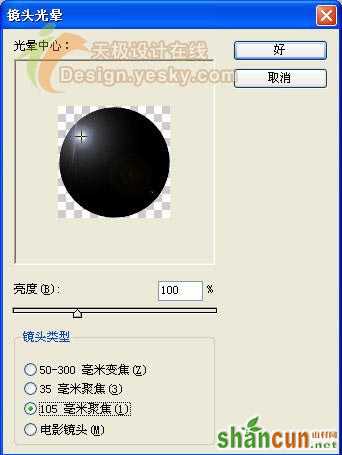
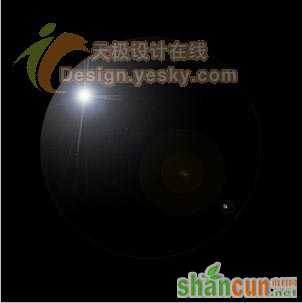
10、新建图层2,单击图层1调出选区,填充黑色。执行菜单栏中的“滤镜”“渲染”“镜头光晕”命令,在打开的对话框中设置参数如图15所示。
 nmousewheel="return bbimg(this)" onload="javascript:resizepic(this)" border="0"/>
画面效果如图16所示。
 nmousewheel="return bbimg(this)" onload="javascript:resizepic(this)" border="0"/>
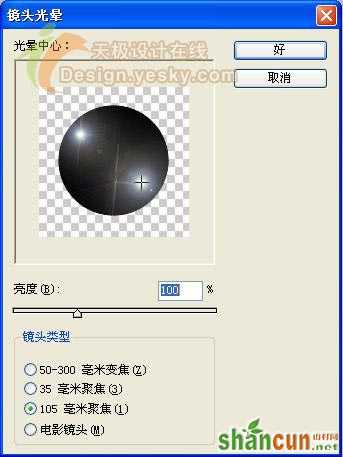
11、按Ctrl+Alt+F键,再次弹出镜头光晕对话框,设置如图17所示。
 nmousewheel="return bbimg(this)" onload="javascript:resizepic(this)" border="0"/>
在气泡右下角再添加一个光晕,如图18所示。
 nmousewheel="return bbimg(this)" onload="javascript:resizepic(this)" border="0"/>
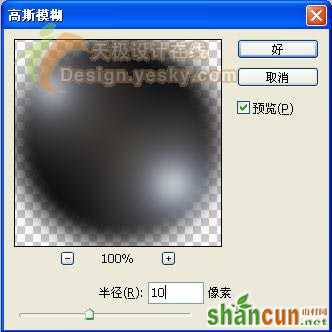
12、执行菜单栏中的“滤镜”“模糊”“高斯模糊”命令,3lian.com,在打开的对话框中设置参数如图19所示。
 nmousewheel="return bbimg(this)" onload="javascript:resizepic(this)" border="0"/>
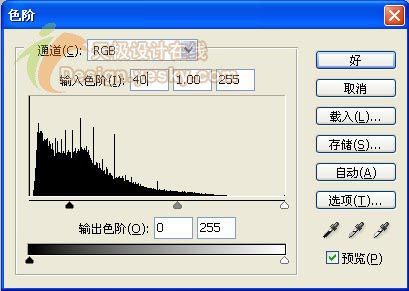
然后按Ctrl+L键,打开色阶对话框,设置如图20所示。
 nmousewheel="return bbimg(this)" onload="javascript:resizepic(this)" border="0"/>
画面效果如图21所示。
 nmousewheel="return bbimg(this)" onload="javascript:resizepic(this)" border="0"/>
13、取消选区,将图层2放到图层1的下方,并修改图层1的图层混合模式为滤色,效果如图22所示。
 nmousewheel="return bbimg(this)" onload="javascript:resizepic(this)" border="0"/>
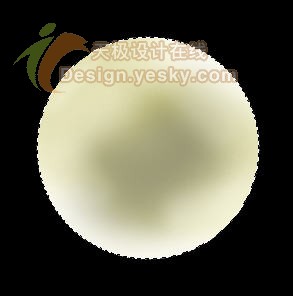
14、新建图层3,载入图层1的选区,选择画笔工具,设置不透明度为20%,然后设置前景色从淡黄色到土黄色,效果如图23所示。
 nmousewheel="return bbimg(this)" onload="javascript:resizepic(this)" border="0"/>
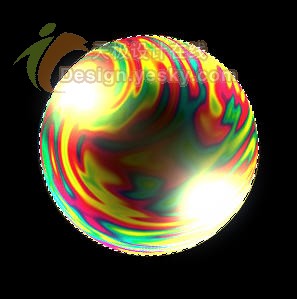
接着将图层3的混合模式设置为“亮光”,效果如图24所示。
 nmousewheel="return bbimg(this)" onload="javascript:resizepic(this)" border="0"/>
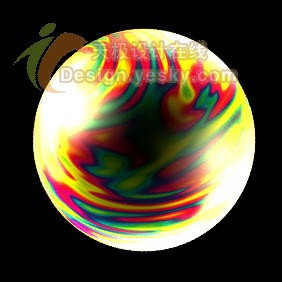
15、保持选区,选择画笔工具,设置前景色为淡黄色,选择图层2,在气泡边缘涂抹,增加反光,画面效果如图25所示。
 nmousewheel="return bbimg(this)" onload="javascript:resizepic(this)" border="0"/>
16、取消选区,同时选择图层1、图层2、图层3,按Ctrl+G键,将其合并为一个组,然后复制组,将组副本中的图层3删除。在图层1副本上新建一个图层,将气泡填充蓝色,如图26所示。
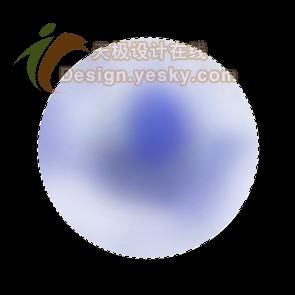 nmousewheel="return bbimg(this)" onload="javascript:resizepic(this)" border="0"/>
将混合模式设置为亮光,效果如图27所示。
 nmousewheel="return bbimg(this)" onload="javascript:resizepic(this)" border="0"/>
17、将做好的七彩气泡拖拽到照片中,最终效果如图28所示。
 nmousewheel="return bbimg(this)" onload="javascript:resizepic(this)" border="0"/>


