看到效果如此漂亮的光束,还真想不到全是用手工打造的。作者制作的时候每一根线条都是自己画好选区并填充不同的颜色,然后变形处理,再到后期的颜色渲染。制作的相当精细,非常值得学习。
最终效果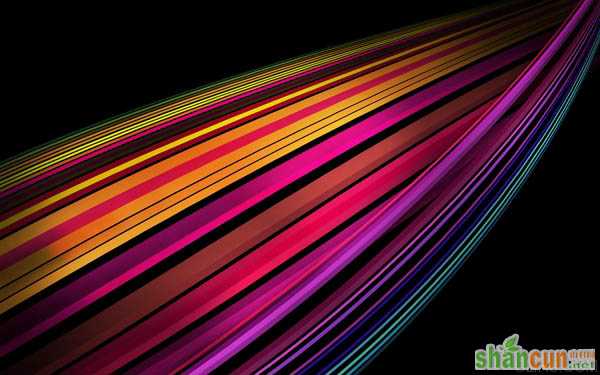 nmousewheel="return bbimg(this)" onload="javascript:resizepic(this)" border="0"/>
1、在Adobe Photoshop中创建一个大小为1920px * 1200px (RGB 颜色模式),72像素的新文件(Ctrl + N)。然后选择油漆桶工具(G)用黑色填充背景层。
 nmousewheel="return bbimg(this)" onload="javascript:resizepic(this)" border="0"/>
2、接下来,我们将选择矩形工具(U)画许多不同大小的彩色线条。颜色如下图所示:
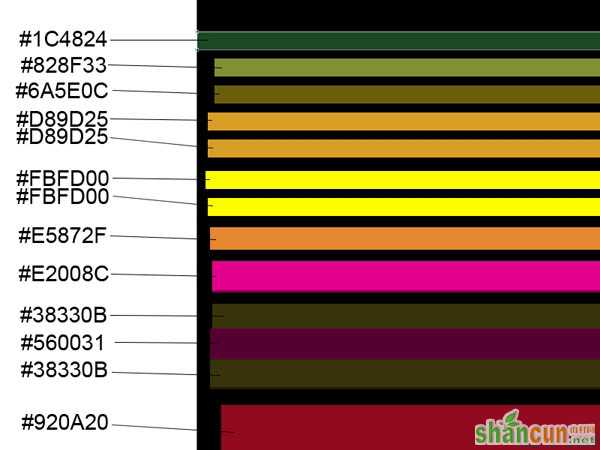 nmousewheel="return bbimg(this)" onload="javascript:resizepic(this)" border="0"/>
3、我们就得到了下面的线条:
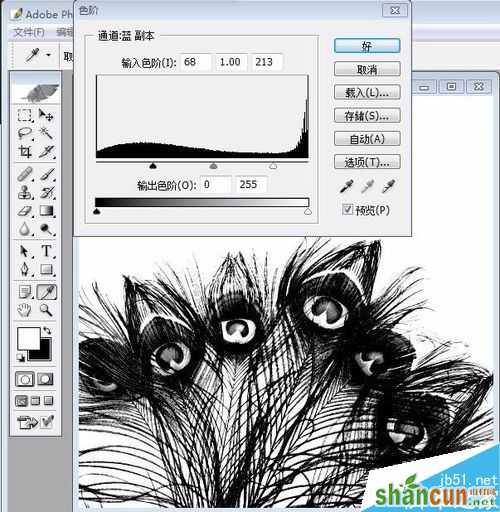 nmousewheel="return bbimg(this)" onload="javascript:resizepic(this)" border="0"/>
4、使用相同的工具,继续画彩色线条,见下图(线条的间距要与下图所示的相同)。
 nmousewheel="return bbimg(this)" onload="javascript:resizepic(this)" border="0"/>
5、我们得到了下图的效果:
 nmousewheel="return bbimg(this)" onload="javascript:resizepic(this)" border="0"/>
6、使用同样的矩形工具(U)画更多的线条。
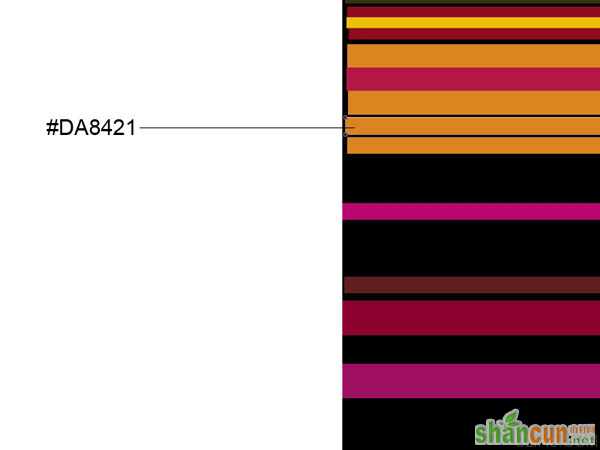 nmousewheel="return bbimg(this)" onload="javascript:resizepic(this)" border="0"/>
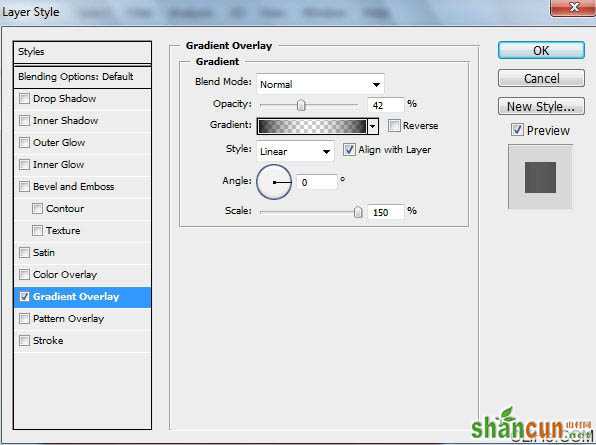
7、为这些线条添加图层样式,点击图层面板底部的添加图层样式图标,选择渐变叠加:
 nmousewheel="return bbimg(this)" onload="javascript:resizepic(this)" border="0"/>
8、点击颜色栏打开渐变编辑器,设置下图所示颜色。单击确定关闭渐变编辑器对话框。
 nmousewheel="return bbimg(this)" onload="javascript:resizepic(this)" border="0"/>
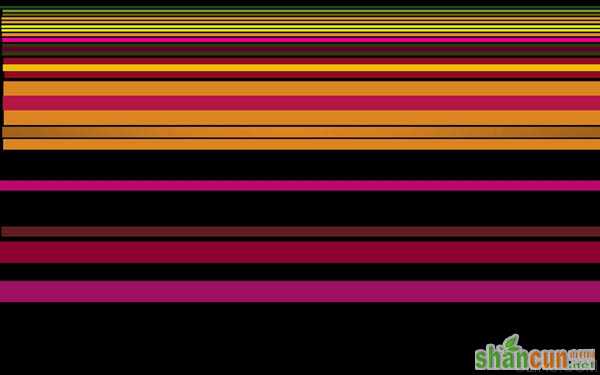
9、我们就得到了下图的渐变线条:
 nmousewheel="return bbimg(this)" onload="javascript:resizepic(this)" border="0"/>
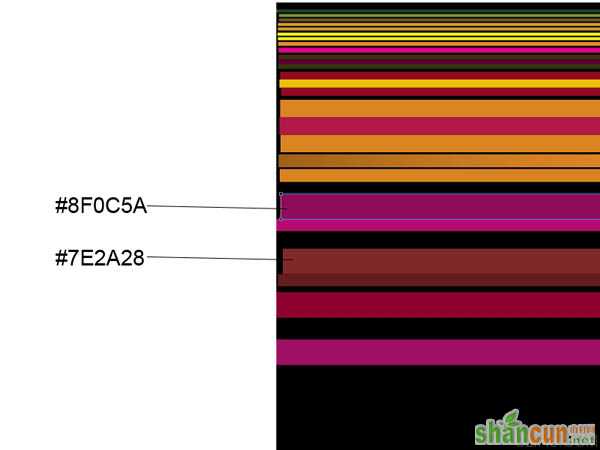
10、画其他两个线条:
 nmousewheel="return bbimg(this)" onload="javascript:resizepic(this)" border="0"/>
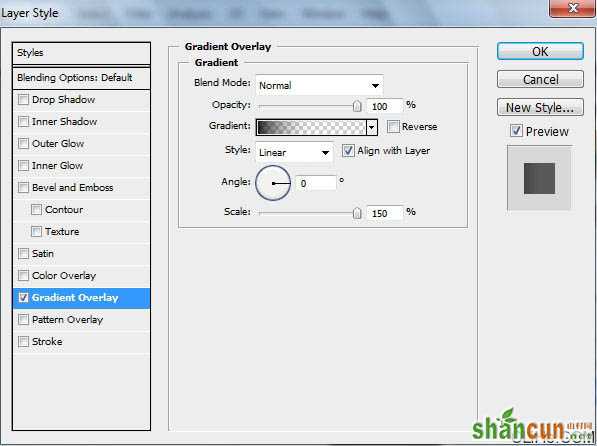
11、使用相同的设置描绘这些线条,图层样式>渐变叠加:
 nmousewheel="return bbimg(this)" onload="javascript:resizepic(this)" border="0"/>
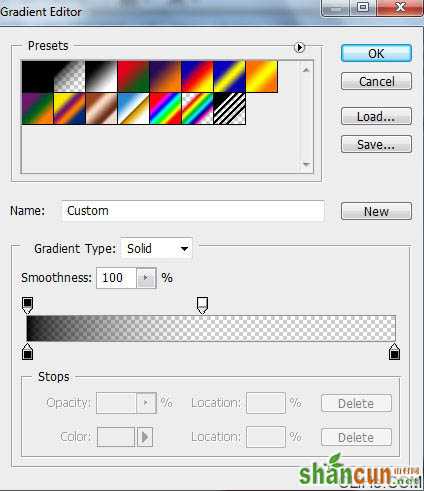
12、点击打开渐变编辑器,设置下图所示颜色。单击确定关闭渐变编辑器对话框。
 nmousewheel="return bbimg(this)" onload="javascript:resizepic(this)" border="0"/>
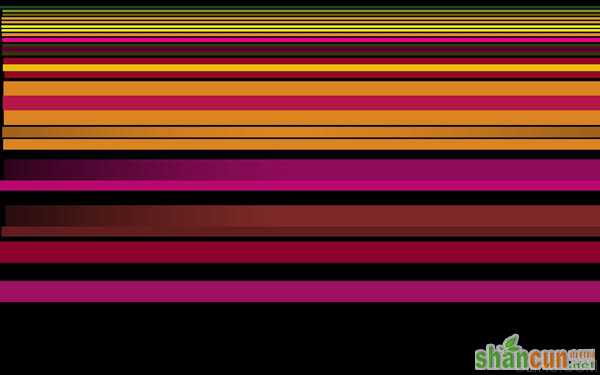
13、我们就得到了下图这些渐变线条:
 nmousewheel="return bbimg(this)" onload="javascript:resizepic(this)" border="0"/>
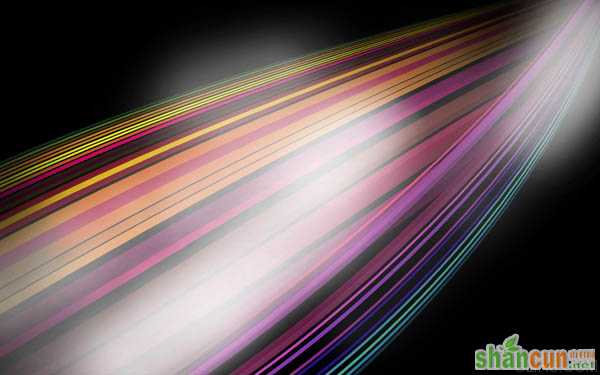
14、画更多的线条,重复上述步揍,得到类似下面的样子:
 nmousewheel="return bbimg(this)" onload="javascript:resizepic(this)" border="0"/>
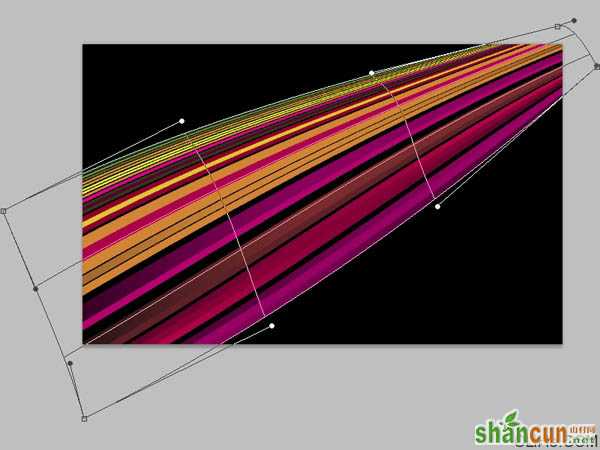
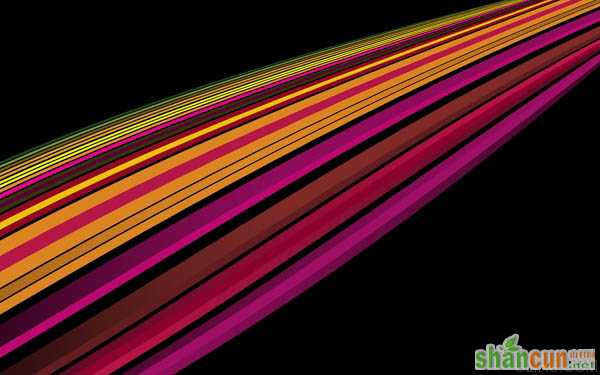
15、接下来,我们将把这些彩色线条图层合并为一组(按Ctrl键选择这些线条层,然后按住鼠标左键把选中的图层拖到创建一个新的组的选项中)。按Ctrl + E向下合并图层组,下一步我们需要弯曲图层。按Ctrl + T键选择自由变换,使用控制点如下图所示歪曲线条:
 nmousewheel="return bbimg(this)" onload="javascript:resizepic(this)" border="0"/>
16、我们会得到如下效果:
 nmousewheel="return bbimg(this)" onload="javascript:resizepic(this)" border="0"/>
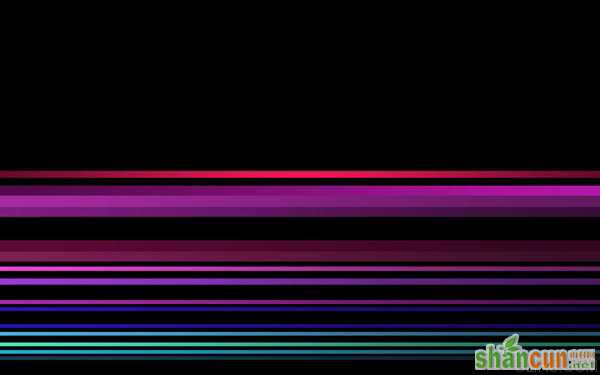
17、重复同样的步揍画更多的偏冷色调的线条(在新层上):
 nmousewheel="return bbimg(this)" onload="javascript:resizepic(this)" border="0"/>
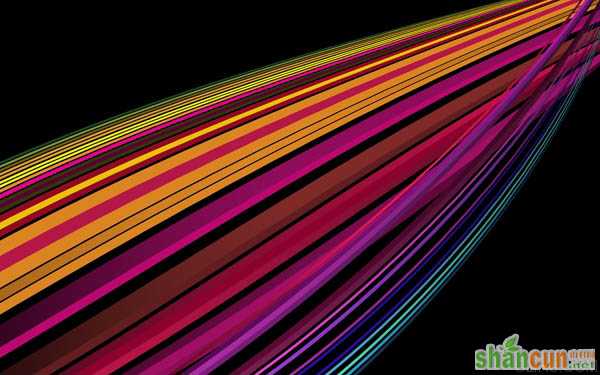
18、然后把这些线条合并成一组并弯曲:
 nmousewheel="return bbimg(this)" onload="javascript:resizepic(this)" border="0"/>
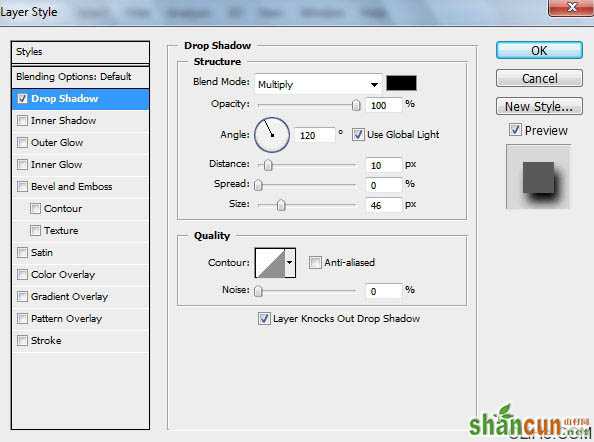
19、为这个线条图层添加图层样式>投影:
 nmousewheel="return bbimg(this)" onload="javascript:resizepic(this)" border="0"/>
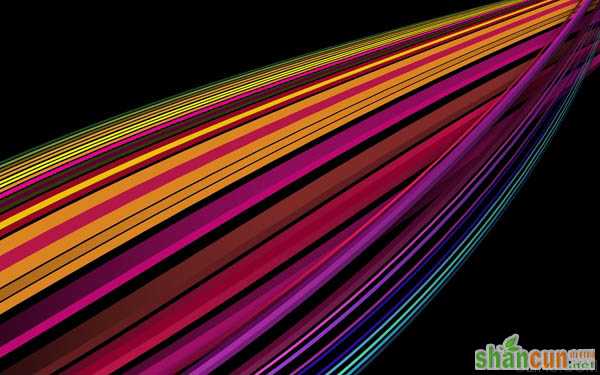 nmousewheel="return bbimg(this)" onload="javascript:resizepic(this)" border="0"/>
20、创建一个新层,然后在笔刷工具中(B)选择柔软的黑色圆形笔刷(不透明度20%)。
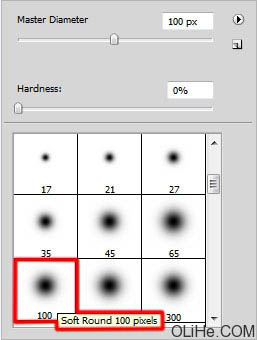 nmousewheel="return bbimg(this)" onload="javascript:resizepic(this)" border="0"/>
21、使用这个软笔刷加深我们首先做的那个线条图层的上下边缘,把这层放在线条层的中间,如下图:
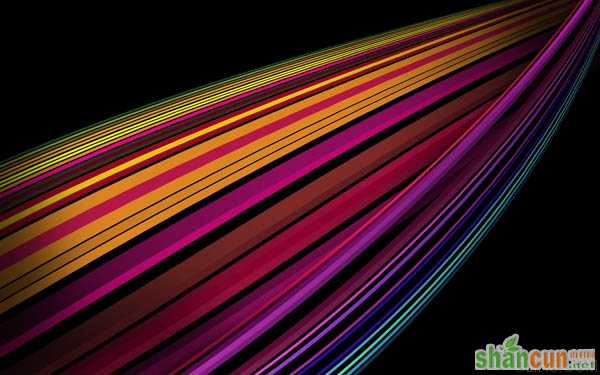 nmousewheel="return bbimg(this)" onload="javascript:resizepic(this)" border="0"/>
22、再次创建一个新层,3lian素材,并再次选择之前我们所用的黑色的柔软圆形笔刷(不透明度20%)来加深,见下图:
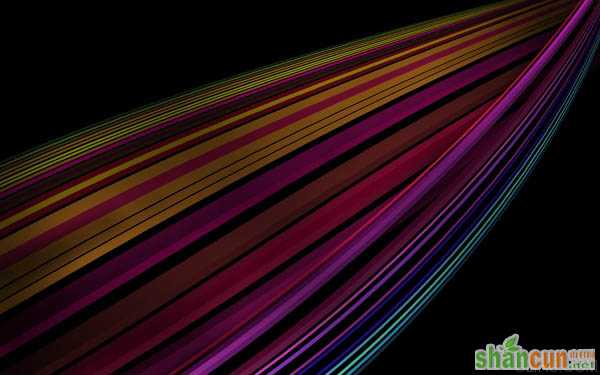 nmousewheel="return bbimg(this)" onload="javascript:resizepic(this)" border="0"/>
23、设置这个图层的混合模式为叠加:
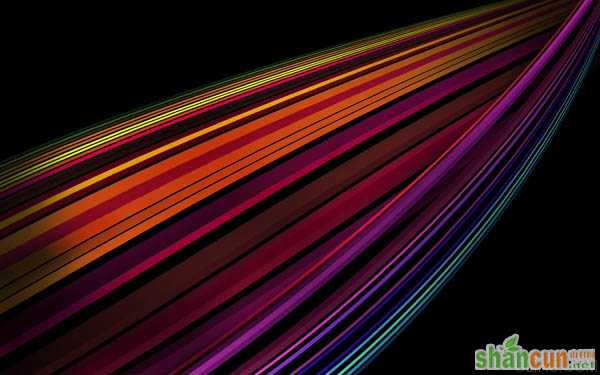 nmousewheel="return bbimg(this)" onload="javascript:resizepic(this)" border="0"/>
24、创建一个新层再次选择黑色的柔软圆形笔刷(不透明度20%)。
 nmousewheel="return bbimg(this)" onload="javascript:resizepic(this)" border="0"/>
25、如下图所示加深线条:
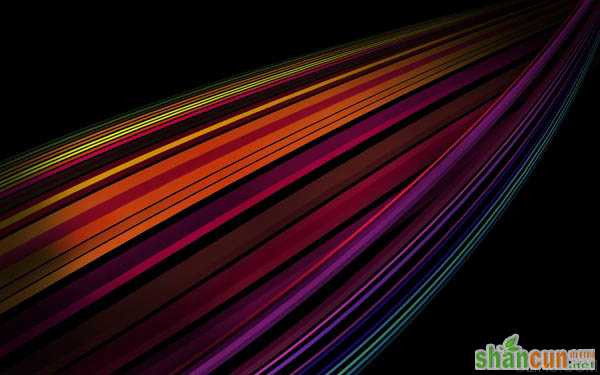 nmousewheel="return bbimg(this)" onload="javascript:resizepic(this)" border="0"/>
26、点击图层面板底部选择创建新的填充或调整图层,调整曲线,按下图所示调整曲线形状给图像添加更多对比度:
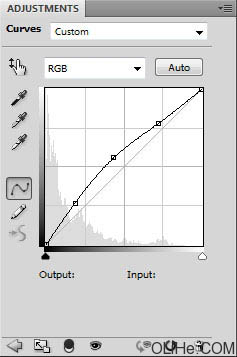 nmousewheel="return bbimg(this)" onload="javascript:resizepic(this)" border="0"/>
27、我们得到下图的效果:
 nmousewheel="return bbimg(this)" onload="javascript:resizepic(this)" border="0"/>
28、创建一个新层,这次选择柔软的圆形白色笔刷(不透明度30%)。
 nmousewheel="return bbimg(this)" onload="javascript:resizepic(this)" border="0"/>
29、涂抹使线条变淡,如下图所示:
 nmousewheel="return bbimg(this)" onload="javascript:resizepic(this)" border="0"/>
30、设置这层的混合模式为叠加,OK 这样就大功告成啦!
 nmousewheel="return bbimg(this)" onload="javascript:resizepic(this)" border="0"/>


