效果图虽然由很多图层构成,不过都是由重复的底纹构成。制作的时候我们只要做出一个底纹的效果,然后不断的复制并改变颜色。叠加在一起效果就出来了。
最终效果
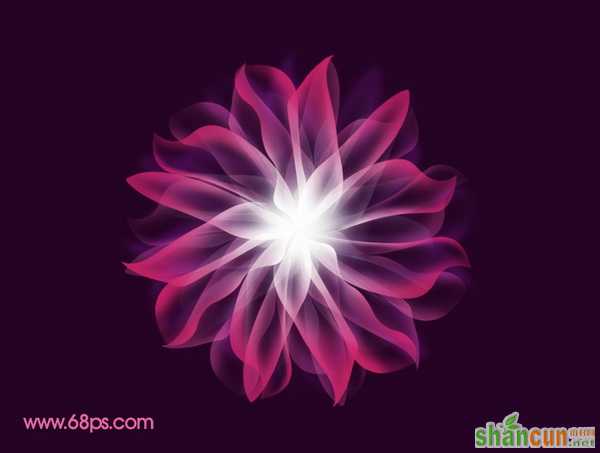 nmousewheel="return bbimg(this)" onload="javascript:resizepic(this)" border="0"/>
1、新建一个800 * 600像素的文件,背景填充颜色:#250324,如图1。
 nmousewheel="return bbimg(this)" onload="javascript:resizepic(this)" border="0"/>
<图1>
2、新建一个图层,用钢笔勾出一片花瓣的路径,转为选区如下图。
 nmousewheel="return bbimg(this)" onload="javascript:resizepic(this)" border="0"/>
<图2>
3、把前景颜色设置为:#E569A3,选择画笔工具,画笔不透明度设置为:10%左右,然后用画笔在选区边缘轻轻涂抹,淡淡的涂上一些色彩就可以了,如图3,4。
 nmousewheel="return bbimg(this)" onload="javascript:resizepic(this)" border="0"/>
<图3>
 nmousewheel="return bbimg(this)" onload="javascript:resizepic(this)" border="0"/>
<图4>
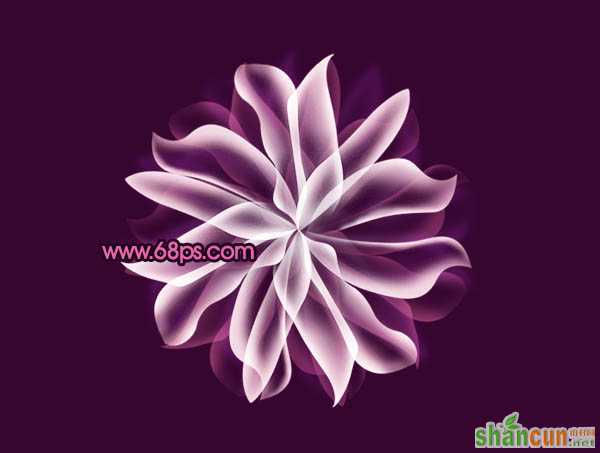
4、新建一个图层,用钢笔勾出另一片花瓣选区,用同样的方法涂色。做好后继续新建几个图层,做出图6所示的效果。
 nmousewheel="return bbimg(this)" onload="javascript:resizepic(this)" border="0"/>
<图5>
 nmousewheel="return bbimg(this)" onload="javascript:resizepic(this)" border="0"/>
<图6>
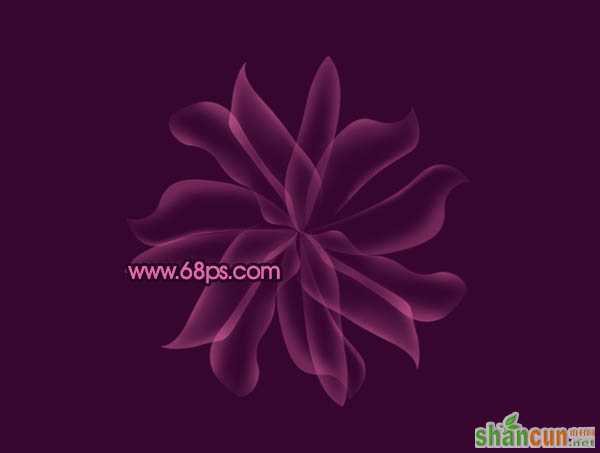
5、把做好的几个花瓣图层合并,然后复制一层,按Ctrl + T 稍微旋转一下,如图7。同样的方法再复制一层冰旋转,效果如图8。到这里基本上底部的花瓣已经完成。把这三个花瓣图层合并为一层并命名为“底纹1”。
 nmousewheel="return bbimg(this)" onload="javascript:resizepic(this)" border="0"/>
<图7>
 nmousewheel="return bbimg(this)" onload="javascript:resizepic(this)" border="0"/>
<图8>
6、把“底纹1”复制三份分别得到“底纹1”副本1,2,3。把这三个副本合并为一个图层,命名为“底纹2”。按Ctrl + T 稍微旋转一定的角度,效果如下图。
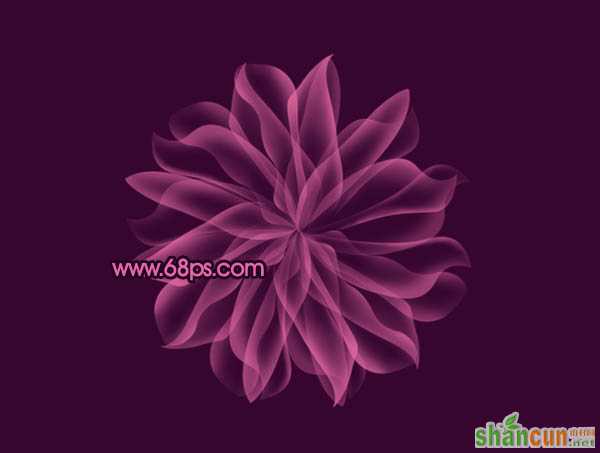 nmousewheel="return bbimg(this)" onload="javascript:resizepic(this)" border="0"/>
<图9>7、锁定图层,选择渐变工具,颜色设置如图10,由中心拉出图11所示的径向渐变。
 nmousewheel="return bbimg(this)" onload="javascript:resizepic(this)" border="0"/>
<图10>
 nmousewheel="return bbimg(this)" onload="javascript:resizepic(this)" border="0"/>
<图11>
8、把“底纹2”复制一层,填充紫色,解锁后执行:滤镜 > 模糊 > 高斯模糊,数值为5,如图12,然后把图层不透明度改为:40%,效果如图13。
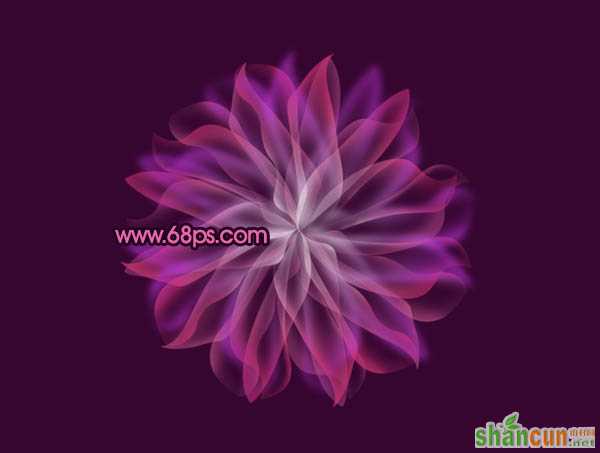 nmousewheel="return bbimg(this)" onload="javascript:resizepic(this)" border="0"/>
<图12>
 nmousewheel="return bbimg(this)" onload="javascript:resizepic(this)" border="0"/>
<图13>
9、把“底纹2”复制一层,按Ctrl + Shift + ] 置顶,填充白色,效果如图14。
 nmousewheel="return bbimg(this)" onload="javascript:resizepic(this)" border="0"/>
<图14>
10、选择椭圆选区工具,拉出图15所示的正圆选区,按Ctrl + Alt + D 羽化25个像素,然后加上图层蒙版,效果如图16。
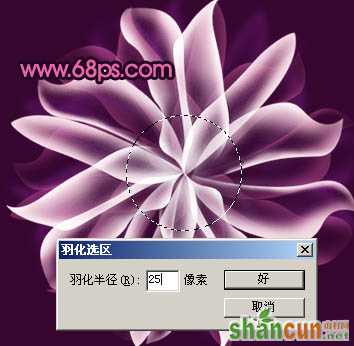 nmousewheel="return bbimg(this)" onload="javascript:resizepic(this)" border="0"/>
<图15>
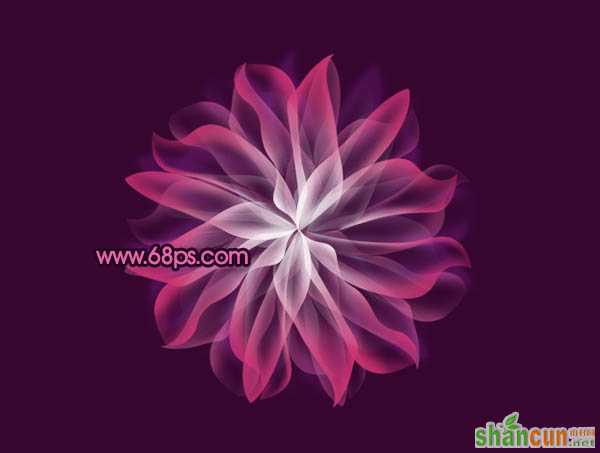 nmousewheel="return bbimg(this)" onload="javascript:resizepic(this)" border="0"/>
<图16>
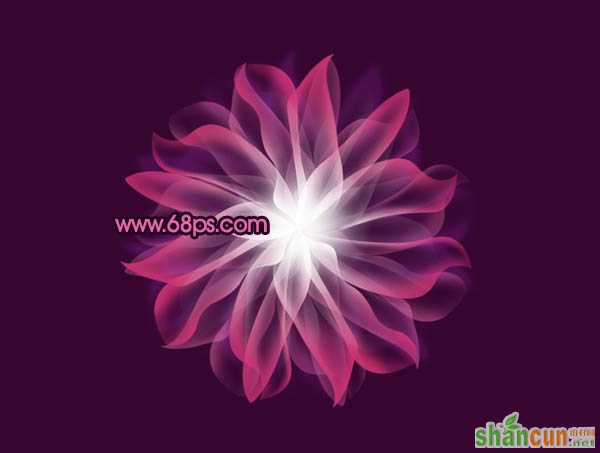
11、新建一个图层,用画笔把花的中心点上一些白色,效果如下图。
 nmousewheel="return bbimg(this)" onload="javascript:resizepic(this)" border="0"/>
<图17>
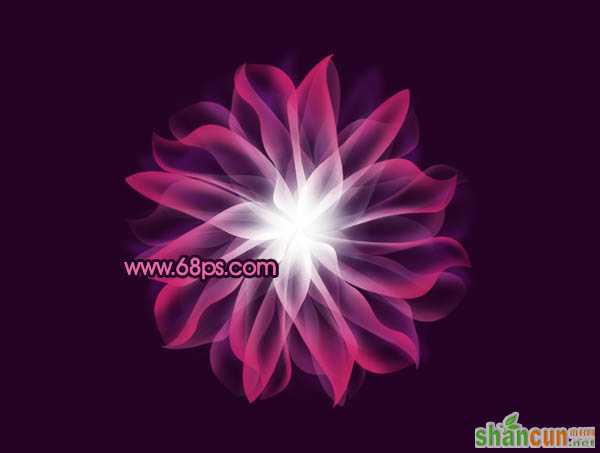
12、新建一个图层,按Ctrl + Alt + Shift + E 盖印图层。执行:滤镜 > 模糊 > 高斯模糊,数值为5,3lian素材,确定后把图层混合模式改为“柔光”,图层不透明度改为:30%,效果如下图。
 nmousewheel="return bbimg(this)" onload="javascript:resizepic(this)" border="0"/>
<图18>
13、最后整体调整下颜色,完成最终效果。
 nmousewheel="return bbimg(this)" onload="javascript:resizepic(this)" border="0"/>
<图19>


