
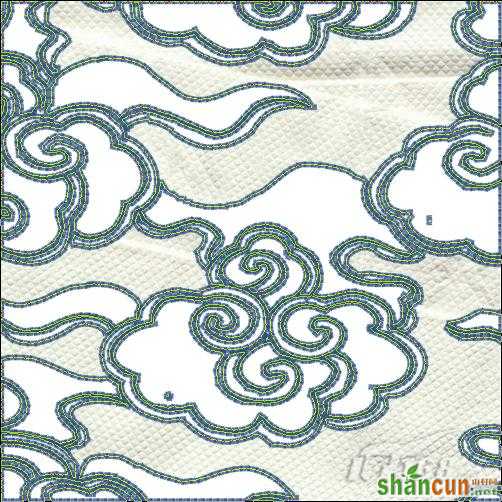
刺绣质感”完成效果如图01所示,制作本案例所需的素材,如图02、图03所示。
图01 完成效果
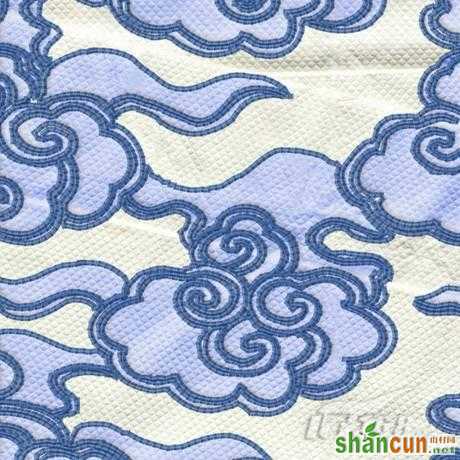 nmousewheel="return bbimg(this)" onload="javascript:resizepic(this)" border="0"/>图02 素材1
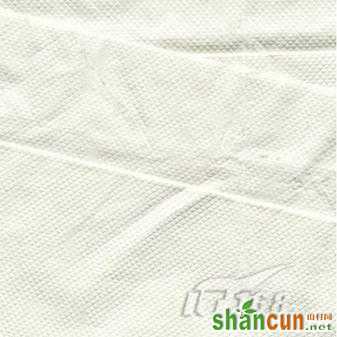 nmousewheel="return bbimg(this)" onload="javascript:resizepic(this)" border="0"/>图03 素材2
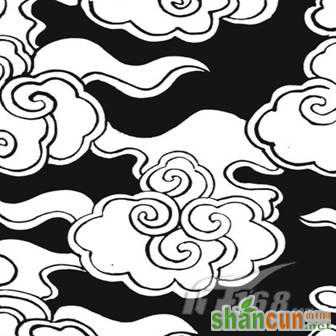 nmousewheel="return bbimg(this)" onload="javascript:resizepic(this)" border="0"/>
一、定义刺绣画笔
(1)执行“文件/新建”菜单命令,设置文件的“宽度”为250像素、“高度”为150像素,“分辨率”为72像素,“背景内容”为“透明”,名称为“刺绣画笔”,来制作定义用的画笔,如图04所示。
 nmousewheel="return bbimg(this)" onload="javascript:resizepic(this)" border="0"/>图0 4 新建文件
 (2)单击工具箱上面的“画笔工具”,模式为“正常”,“不透明度”和“流量”为100%,打开选项栏中的画笔下拉菜,选择“尖角19像素”画笔,如图05所示。
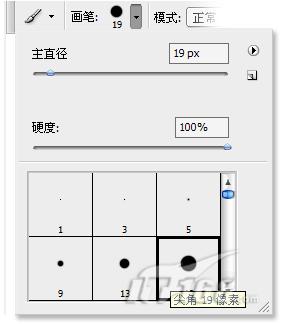 nmousewheel="return bbimg(this)" onload="javascript:resizepic(this)" border="0"/>图05 选择画笔
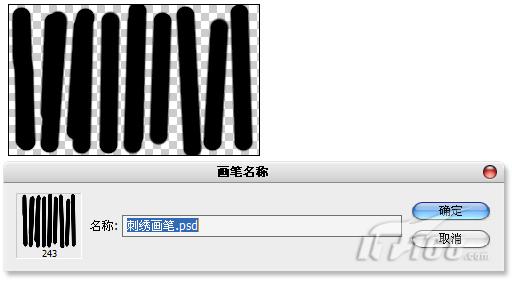
(3)按住Shift键,画笔在画布中垂直方向绘制不规则的直线,作为刺绣的线,如图06所示。
 nmousewheel="return bbimg(this)" onload="javascript:resizepic(this)" border="0"/>图06 在画布中绘制直线
(4)执行“编辑/定义画笔预设”菜单命令,在弹出的“画笔名称”对话框中输入名称,单击确定按钮完成操作,如图07所示。
 nmousewheel="return bbimg(this)" onload="javascript:resizepic(this)" border="0"/>图07 定义画笔
(5)打开“画笔”面板,勾选并单击“形状动态”选项,在“角度抖动”中的“控制”文本框中选择“方向”,“最小直径”为80 %,在“画笔笔尖形状”栏中,直径为20Px,间距设置为124 %,如图08所示。
nmousewheel="return bbimg(this)" onload="javascript:resizepic(this)" border="0"/>图08 设置画笔二、制作刺绣质感 (1)执行“文件/打开”菜单命令,同时打开“素材1”与“素材2”文件,如图09、图10所示。
 nmousewheel="return bbimg(this)" onload="javascript:resizepic(this)" border="0"/>图09
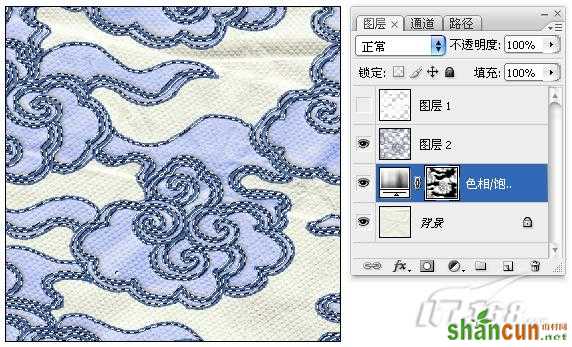 nmousewheel="return bbimg(this)" onload="javascript:resizepic(this)" border="0"/>图10 打开素材文件
(2)单击工具箱中的“魔棒工具”,在选项栏中设置容差为:30,不勾选“连续”,在背景白色处点击,选出白色部分,如图11所示。
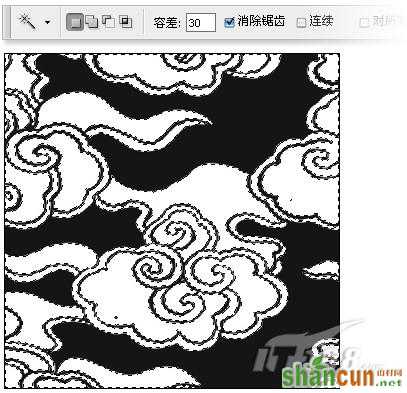 nmousewheel="return bbimg(this)" onload="javascript:resizepic(this)" border="0"/>图11 选出白色部分
(3)把“素材2”文件中的选区部分拖曳到“素材1”文件中,放置在“背景”图层的上方,如图12所示。
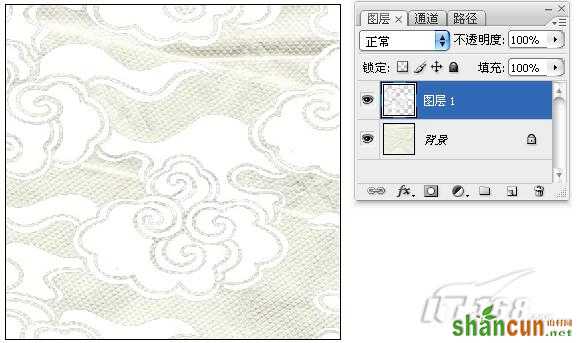 nmousewheel="return bbimg(this)" onload="javascript:resizepic(this)" border="0"/>图12 拖曳到“素材1”文件
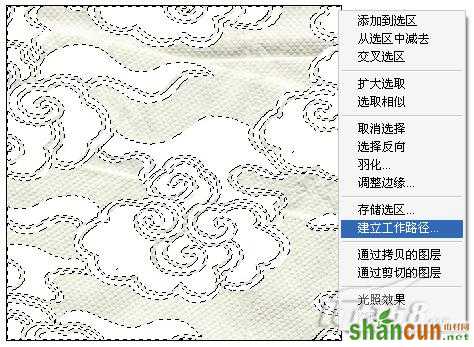
 (4)载入“图层1”的选区,右键单击画布,在弹出的快捷菜单中选择“建立工作路径”命令,如图13所示,在之后弹出的“建立工作路径”对话框中,“容差值”输入1像素,如图14所示。
nmousewheel="return bbimg(this)" onload="javascript:resizepic(this)" border="0"/>图13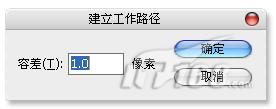 nmousewheel="return bbimg(this)" onload="javascript:resizepic(this)" border="0"/>图14 建立工作路径
(5)单击工具箱中的“设置前景色”,弹出“拾色器”对话框,选取R:36、G:74、B:135作为前景色,如图15所示。
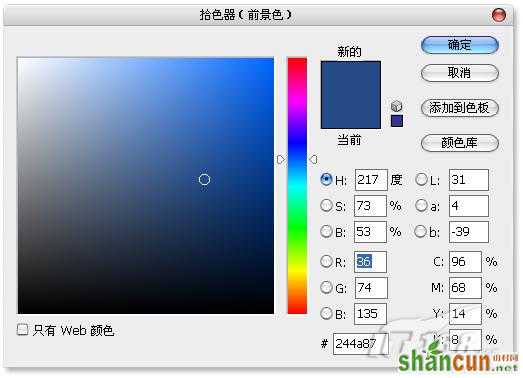 nmousewheel="return bbimg(this)" onload="javascript:resizepic(this)" border="0"/>图15 选取前景色
(6)新建“图层2”,如图16所示,当前工具选择为“钢笔工具”,鼠标右键点击画布,在弹出的快捷菜单中选择“描边路径”命令,如图17所示,在弹出的“描边路径”对话框中选择“画笔”,如图18所示,画笔工具“描边路径”后效果如图19所示。
 nmousewheel="return bbimg(this)" onload="javascript:resizepic(this)" border="0"/>图16
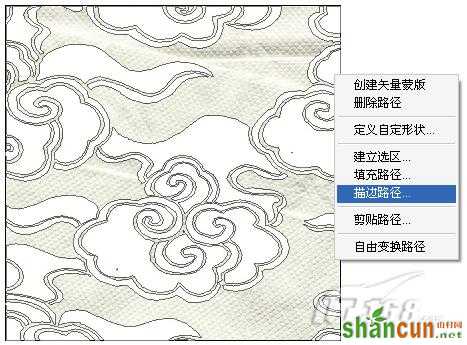 nmousewheel="return bbimg(this)" onload="javascript:resizepic(this)" border="0"/>图17
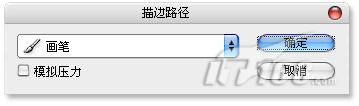 nmousewheel="return bbimg(this)" onload="javascript:resizepic(this)" border="0"/>图18 画笔工具“描边路径” nmousewheel="return bbimg(this)" onload="javascript:resizepic(this)" border="0"/>图19 “描边路径”后效果
(7)分别为“减淡工具”与“加深工具”设定数值,笔刷大小为8像素的柔性画笔,“范围”为“中间调”,3lian素材,“曝光度”为100%,为刺绣制作立体感做准备,如图20所示。
 nmousewheel="return bbimg(this)" onload="javascript:resizepic(this)" border="0"/>图20 设定“减淡工具”与“加深工具”数值
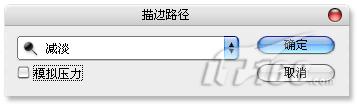
(8)当前工具选择为“钢笔工具”,选中“路径1”,鼠标右键点击画布,选择“描边路径”命令,在弹出的“描边路径”对话框中选择“减淡”,执行描边任务,如图21所示。
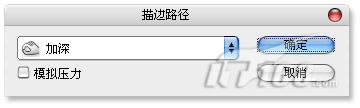
nmousewheel="return bbimg(this)" onload="javascript:resizepic(this)" border="0"/>图21 “减淡”描边路径(9)单击工具箱中的“路径选择工具”,选中“路径1”的全部,按动键盘上的方向键,向右下方↘移动一些,继续执行“描边路径”命令,对话框中选择“加深”,执行描边任务,如图22所示,经过“减淡工具”与“加深工具”描边路径后的效果,就具有了立体感,如图23所示。
 nmousewheel="return bbimg(this)" onload="javascript:resizepic(this)" border="0"/>图22 “加深”描边任务
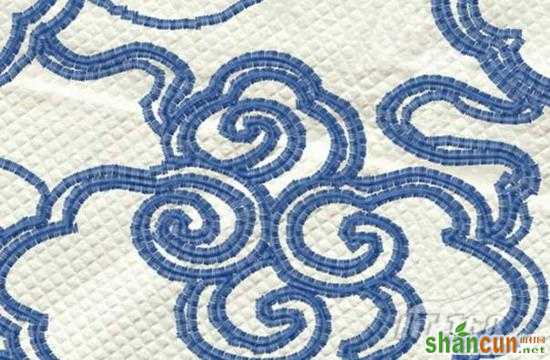 nmousewheel="return bbimg(this)" onload="javascript:resizepic(this)" border="0"/>图23 描边路径后的效果
 (10)载入“图层1”的选区,单击图层面板下方的“创建新的填充或调整图层”按钮,在弹出的快捷菜单中选择“色相饱和度”命令,如图24所示,在“背景”图层的上方添加一个调整图层,调整选区中颜色,如图25所示。
nmousewheel="return bbimg(this)" onload="javascript:resizepic(this)" border="0"/>图24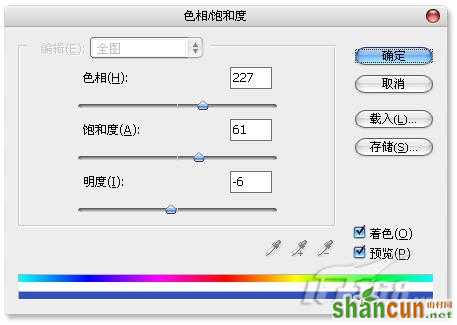 nmousewheel="return bbimg(this)" onload="javascript:resizepic(this)" border="0"/>图25 调整选区中颜色
(11)单击图层面板下方的“添加图层样式”按钮,点击“斜面与浮雕”选项,在弹出的“图层样式”对话框中按图中设置,为“色相饱和度”调整图层添加图层样式,使刺绣内部的面料产生凸起的效果,如图26所示。
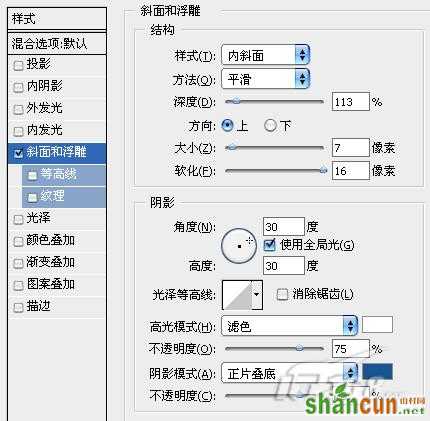 nmousewheel="return bbimg(this)" onload="javascript:resizepic(this)" border="0"/>图26 添加图层样式
(12)到此“刺绣质感”的制作过程就全部完成了,看一下最终效果与图层分布情况,如图27所示。
 nmousewheel="return bbimg(this)" onload="javascript:resizepic(this)" border="0"/>图27 完成效果


