
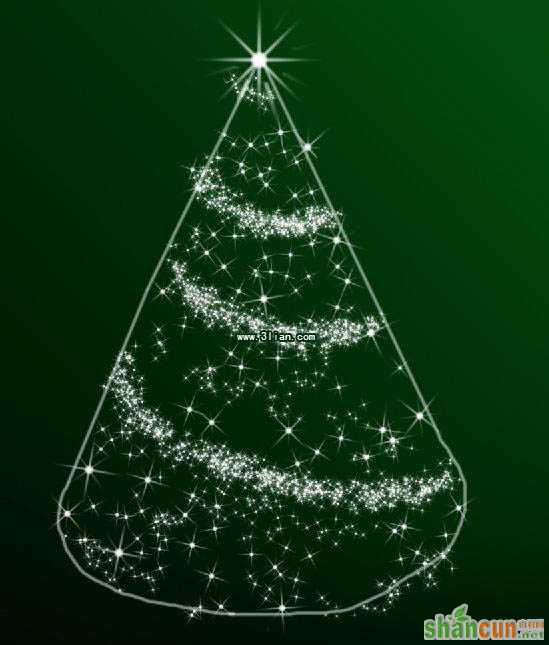
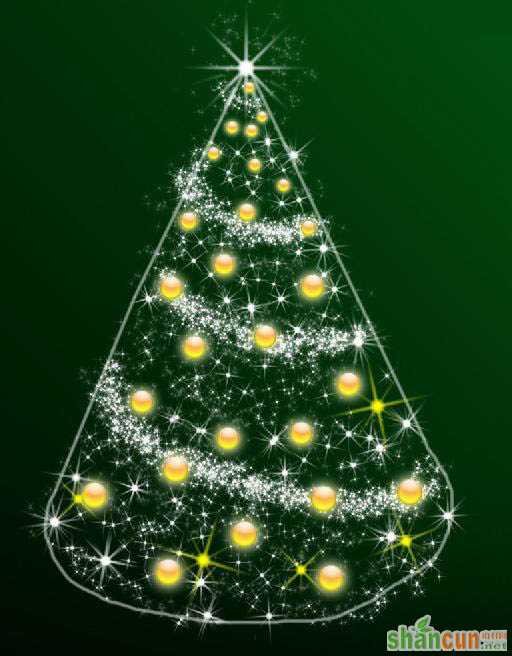
教程的圣诞树非常漂亮,它是由一些星光及水晶球构成。制作的方法也非常简单:先用路径工具做好圣诞树的大致轮廓,然后用设置好的星光笔刷来装饰,最后加上一些水晶球,就可以看到非常漂亮的效果。
最终效果 nmousewheel="return bbimg(this)" onload="javascript:resizepic(this)" border="0"/>
1、按Ctrl+N 新建立文档,设置大小 1920px by 1200px RGB模式,分辨率大小 72 pixels/inch.。用巨型工具绘制一个矩形。
 nmousewheel="return bbimg(this)" onload="javascript:resizepic(this)" border="0"/>
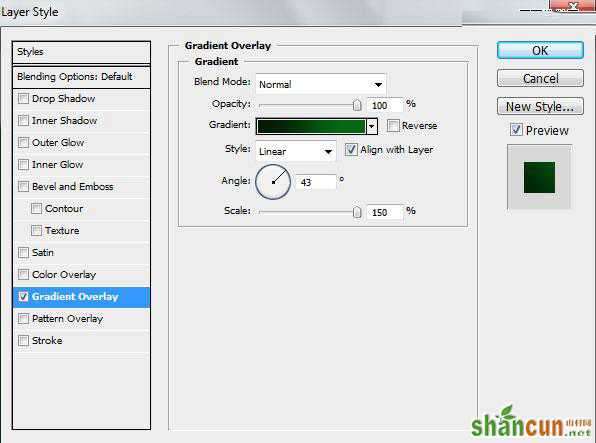
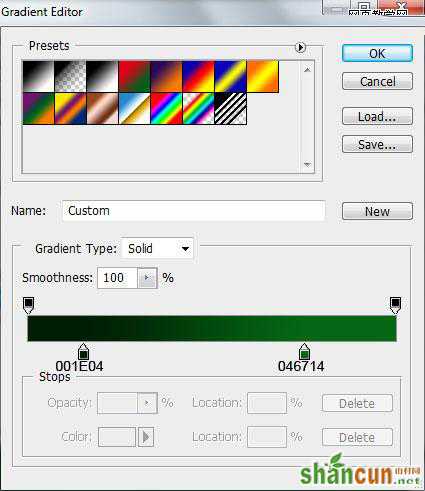
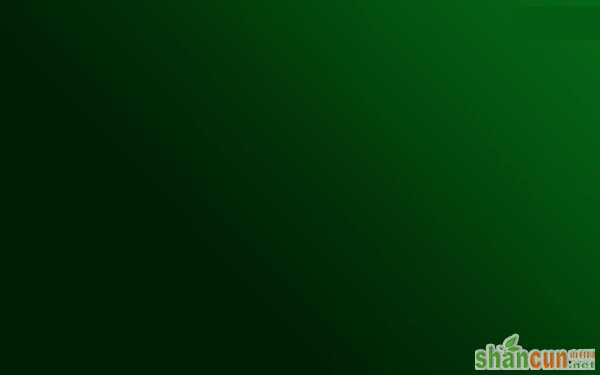
2、添加图层样式:渐变叠加,参数及效果如下图。
 nmousewheel="return bbimg(this)" onload="javascript:resizepic(this)" border="0"/>
 nmousewheel="return bbimg(this)" onload="javascript:resizepic(this)" border="0"/>
 nmousewheel="return bbimg(this)" onload="javascript:resizepic(this)" border="0"/>
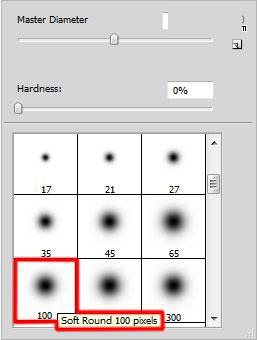
3、创建新图层,选择柔角画笔。
 nmousewheel="return bbimg(this)" onload="javascript:resizepic(this)" border="0"/>
4、改变前景色为黑色,设置透明度为10%,用笔刷绘制如下效果。
 nmousewheel="return bbimg(this)" onload="javascript:resizepic(this)" border="0"/>
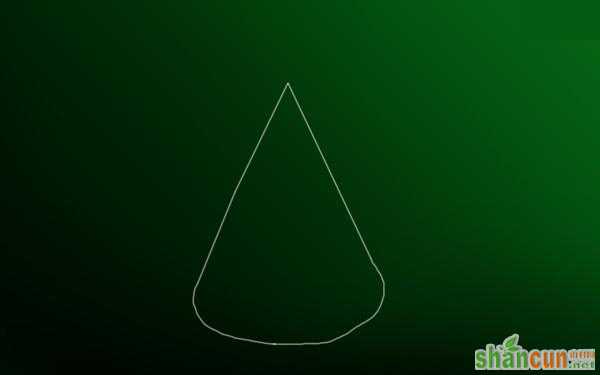
5、再创建一个新图层,使用应笔刷绘制圣诞树形状。
 nmousewheel="return bbimg(this)" onload="javascript:resizepic(this)" border="0"/>
 nmousewheel="return bbimg(this)" onload="javascript:resizepic(this)" border="0"/>
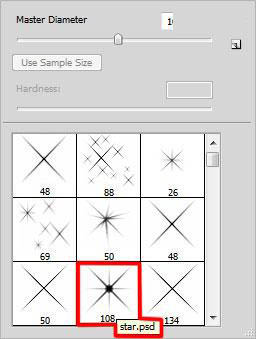
6、打开下图所示的星光图片。选择菜单:编辑 > 定义画笔,创建新图层,然后选择星光笔刷。
 nmousewheel="return bbimg(this)" onload="javascript:resizepic(this)" border="0"/>
 nmousewheel="return bbimg(this)" onload="javascript:resizepic(this)" border="0"/>
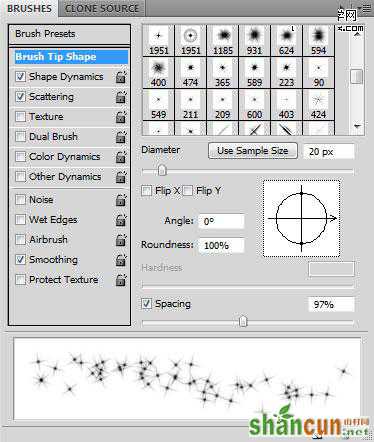
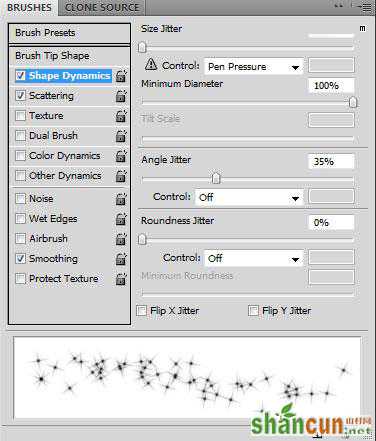
7、打开画笔面板,设置如下。
 nmousewheel="return bbimg(this)" onload="javascript:resizepic(this)" border="0"/>
 nmousewheel="return bbimg(this)" onload="javascript:resizepic(this)" border="0"/>
 nmousewheel="return bbimg(this)" onload="javascript:resizepic(this)" border="0"/>
8、绘制如下形状。
 nmousewheel="return bbimg(this)" onload="javascript:resizepic(this)" border="0"/>
9、再创建一个图层,选择下面笔刷。
nmousewheel="return bbimg(this)" onload="javascript:resizepic(this)" border="0"/>
10、绘制一个星光。
 nmousewheel="return bbimg(this)" onload="javascript:resizepic(this)" border="0"/>
11、创建新图层,绘制星光,按CTRL+T调整大小。
 nmousewheel="return bbimg(this)" onload="javascript:resizepic(this)" border="0"/>
12、再创建图层,选择笔刷。
 nmousewheel="return bbimg(this)" onload="javascript:resizepic(this)" border="0"/>
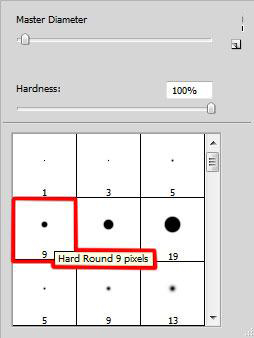
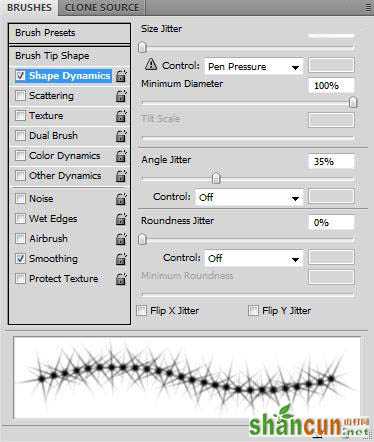
13、设置笔刷。
 nmousewheel="return bbimg(this)" onload="javascript:resizepic(this)" border="0"/>
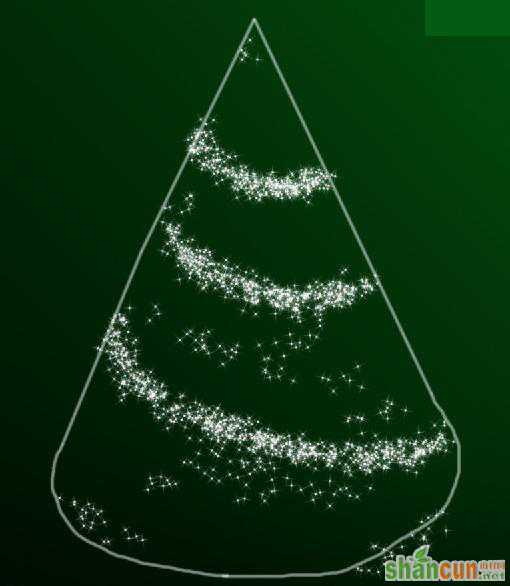
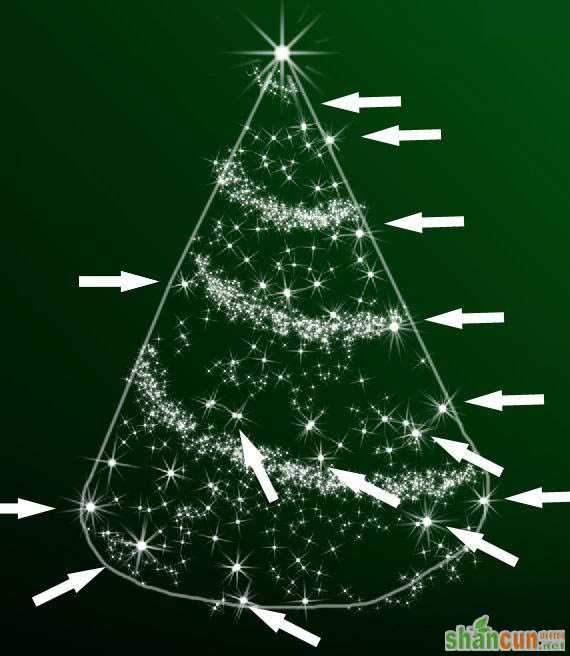
14、按下图箭头指向描绘圣诞树。
 nmousewheel="return bbimg(this)" onload="javascript:resizepic(this)" border="0"/>
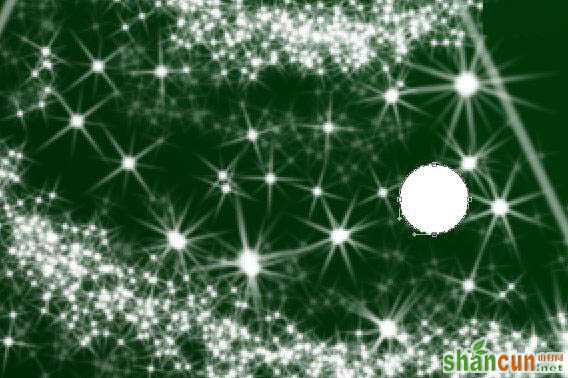
15、创建新图层,选择星光笔刷,设置透明度为50%,绘制一些星光。
 nmousewheel="return bbimg(this)" onload="javascript:resizepic(this)" border="0"/>
16、新建立一个图层,添加白色的圆。
 nmousewheel="return bbimg(this)" onload="javascript:resizepic(this)" border="0"/>
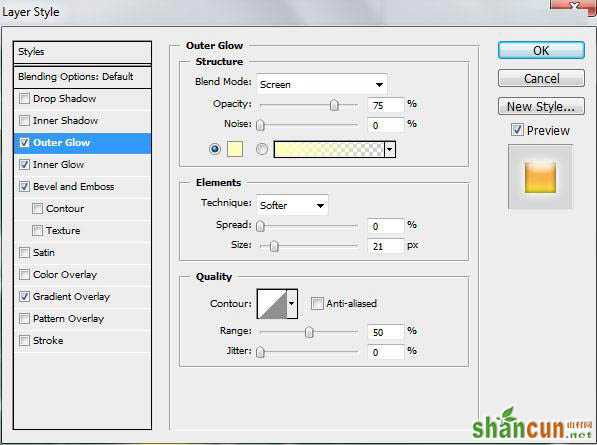
17、设置图层样式:外发光。
 nmousewheel="return bbimg(this)" onload="javascript:resizepic(this)" border="0"/>
内发光。
nmousewheel="return bbimg(this)" onload="javascript:resizepic(this)" border="0"/>
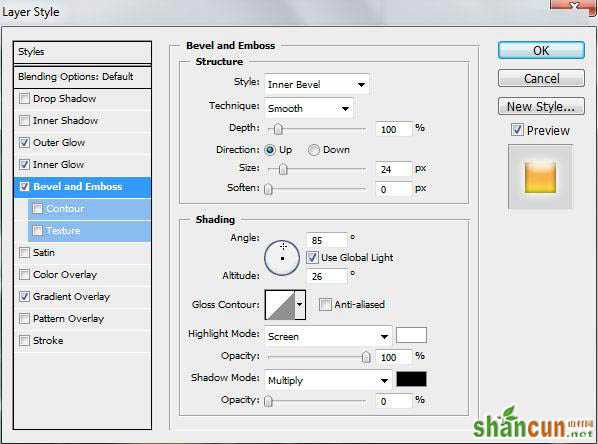
斜面与浮雕。
 nmousewheel="return bbimg(this)" onload="javascript:resizepic(this)" border="0"/>
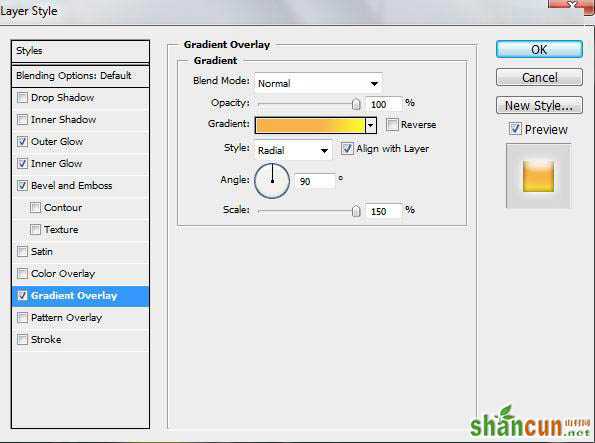
渐变叠加。
 nmousewheel="return bbimg(this)" onload="javascript:resizepic(this)" border="0"/>
 nmousewheel="return bbimg(this)" onload="javascript:resizepic(this)" border="0"/>
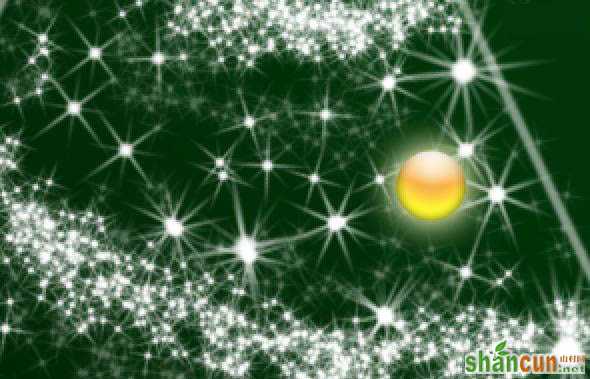
这时的效果。
 nmousewheel="return bbimg(this)" onload="javascript:resizepic(this)" border="0"/>
18、同样的办法我们可以制作更多的上面的小圆,使用CTRL+T调整大小和不透明度。
 nmousewheel="return bbimg(this)" onload="javascript:resizepic(this)" border="0"/>
19、创建新图层,选择星光笔刷。
nmousewheel="return bbimg(this)" onload="javascript:resizepic(this)" border="0"/>
20、设置前景色#FCFD00 用笔刷绘制图形。
nmousewheel="return bbimg(this)" onload="javascript:resizepic(this)" border="0"/>
21、删除一些没用的。
 nmousewheel="return bbimg(this)" onload="javascript:resizepic(this)" border="0"/>
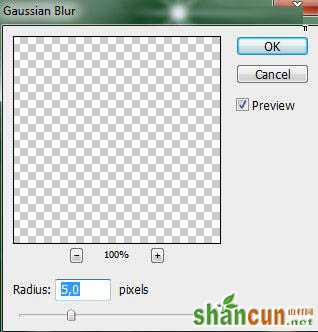
22、创建一个图层,绘制一些星光笔刷,然后执行高斯模糊。
nmousewheel="return bbimg(this)" onload="javascript:resizepic(this)" border="0"/>
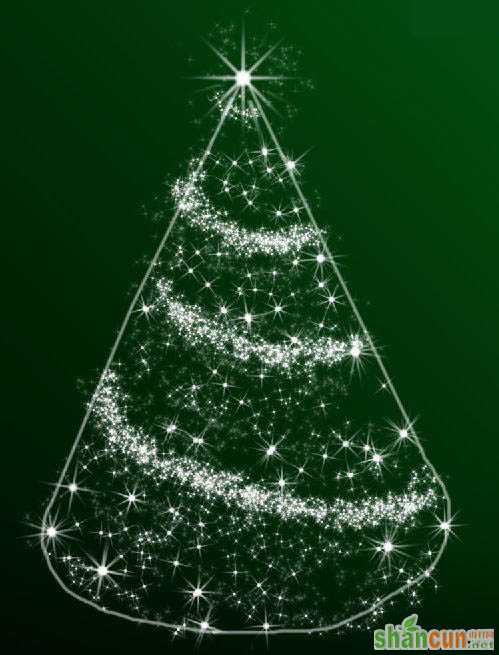
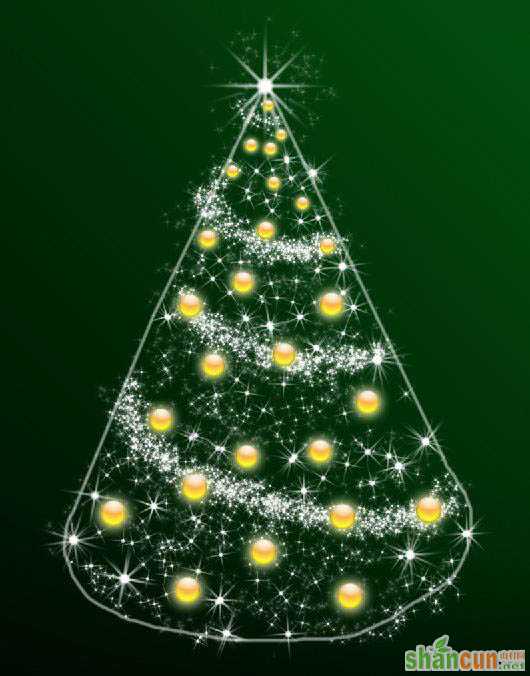
最终效果:
nmousewheel="return bbimg(this)" onload="javascript:resizepic(this)" border="0"/>


