
很多光束壁纸看上去非常不错,各种不同形状的光束叠加到一起,梦幻并带有一定的层次感,感觉非常舒服。下面的效果简单介绍这类壁纸的制作方法。其实用到的工具非常简单,仅画笔和钢笔工具。只要掌握了其中的方法,我们就可以做出各种绚丽的壁纸。
最终效果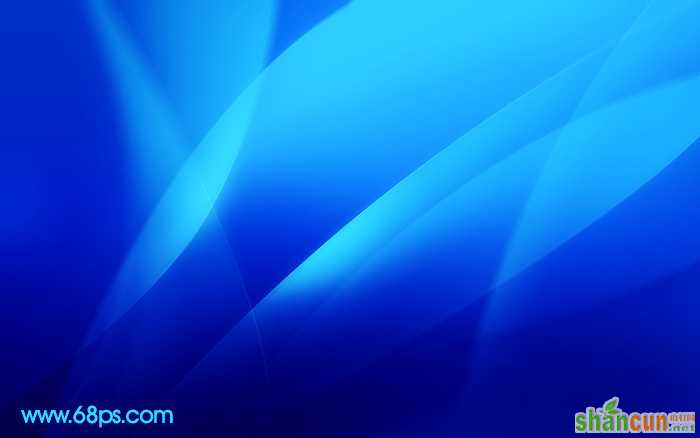 nmousewheel="return bbimg(this)" onload="javascript:resizepic(this)" border="0"/>
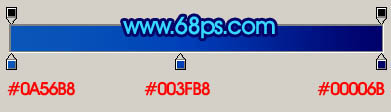
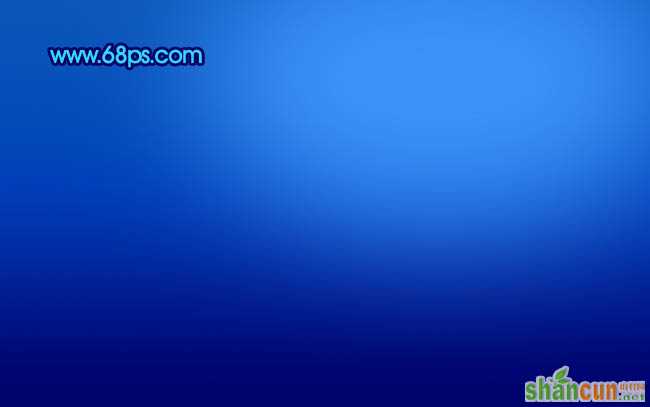
1、新建一个壁纸大小的文档,如1024 * 768 像素,选择渐变工具,颜色设置如图1,拉出图2所示的线性渐变。
 nmousewheel="return bbimg(this)" onload="javascript:resizepic(this)" border="0"/>
<图1> 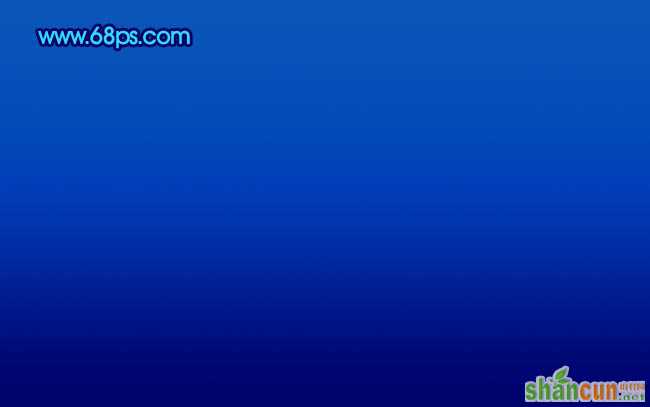 nmousewheel="return bbimg(this)" onload="javascript:resizepic(this)" border="0"/>
<图2>
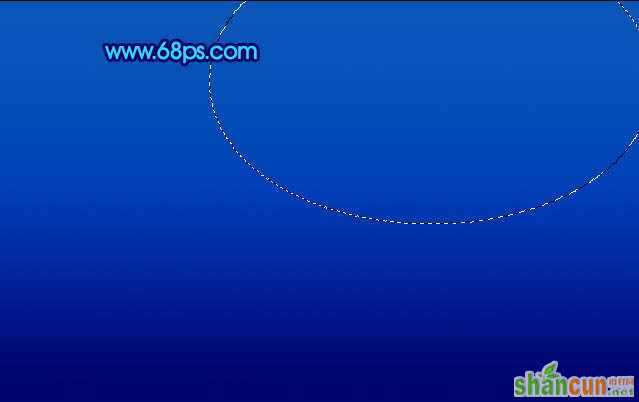
2、新建一个图层,用椭圆选框工具拉出图3所示的选区,按Ctrl + Alt + D 羽化60个像素,填充颜色:#3C92F9,效果如图4。
 nmousewheel="return bbimg(this)" onload="javascript:resizepic(this)" border="0"/>
<图3>
 nmousewheel="return bbimg(this)" onload="javascript:resizepic(this)" border="0"/>
<图4>
3、新建一个图层,用钢笔工具勾出下图所示的选区,把前景颜色设置为:#59BAF7。选择画笔工具,画笔不透明度设置为:10%,然后涂抹选区边缘,涂上淡淡的高光,效果如图6。
 nmousewheel="return bbimg(this)" onload="javascript:resizepic(this)" border="0"/>
<图5>
 nmousewheel="return bbimg(this)" onload="javascript:resizepic(this)" border="0"/>
<图6>
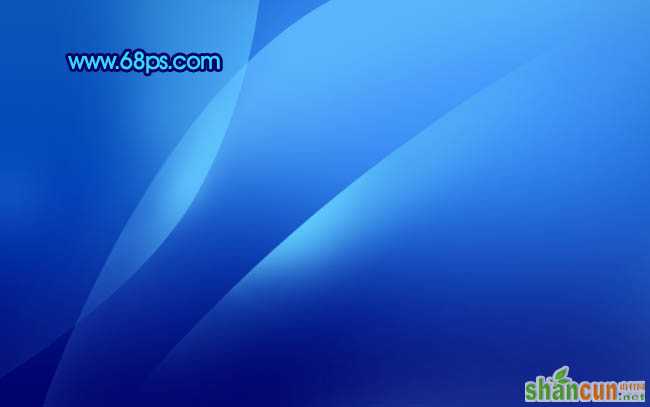
4、同样的方法用钢笔勾出其它选区,再用画笔涂上高光,一个选区需要新建一个图层。效果如图7 - 10,涂的时候要均匀,效果看上去自然就行。
 nmousewheel="return bbimg(this)" onload="javascript:resizepic(this)" border="0"/>
<图7>
 nmousewheel="return bbimg(this)" onload="javascript:resizepic(this)" border="0"/>
<图8>
 nmousewheel="return bbimg(this)" onload="javascript:resizepic(this)" border="0"/>
<图9>
 nmousewheel="return bbimg(this)" onload="javascript:resizepic(this)" border="0"/>
<图10>
5、新建一个图层按Ctrl + Alt + Shift + E 盖印图层,执行:滤镜 > 模糊 > 高斯模糊,数值为5,确定后把图层混合模式改为“柔光”,效果如下图。
 nmousewheel="return bbimg(this)" onload="javascript:resizepic(this)" border="0"/>
<图11>
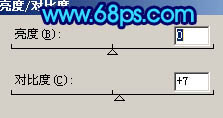
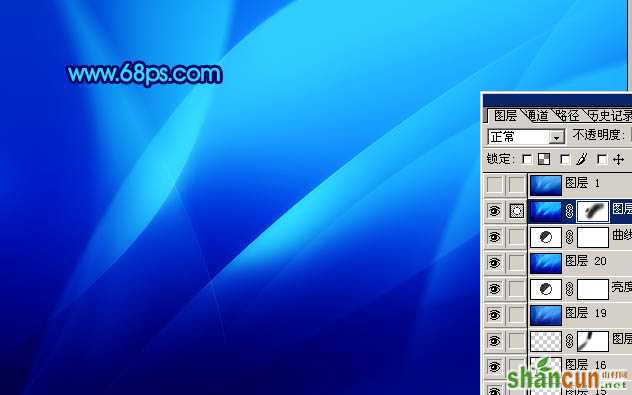
6、创建亮度/对比度调整图层,参数设置如图12,效果如图13。
 nmousewheel="return bbimg(this)" onload="javascript:resizepic(this)" border="0"/>
<图12>
 nmousewheel="return bbimg(this)" onload="javascript:resizepic(this)" border="0"/>
<图13>
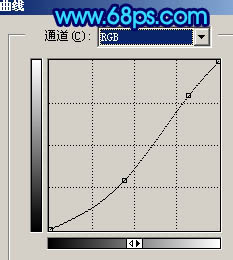
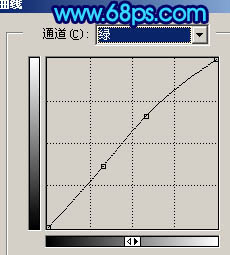
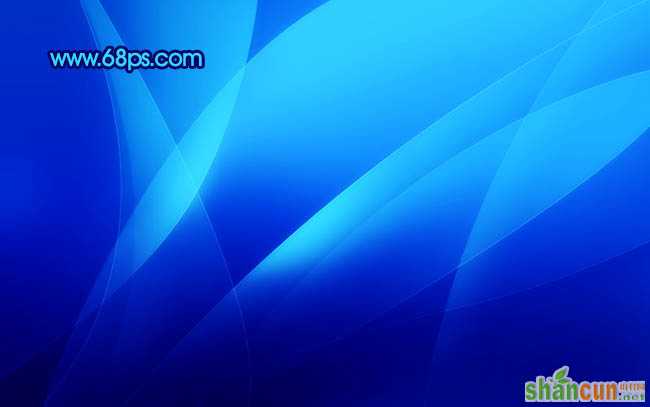
7、创建曲线调整图层,参数设置如图14,15,效果如图16。
 nmousewheel="return bbimg(this)" onload="javascript:resizepic(this)" border="0"/>
<图14>
 nmousewheel="return bbimg(this)" onload="javascript:resizepic(this)" border="0"/>
<图15>
 nmousewheel="return bbimg(this)" onload="javascript:resizepic(this)" border="0"/>
<图16>
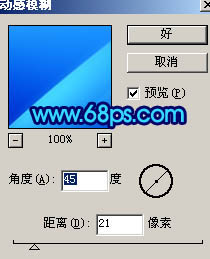
8、新建一个图层,按Ctrl + Alt + Shift + E 盖印图层。执行:滤镜 > 模糊 > 动感模糊,参数设置如图17,确定后加上图层蒙版,用黑色画笔把中间部分擦出来,效果如图18。
nmousewheel="return bbimg(this)" onload="javascript:resizepic(this)" border="0"/>
<图17>
 nmousewheel="return bbimg(this)" onload="javascript:resizepic(this)" border="0"/>
<图18>
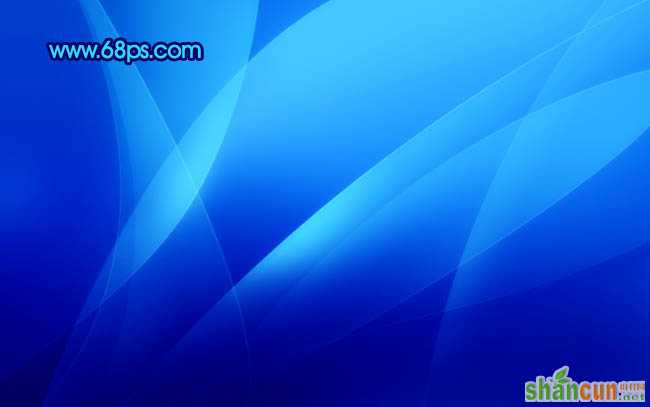
9、最终整体修饰下细节,完成最终效果。
nmousewheel="return bbimg(this)" onload="javascript:resizepic(this)" border="0"/>
<图19>


