
教程学习如何用Photoshop制作比较简单的星空效果,主要用到了加深减淡工具球面化滤镜,笔刷和图层样式,喜欢的朋友可以和我们一起来学习
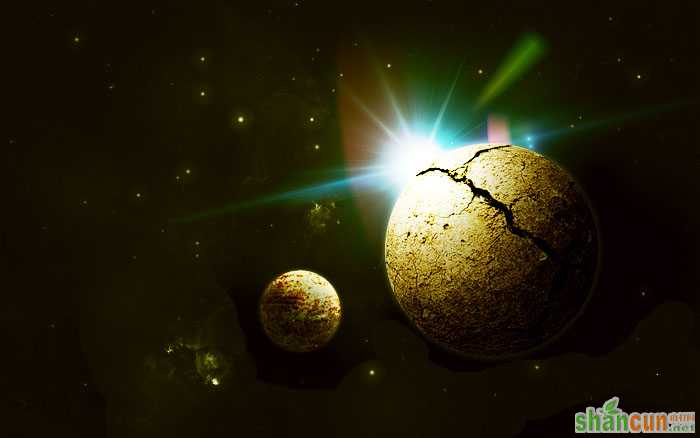
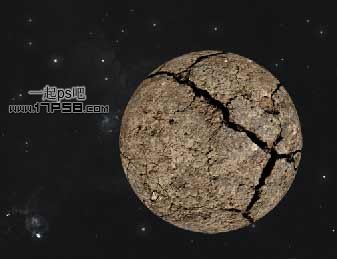
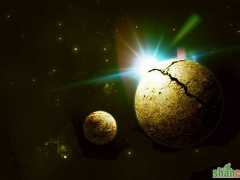
先看效果图
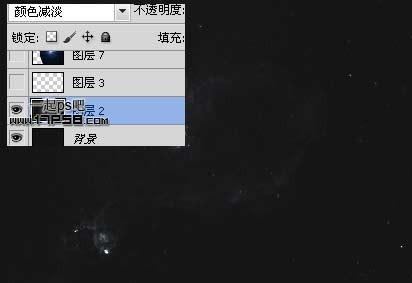
新建文档700x438像素,背景填充#131415,打开星云素材。

拖入文档中,去色,图层模式颜色减淡。
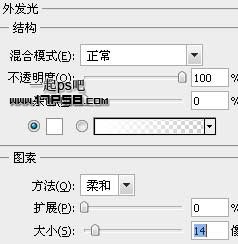
此时画面并没啥大变化,只是多了一些亮点。建新层,小口径白色笔刷点几下,添加外发光样式。
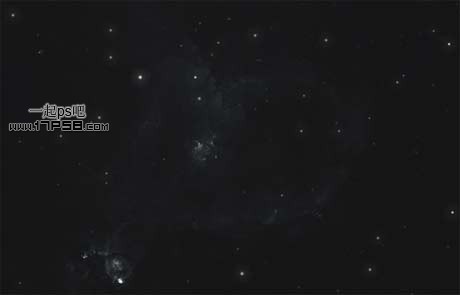
星星效果如下。
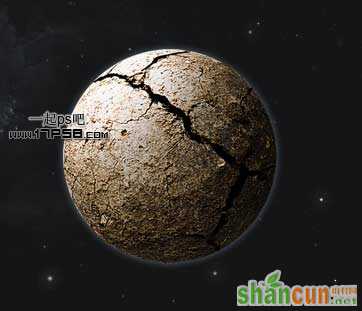
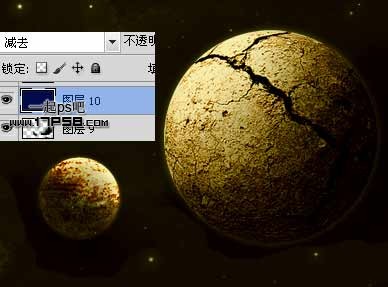
打开干裂素材,做一正圆选区,滤镜>扭曲>球面化。

复制粘贴到文档中,适当缩小。
用加深减淡工具涂抹,做出亮部和暗部,使星球具有立体感。
添加图层样式。
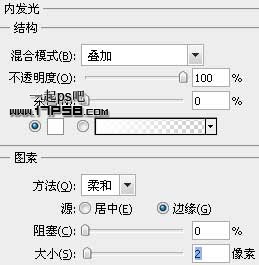
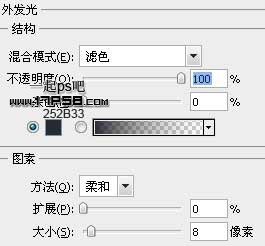
产生光边效果。
同样方法做出小的星球。
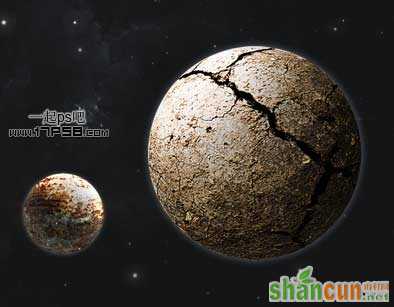
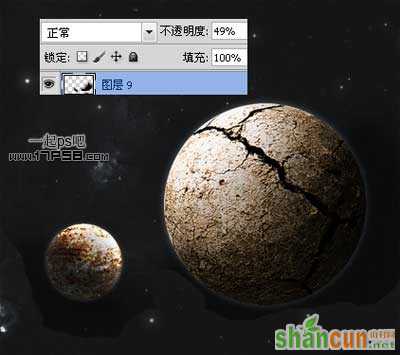
我们发现星球暗部不是暗的很彻底,新建图层9,用黑色柔角笔刷涂抹暗部,图层不透明度50%左右。
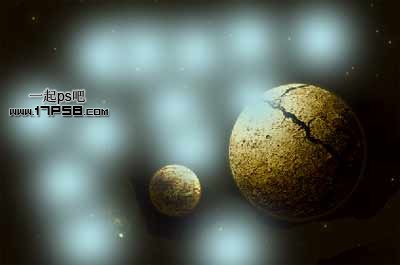
建新层,前景色#030b4a填充,图层模式减去,效果如下。
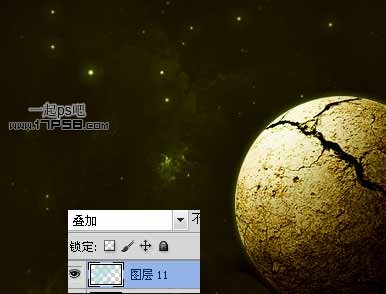
建新层,前景色#aed9de用笔刷点几下。
图层模式叠加,效果如下,星星明亮了一些。
导入灯光素材,图层模式变亮。
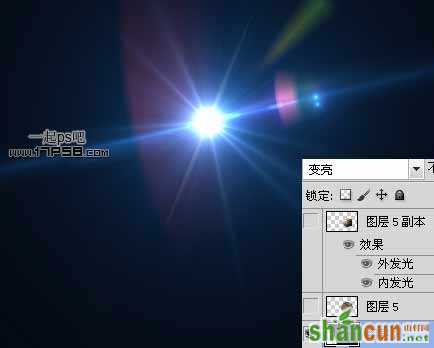
效果如下。
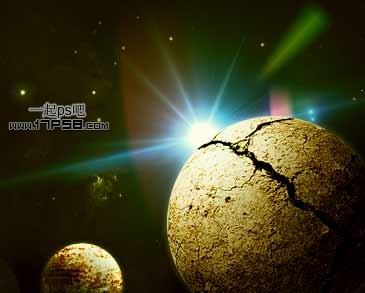
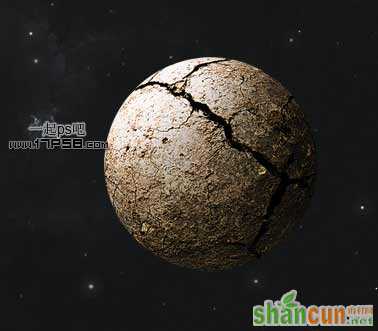
顶部建新层,用白色柔角笔刷在灯光位置点一下,增强光效。最终效果如下,本ps教程结束。


