
关于PS复杂背景抠图方法技巧大全
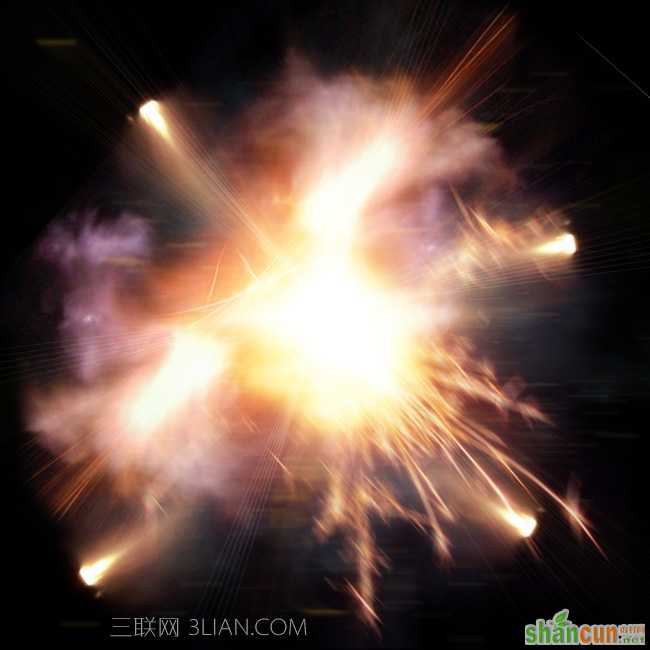
原图
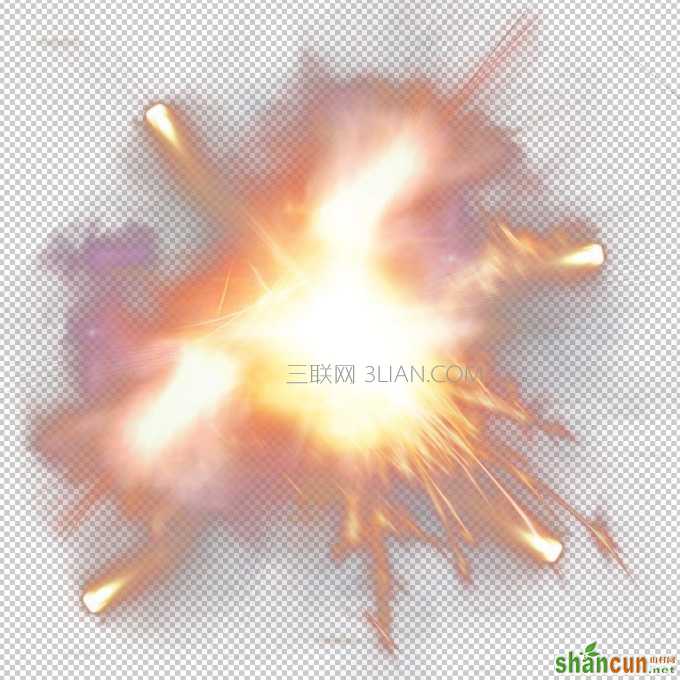
最终效果
1、一般大家使用此类素材的时候都是使用滤色等方法,但是你会发现滤色模式会造成画面变亮,色差等问题。用一般的抠图方法又会发现经常残留黑色。解决方法就是重建颜色通道,来去掉里面黑色的部分。
首先打开你的通道选项卡。
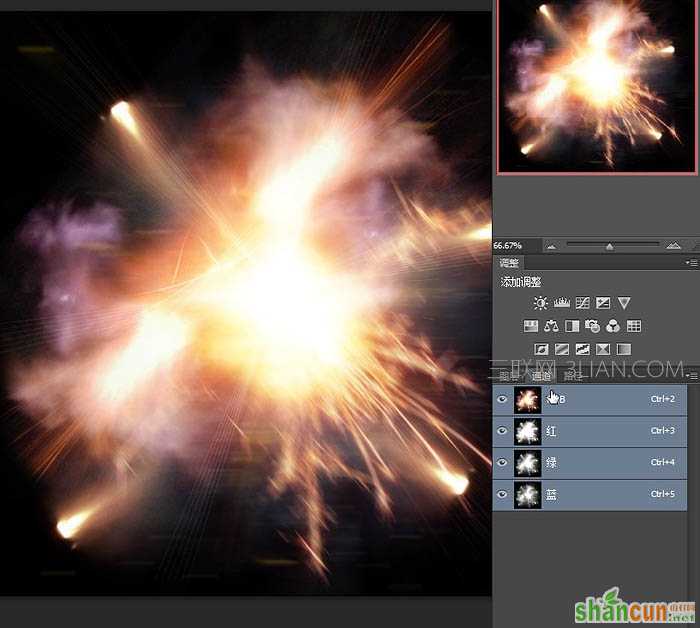
2、Ctrl + 鼠标左键点击缩略图,选择红色通道。
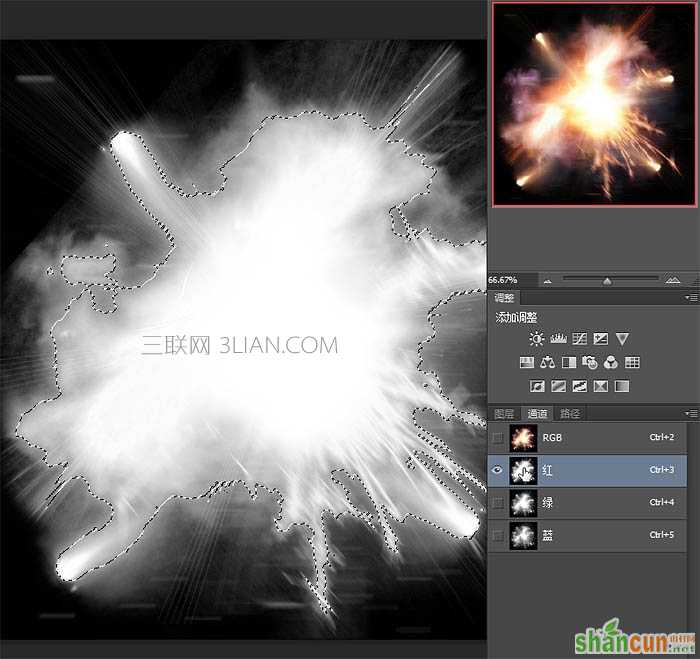
3、再回到你的图层选项卡 用选区建立纯色图层。

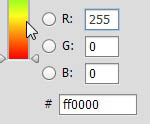
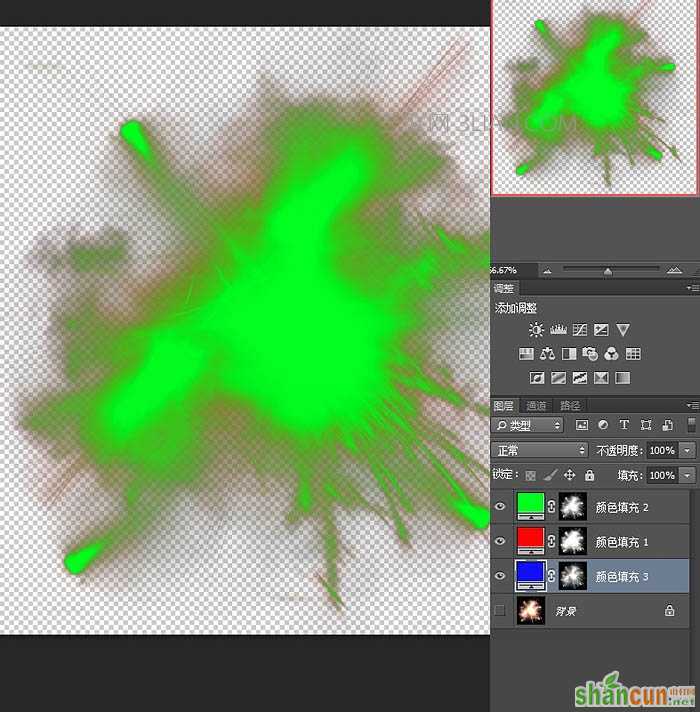
4、使用纯红色填充,填充完毕后将新建的红色纯色层隐藏,并将绿色和蓝色通道按照此方法建立相应的纯色层。
5、如图所示,得到如下效果。
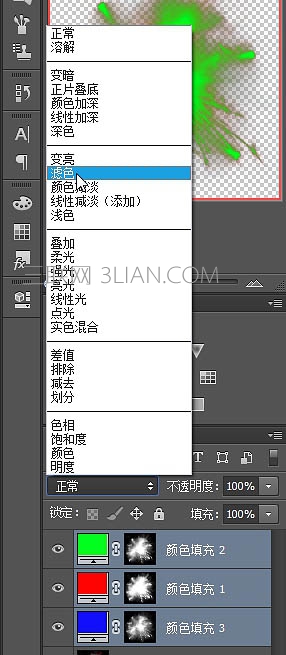
6、将这3层的图层模式改为滤色并合并。
7、这样就将物体从纯黑色背景中抠出来了。
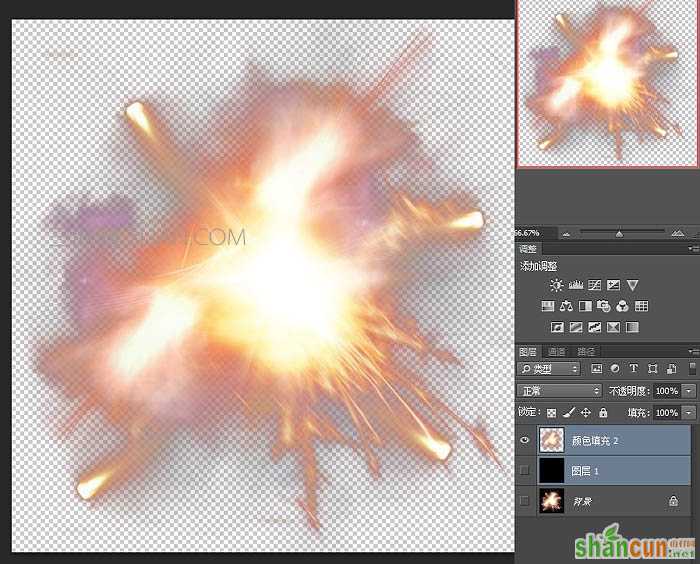
最终效果:


