
教程的效果图制作大致分为两个部分:首先是制作一些弧度不大的曲线光束,这些用钢笔勾出选区后适当羽化填色即可。然后是一些弧度较大的曲线光束的制作,在原有的曲线上,利用滤镜来调整弧度。最后把得到的光束叠加到一起,做成自己喜好的效果。
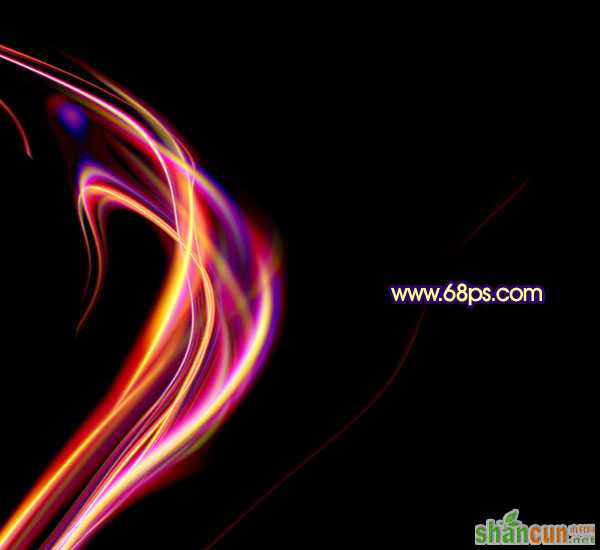
最终效果1
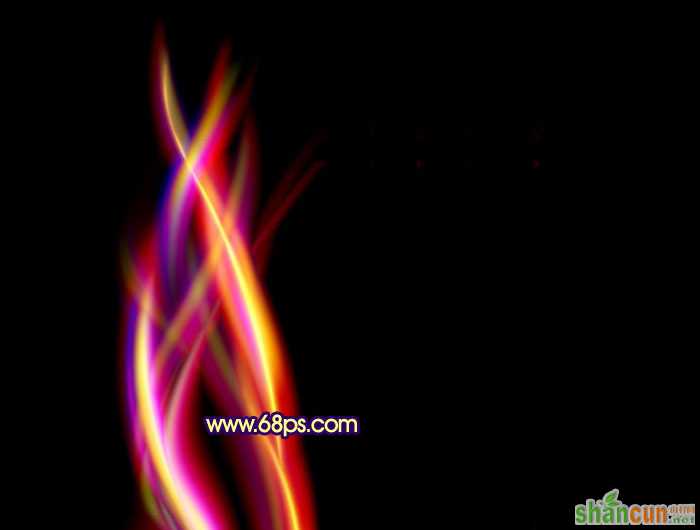
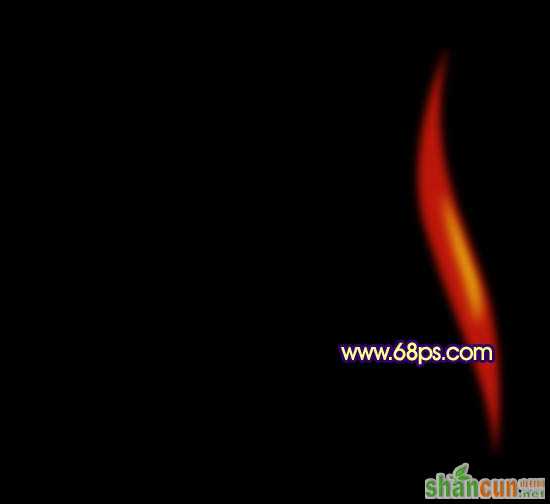
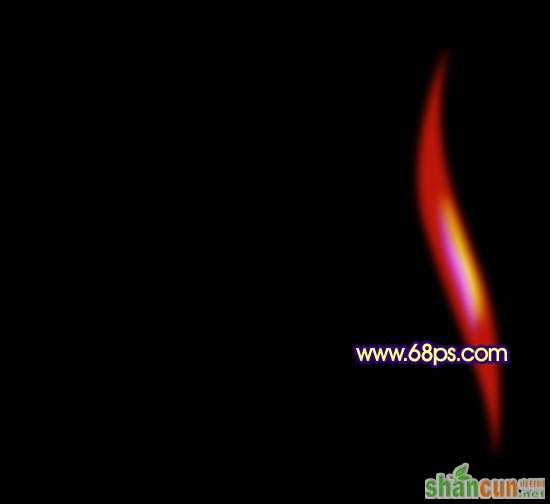
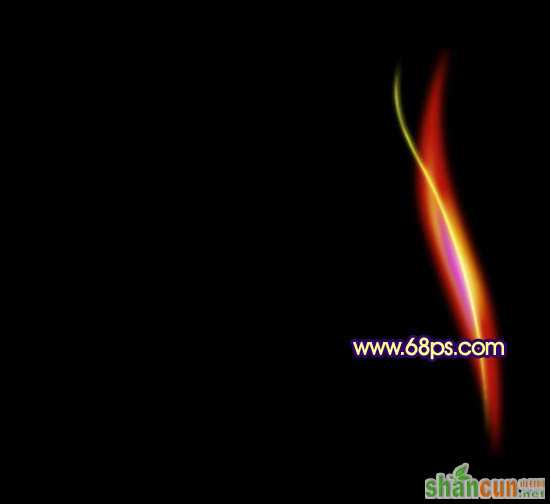
最终效果2
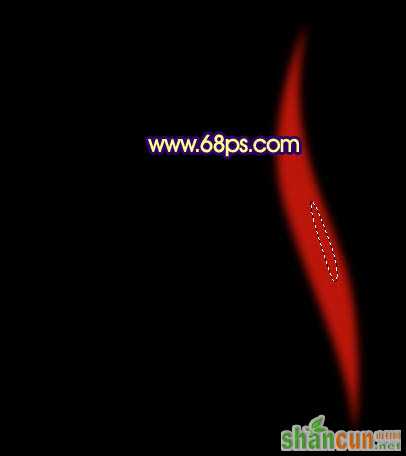
1、新建一个800 * 800像素的文档,也可以建成壁纸大小的文档。背景填充黑色。新建一个图层,用钢笔工具勾出图1所示的选区,按Ctrl + Alt + D 羽化8个像素后填充红色:#BC160A,效果如图2。
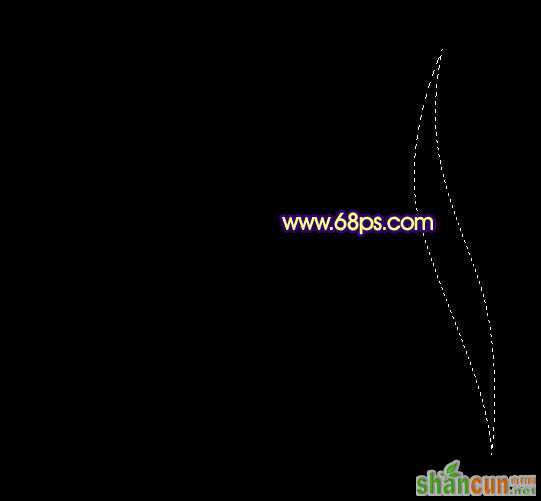
<图1>
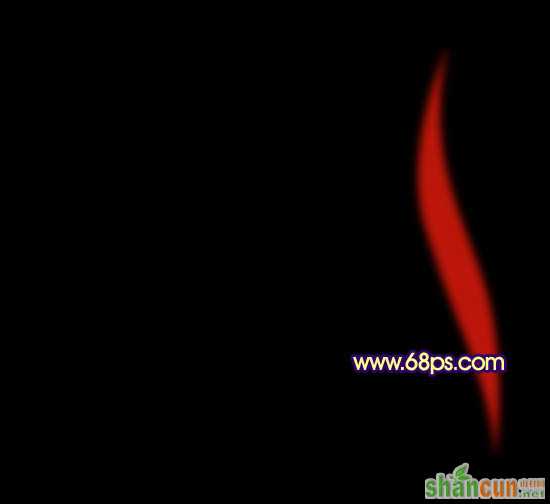
<图2>
2、新建一个空白图层,按Ctrl + Alt + G 与前一图层编组。然后在当前图层下面新建一个图层,用钢笔勾出图3所示的选区,羽化3个像素后填充橙色:#BDB803,图层混合模式改为“滤色”,效果如图4,如果觉得亮度不够可以把当前图层再复制一层,适当降低不透明度,效果如图5。
<图3>
<图4>
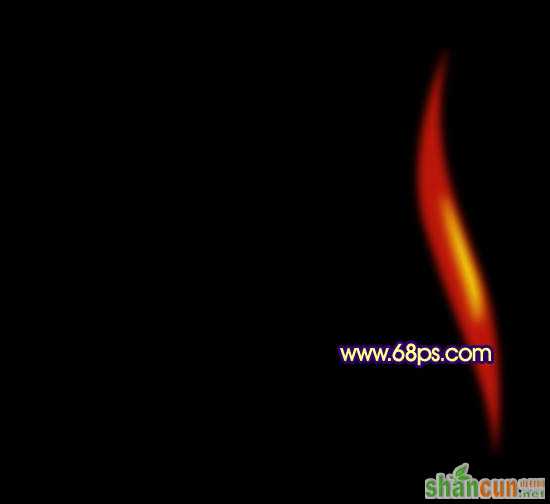
<图5>
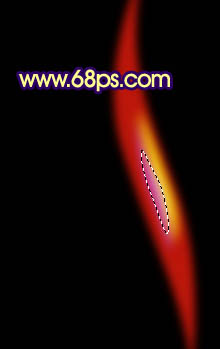
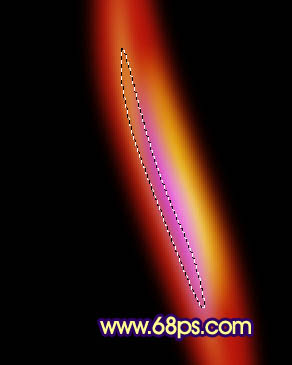
3、新建一个图层,用钢笔勾出下图所示的选区,羽化3个像素后填充紫色:#BD2BAA,确定后用减淡工具把中间部分稍微涂亮一点,效果如图7。
<图6>
<图7>
4、在当前图层下面新建一个图层,用钢笔勾出图8所示的选区,羽化3个像素后填充橙色:#E8B942,取消选区后再用减淡工具稍微加强一下局部亮度,效果如图9。
<图8>
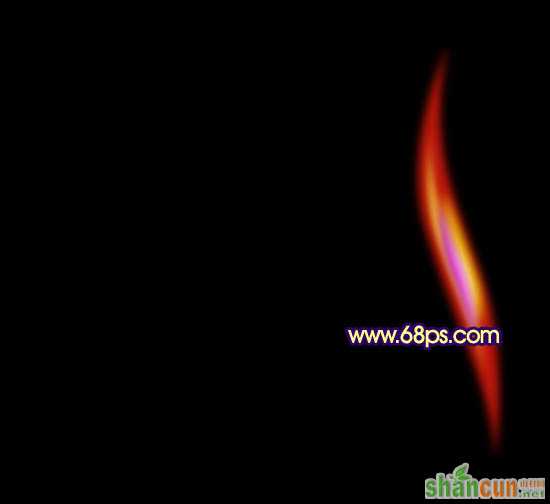
<图9>
5、新建一个图层,用钢笔勾出图10所示的曲线选区,羽化2个像素后填充颜色:#FFFF55,效果如图11。
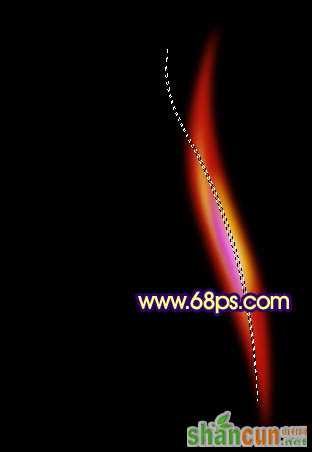
<图10>
<图11>


