
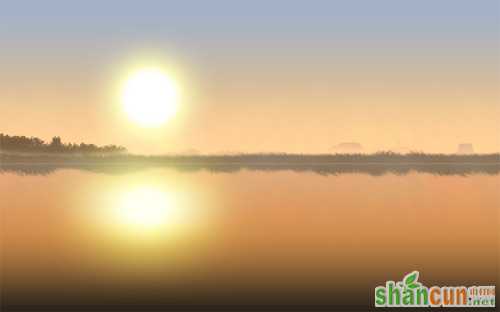
先看效果图。
新建文档1920x1200像素,背景白色,双击背景转为普通层,添加图层样式。
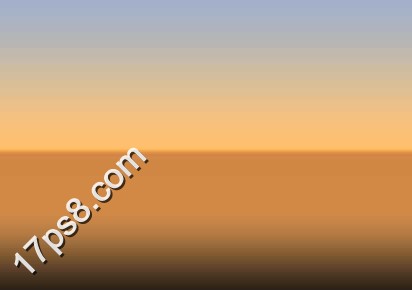
从左到右颜色分别为#a1b1ca (天空) #ffc16e #d38844 (芦苇) #c48446 (小河) #141412,效果如下。
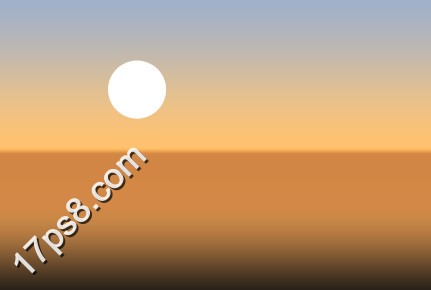
建新层,画一个白色正圆。
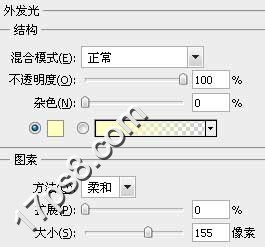
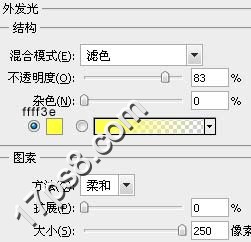
添加图层样式。
效果如下。

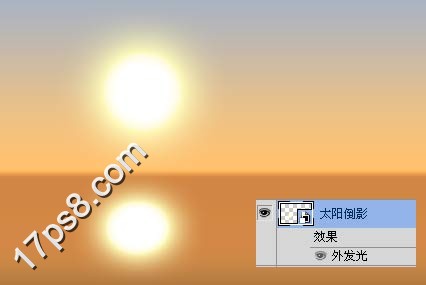
下面制作太阳的倒影,复制太阳层,挪到小河位置,垂直方向压扁些。
添加图层样式。
得到类似下图效果。
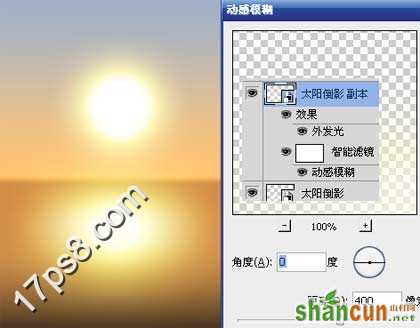
复制倒影层,滤镜模糊动感模糊400像素,效果如下。
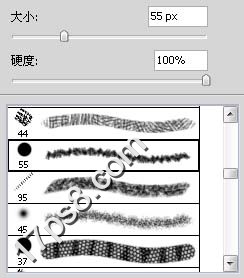
底部建新层,载入M画笔,这个画笔可能photoshopCS5版本才有,没有的可以去百度一个。
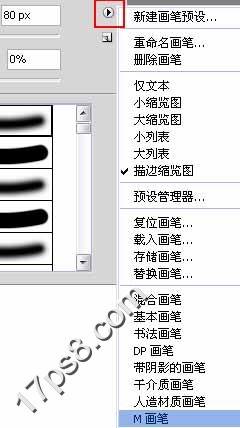
选择下图所示画笔。
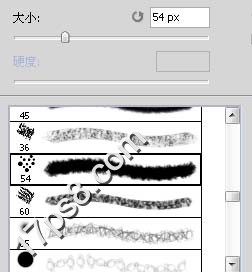
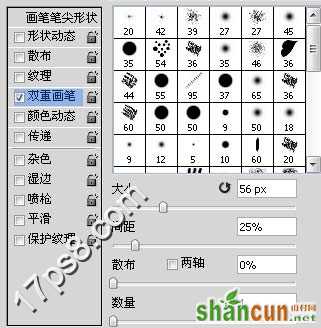
设置画笔。
前景色#5e3e1c涂抹地平线位置,类似下图效果。
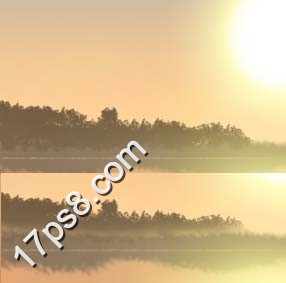
之后垂直方向动感模糊6像素。

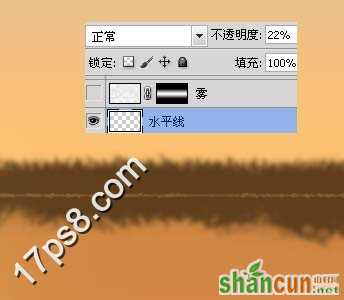
还是选择那个笔刷,尺寸缩小,前景色#f8c27a涂抹,适当降低图层不透明度,产生水平线效果。
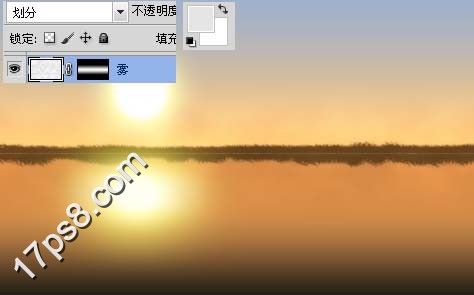
建新层起名雾,前景色浅灰背景白色,滤镜渲染云彩,之后添加蒙版,黑白对称渐变,使雾只出现于水平线附近区域,图层模式划分。
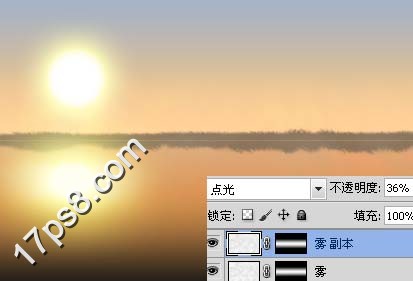
复制雾层,图层模式点光,不透明度35%左右。
建新层,选择下图所示笔刷。
前景色4a2b09涂抹,模拟树林。添加蒙版把树林底部涂抹掉一些。
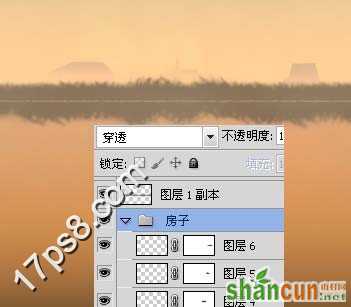
建新层,用钢笔描出房子轮廓,填充#bf906c,添加蒙版用黑色笔刷涂抹,产生若隐若现,距离很远的效果。
下面制作远处水平线效果,建新层,选择烟灰笔刷。
前景色#cb9c6c涂抹,之后颜色加暗一些,效果如下。

处理其它不和谐的地方,最终效果如下。


