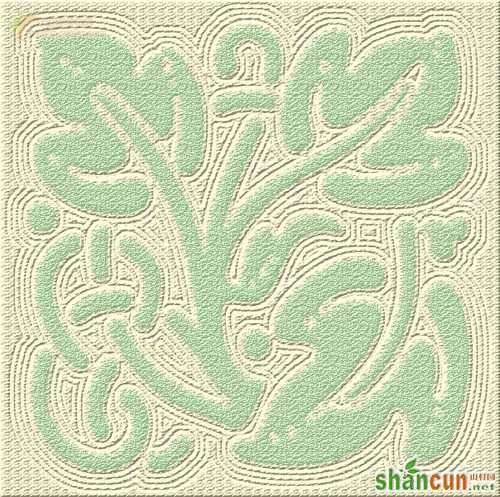
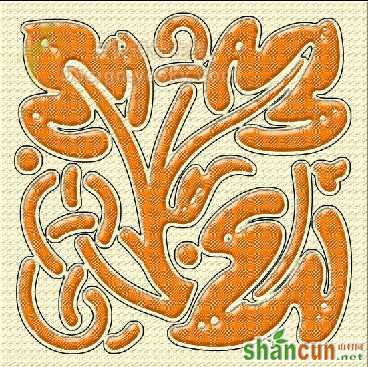
拼花布在家居中处处可见,茶几、饭桌、花台上都可以用精美的拼花布做铺垫,下面我们就用Photoshop制作一款非常有质感的的拼花地毯。
制作工具:Photoshop CS,其他版本步骤类似。
photoshop教程制作过程:
1、新建一个宽度为8厘米,高度为8厘米,分辨率为350的文件,设置前景色的颜色为淡黄色,填充背景图层,效果如图01所示。

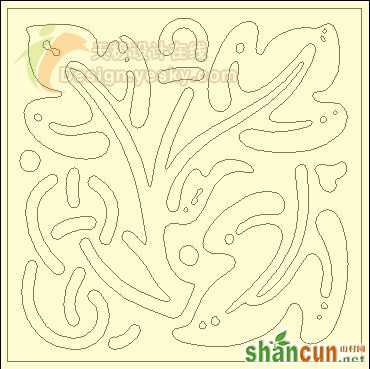
2、新建图层1,选择工具箱中的“自定性状工具”,在属性栏中单击路径按钮,在形状下拉面板中选择一个合适的形状,在图像窗口中拖拽绘制路径,并调整路径的位置,效果如图02所示。
3、按Ctrl+Enter键将路径转换为选区,然后按Ctrl+Shift+I键凡选选区,效果如图03所示。
选择工具箱中的“矩形选框工具”,属性栏设置设置为“从选区中减去”将图案的边框减去,效果如图04所示。

4、设置前景色的颜色RGB为橙色,填充选区,图像效果如图05所示。
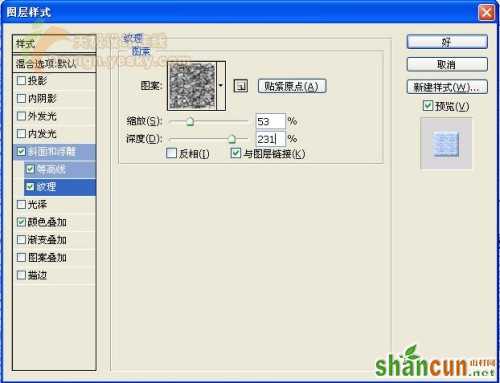
5、双击图层1,在打开的图层样式对话框中设置图层样式,选择“斜面和浮雕”样式,参数设置如图06-08所示。
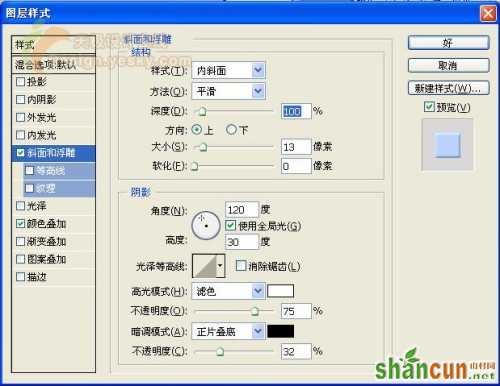

图像效果如图09所示。
6、复制背景图层为“背景副本图层”,双击背景副本图层,在打开的图层样式对话框中设置图层样式,选择“斜面和浮雕”样式,参数设置如图10-11所示。
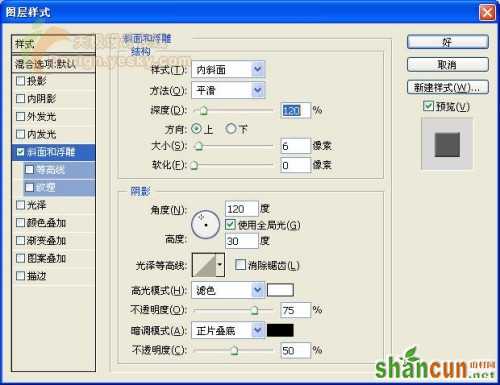

图像效果如图12所示。

7、按Ctrl键单击图层1,载入图层1的选区,选择背景副本图层,按Delete键删除选区内的图像,完成后取消选区,图像效果如图13所示。
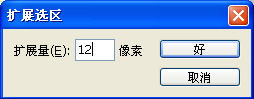
8、新建图层2,载入图层1的选区,然后执行菜单栏中的“选择”“修改”“扩展”命令,打开如图14所示的对话框。
设置扩展量为12,图像效果如图15所示。
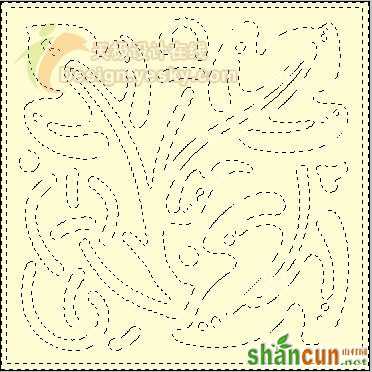
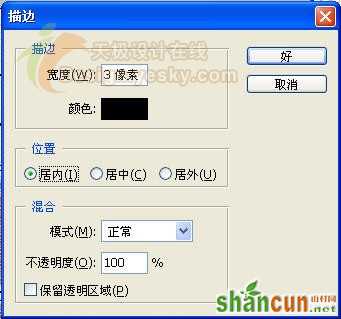
9、保持选区,执行菜单栏中的“编辑”“描边”命令,打开描边对话框,设置参数如图16所示。
图像效果如图17所示。
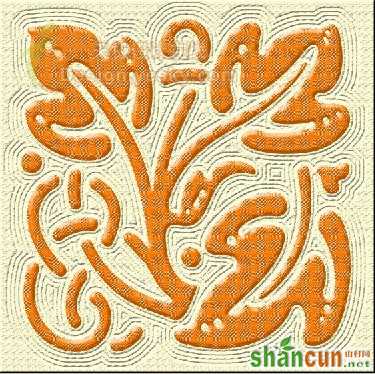
10、保持选区,对选区进行扩展处理,设置参数同样为12,完成后按上面的参数设置进行描边,并且重复3次,图像效果如图18所示。

11、载入图层2的选区,然后选择背景副本图层,按Delete键删除选区内的图像,完成后取消选区,使布纹的浮雕效果更明显,隐藏图层2观察效果如图19所示。
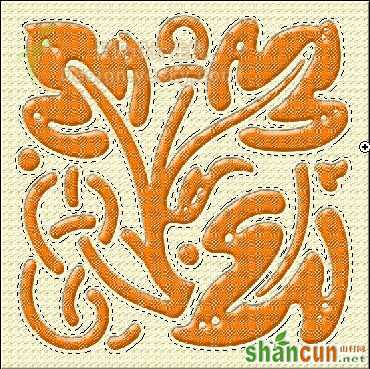
12、如果觉得布纹的效果和颜色不是很好,还可以调整图层1的图层样式和颜色,设置如图20、21所示。
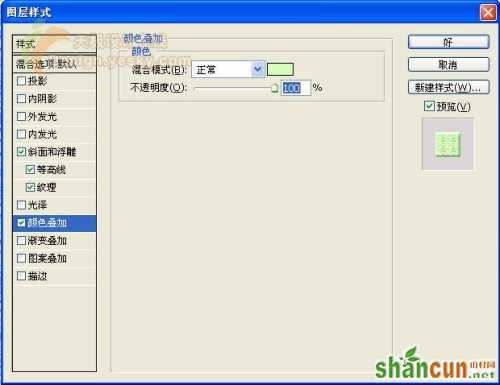
最终的效果如图22所示。