
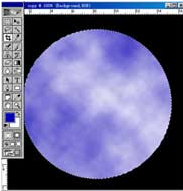
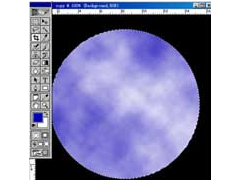
1.建立新的图像文件,将背景用黑色填充,新建一个层,用椭圆工具选择一个圆形区域,将前景色选择为蓝色,执行滤镜/渲染/云彩。
2.连续执行滤镜/渲染/不同的云4到6次。
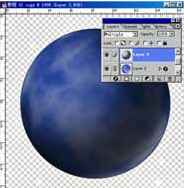
3.执行图像/调整/色相/饱和度,选中着色复选框,调整色彩。
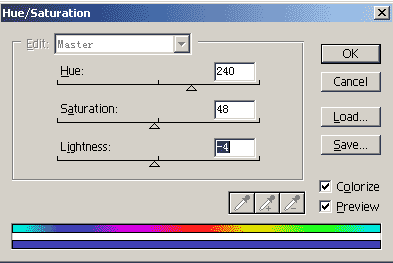
注意:右下角的预览和着色都要勾选的。
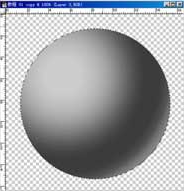
4.连续执行两次滤镜/扭曲/ 球面化,产生球形效果。

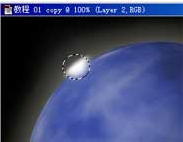
5.再建立一个新层,使用渐变效果编辑器,编辑白-黑-白的渐变方式,并且在新层中使用径向梯度从左上至右下产生渐变效果。
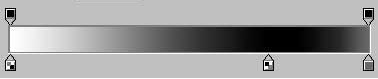
6.将层的混合模式改为叠加,调节一下层的透明度,使球体产生背对太阳的效果
7.再次建立一个新层,用白色填充,将选择区域向右下稍微移动,执行羽化,将选择区域羽化10个像素左右,执行edit/cut或按del键删除所选区域。
注意:这里可能有些人糊涂了。但是仔细看得人还是会看懂的。这一步羽化很重要。
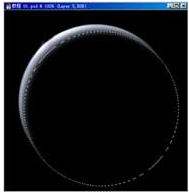
8.在背景层上新建一个图层,画一个选择区域,执行选择/羽化羽化10个像素,填充白色。执行层/层风格/内生长,产生内发光效果。
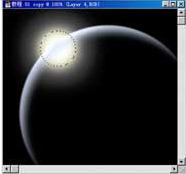
9.在所有层之上新建一图层,画一较小圆形选区,执行选择/羽化羽化4个像素,在选择区域中填充白色,用直线选区工具切除左上部分,执行滤镜/模糊/高斯模糊产生高斯模糊。
10.选中蓝色球体,执行图层样式/外发光,产生外发光效果。使用喷枪,将前景色选色为白色,在背景喷涂,作为星星,地球便做好了。
是不是很简单呢 ?多多练习就会熟悉过程了。
注:更多请关注photoshop教程栏目,山村PS教程群:181754111欢迎你的加入


