
如何通过光影效果,杂色,Photoshop CS5的波浪滤镜来制作一个抽象光纹海报。
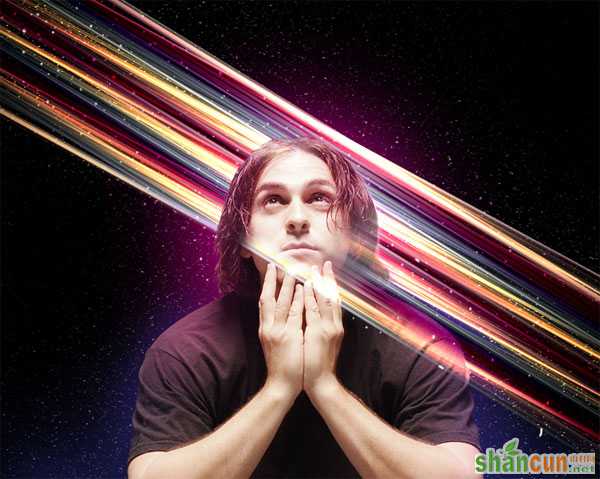
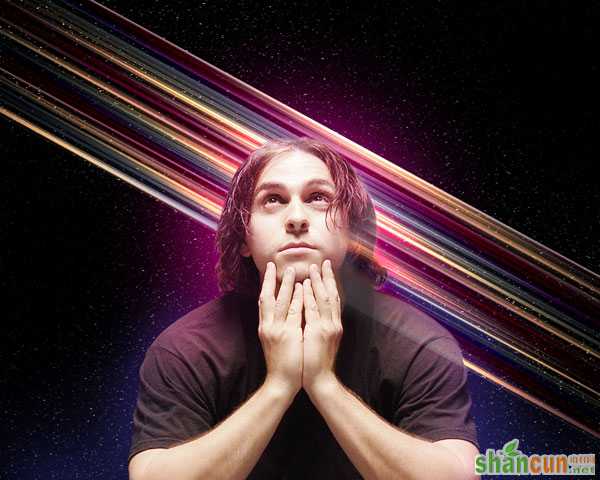
最终效果图:
在Adobe Photoshop CS5中新建文件(Ctrl+N),尺寸1280×1024像素(RGB颜色模式),分辨率72像素/英寸。使用油漆桶工具(G)将背景填充为黑色。

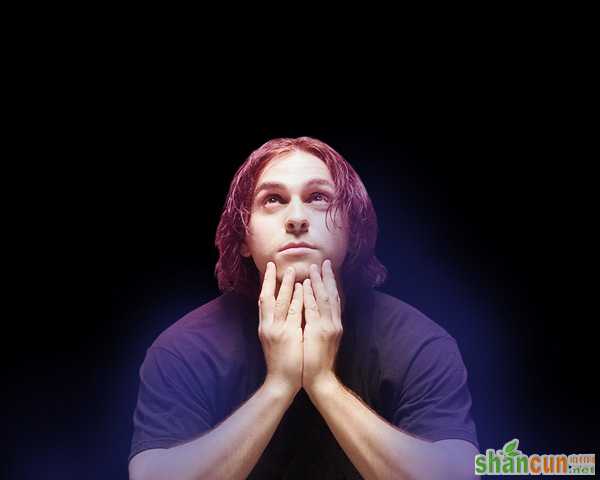
找一张现成的人物照片。在这里,我将使用这张从deviantart找到的照片。我必须要感谢它的作者。
选个顺眼的工具,比如钢笔工具(P),魔棒工具(W),磁性套索(L),或者任意一个简单的滤镜>抽出。选好之后,插入一个新图层。

在图层面板下方找到打开”创建新的填充或调整图层“,并选择”色相/饱和度“。
向左拖动饱和度滑块,以降低颜色饱和度。

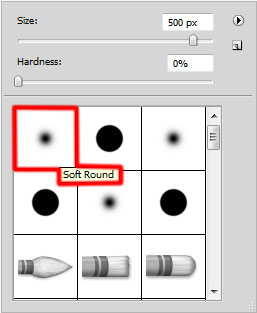
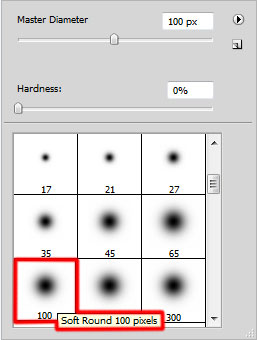
在新图层上使用柔性颗粒圆笔(Soft Round brush),并在选项栏中设置不透明度为15%。

用颜色分别为#AC007A和#2E0077的笔刷涂抹人物周围的区域。

设置该图层混合模式为线性减淡。
再次于图层面板下方点击”创建新的填充或调整图层“,选择”曲线“,然后调整曲线来略微校正色彩,如下图所示。
效果如下:
新建图层,选择油漆桶工具(G)用黑色来填充图片。

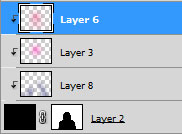
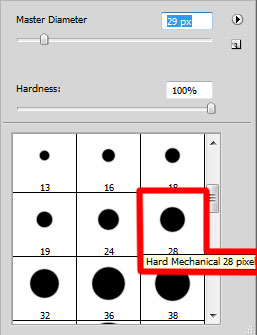
在图层面板下方找到并点击”添加蒙版“,给该图层添加蒙版。之后选择硬头机械笔刷(Hard Mechanical brush ),设为黑色。
用该笔刷来隐藏人物周围背景,如下图所示。

新建图层,再次选择柔性颗粒圆笔(Soft Round brush),颜色设为#000345(在选项栏中设不透明度为20%)。
用该笔刷在人物周围涂抹。
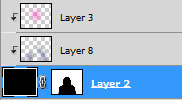
新建”剪贴蒙版“来使最新的图层全黑。按住Alt(Windows)或者Option(Mac OS),并在图层面板上的图层间点击。
效果如下:
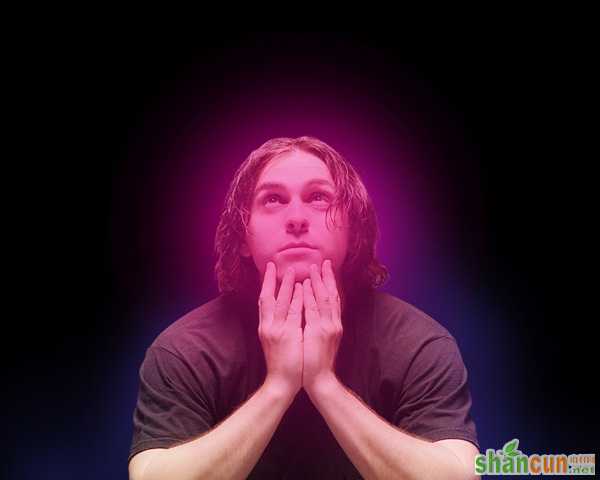
再新建一个新图层,用柔性颗粒圆笔(Soft Round brush)配以#FF00C7颜色(不透明度60%)。
使用该笔刷涂抹人物脸部,如下图。
再次新建一个”剪贴蒙版“。按住Alt(Windows)或者Option(Mac OS),并在图层面板上的图层间点击。
效果如下:

新建图层,再次使用前面提到的柔性颗粒圆笔(Soft Round brush),设其尺寸为800px,并用#F577C2 (不透明度20%)来涂抹人物脸部。
再次新建”蒙版图层“。按住Alt(Windows)或者Option(Mac OS),并在图层面板上的图层间点击。
效果图下:

再次新建图层,这次用油漆桶工具(G)再次填充黑色。

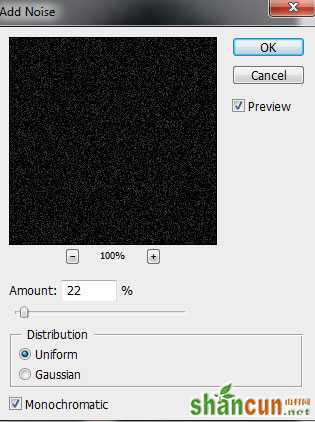
选择滤镜>杂色>添加杂色。
杂色效果如下:

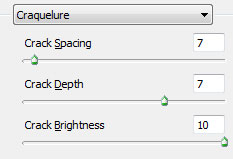
在同一图层上,使用滤镜>滤镜库>纹理>龟裂缝。
效果如下:
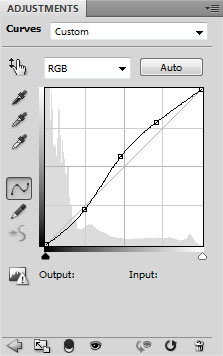
同时摁住Ctrl+M(曲线),调整曲线形状来细微矫正颜色,如下图。
效果如下:
图层混合模式设置为线性减淡。
新建”剪贴蒙版“来使最新的图层全黑。按住Alt(Windows)或者Option(Mac OS),并在图层面板上的图层间点击。

效果如下:

复制最上面的图层,使用自由变换(Ctrl+T)来放置复制图层,如下所示。
新建图层,并选择柔性颗粒圆笔(Soft Round brush)配以黑色(不透明度20%)。
用该笔刷涂抹下图所示区域,使其变暗。
新建文件(Ctrl+N),大小1280×1200像素(RGB颜色模式),分辨率72像素/英寸。选择渐变工具(G),从选项栏打开渐变编辑器,选择黑白的,从上到下的渐变。

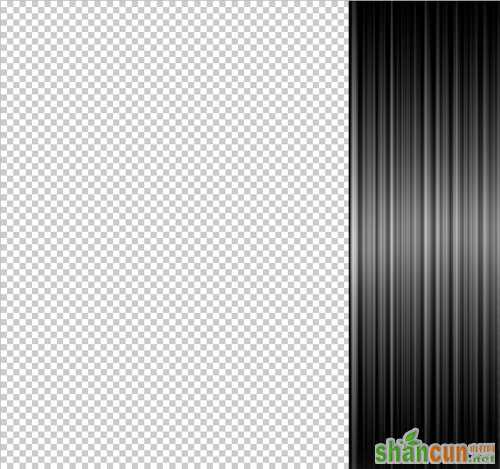
在该图层使用滤镜>扭曲>波浪。
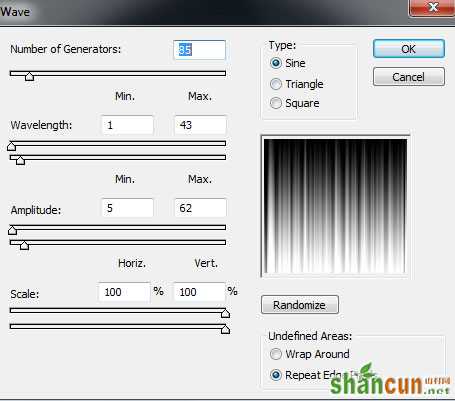
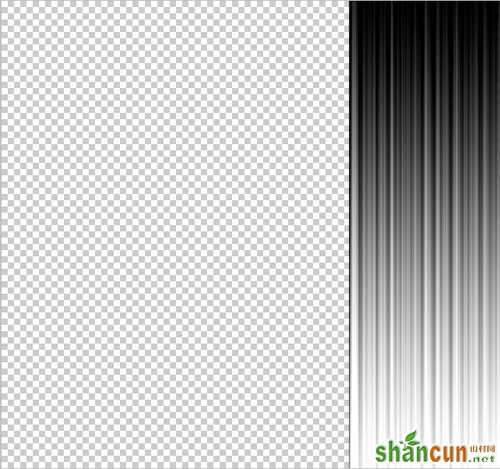
效果如下:

使用自由变换(Ctrl+T)来移动图像,如下图所示。
复制该图层,并继续使用自由变换(Ctrl+T)来将其垂直翻转。然后,在图层面板下方选择”添加图层蒙版“。
使用黑色柔性颗粒圆笔(Soft Round brush)。

首先使用此笔刷涂抹蒙版下方部分。然后在图层面板中同时选中这两个图层,按CTRL+E来向下合并图层。
在主文件中插入上面做好的波浪图层。我们可以使用自由变换工具(Ctrl+T),来改变其大小和方向,效果如下。
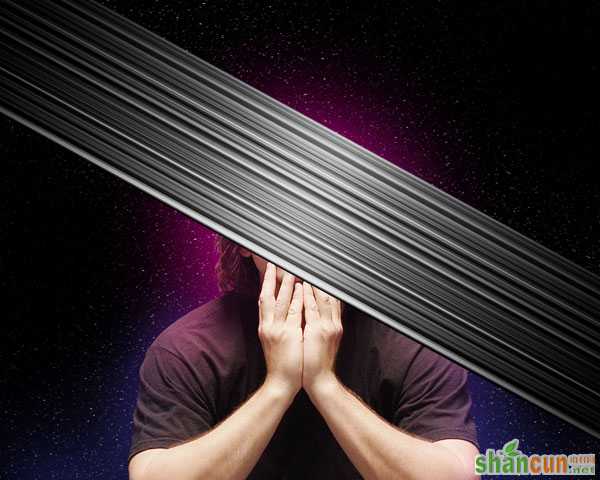
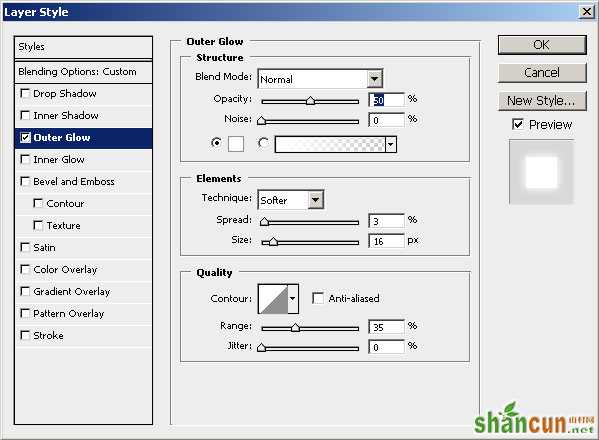
将该图层填充改为78%,混合模式为变亮。然后在图层面板底部点击添加图层样式,选内发光。

添加渐变叠加:
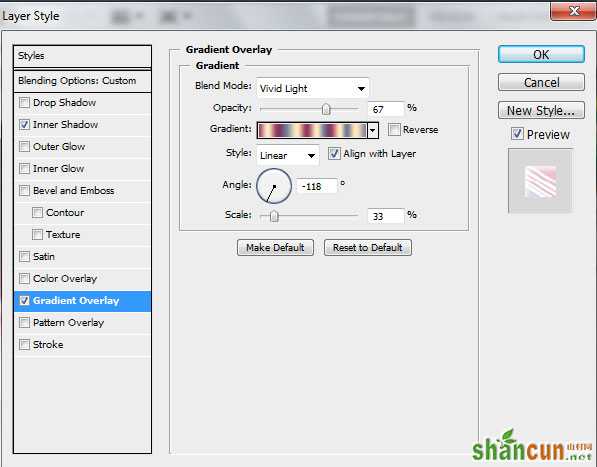
点击颜色栏打开渐变编辑器,颜色指针设置如下图。然后点击OK关闭对话框。
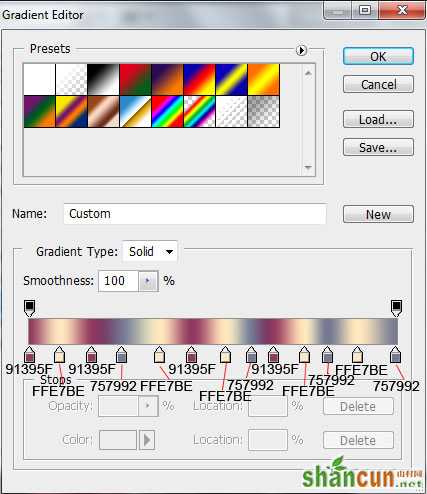
效果如下:
在同一个图层上,再次于图层面板下方选择添加图层蒙版,然后选用硬头机械笔刷(Hard Mechanical brush )(不透明度设为80%)。
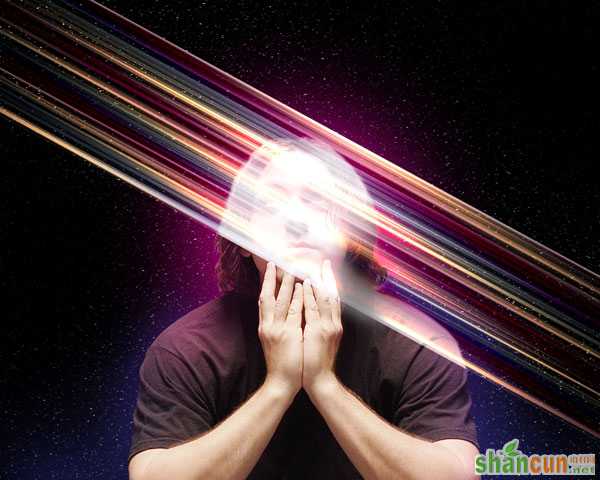
在蒙版上,用该笔刷涂抹人物头部和肩膀,来隐去波浪图层。
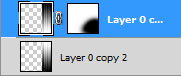
复制最上面的图层,用自由变换(Ctrl+T)来翻转图层,来做出一个小位移。在复制图层上添加蒙版,再选用硬头机械笔刷(Hard Mechanical brush )涂抹人物头部和肩部,以隐去波浪图层。设置填充设为100%,图层模式为颜色减淡。

接下来在一个新图层上选用硬头机械笔刷(Hard Mechanical brush )。
用该笔刷来添加更多的白色小圆点。
该层混合模式设为实色混合,并添加图层样式,选用外发光。
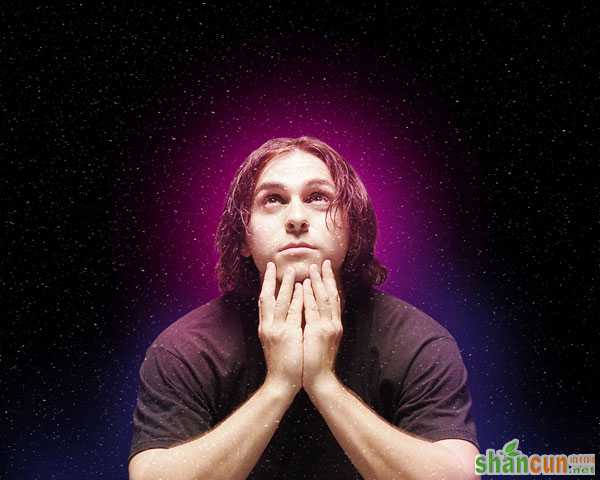
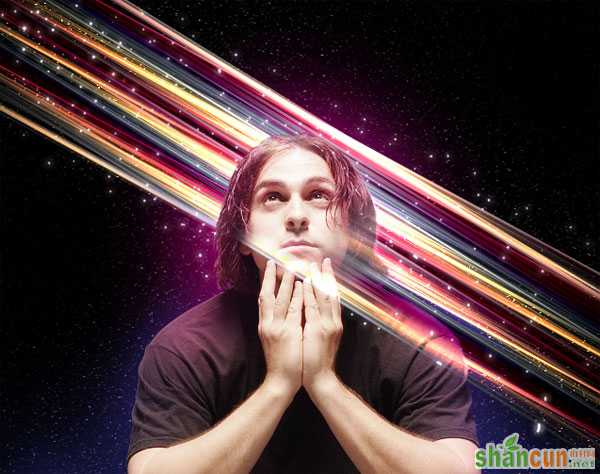
效果如下:

复制最上面的图层,混合模式为线性光。
新建图层,用油漆桶工具(G)填充橙色。
填充度为16%,混合模式颜色减淡。
终于!完!成!了!(流泪满面状)
注:更多请关注photoshop教程栏目,山村PS教程群:181754111欢迎你的加入


