
这个教程和一些步骤可能有些有点棘手,不过大家试试看!对于自己也是一种提升嘛!
注:此教程是CS6版本中制作的 – 请大家使用CS6来完成,早期版本可能会有差别。有些笔刷是单独的,PS中没有自带,需要大家下载。
下面是最终效果的预览:
好吧,让我们开始吧!
要完成本教程,需要下载下列插件:
人物图片
倒下的树
火
乌鸦
飞溅笔刷(挑几个)
第1步
创建一个大小1400px * 800px的文档,白色背景。将人物图片导入到Photoshop中,转换为智能对象,选择图片中人物的面部区域:

CTRL+J(复制)复制一层来,隐藏原图片,备用。用CTRL+T(自由变换)使脸部旋转,稍微一点就可以了。
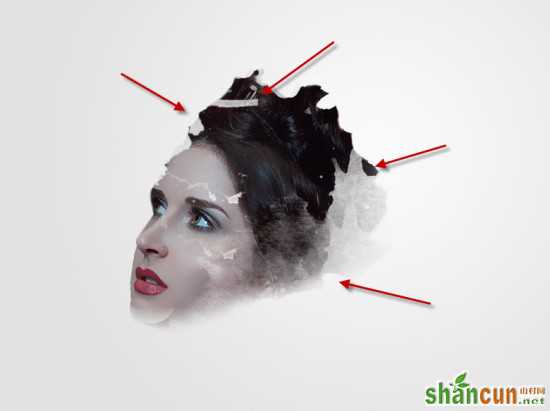
添加一个图层蒙板这张脸层,并使用一些你下载的飞溅刷,去掉周围的脸边,如下图所示部分内容:
第2步
对人物进行更丰富的处理,这一步。让我们添加以下3个调整图层作为剪裁遮罩运用在人物的脸上:
黑与白

露出眼睛区域在这黑色和白色的图层蒙版:
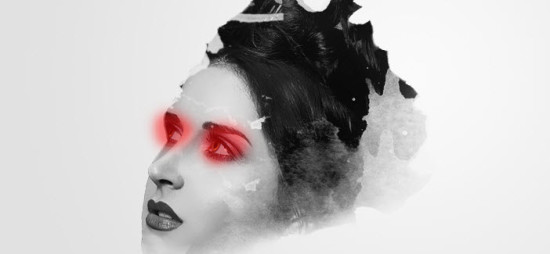
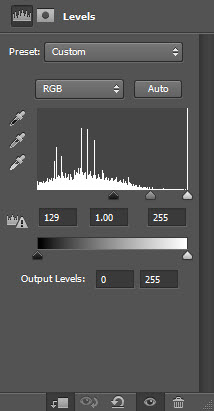
水平
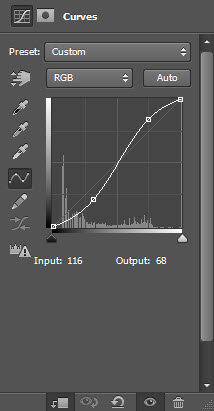
曲线
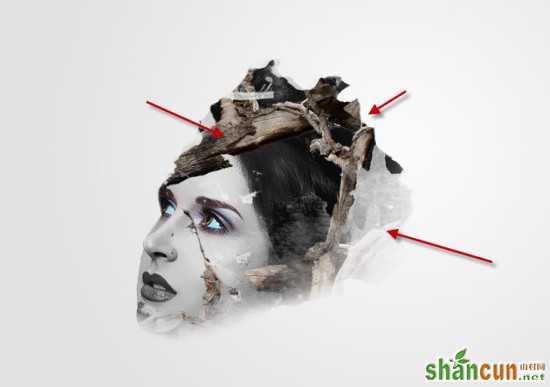
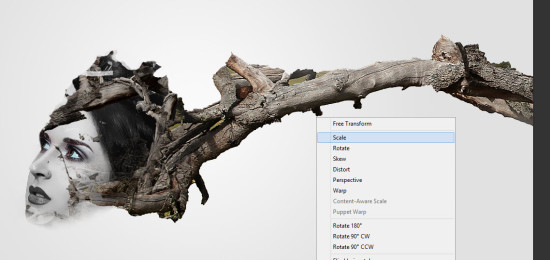
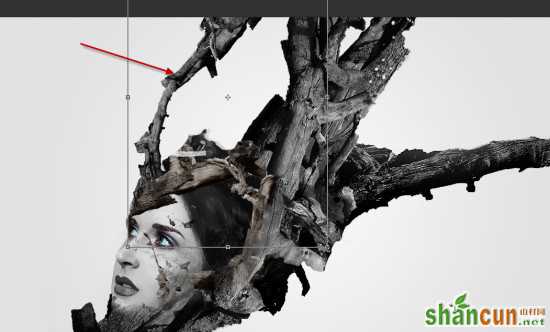
打开倒下的树到Photoshop中,选择一条树枝:

复制并粘贴选择到我们的文件,并将其设置为剪贴蒙版(确保它的前一个调整层以上),并且您将有以下影响:
提示:你可以使用自由变换工具调整大小和旋转这个树枝以,以达到最佳效果。
再添加一个黑白调整层作为这棵树层顶部剪贴蒙版。设置这个黑白调整层到40%左右的图层不透明度:
这里是调整效果:
第3步
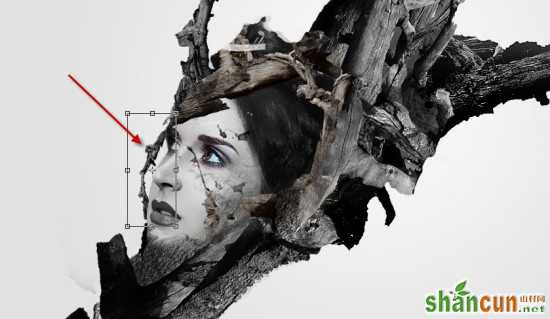
这一步开始添加树枝。在树木层选择一根比较粗壮的树枝,并将其粘贴到我们的文档。使用自由变换工具来调整大小,并将其旋转到如下图所示:
添加2调整图层作为剪切蒙版这个树枝层:
黑与白
水平
这里是调整后的效果:
第4步
我们不断添加树枝,做出我们合适的场景氛围就可以停手了。我们可以使用过程中提到的第3步对树枝进行同样的效果处理,并从树木图片中选择另外的树枝进行合成。不要偷懒使用同样的树枝。

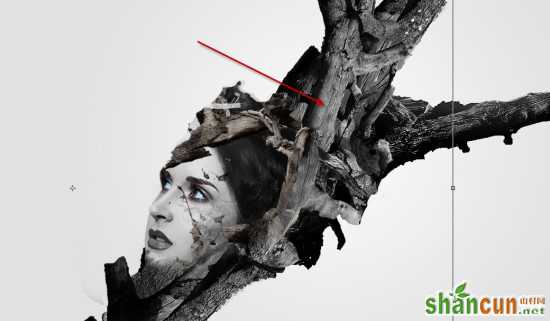
树枝可以随便选,构出自己喜欢的结构。
第5步
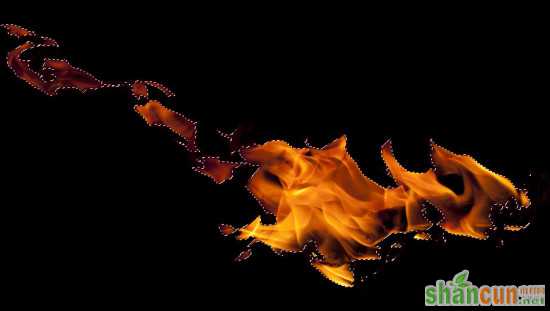
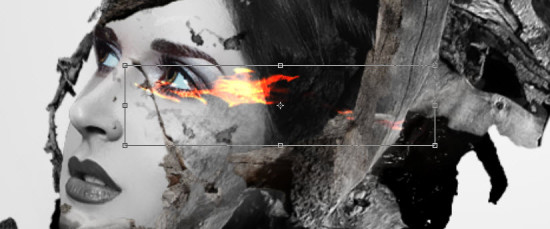
打开火的素材加载到Photoshop中,让画面有魔幻感:
复制并粘贴选择到我们的文档并设置混合模式为“叠加”,并将其移动到以下部分:
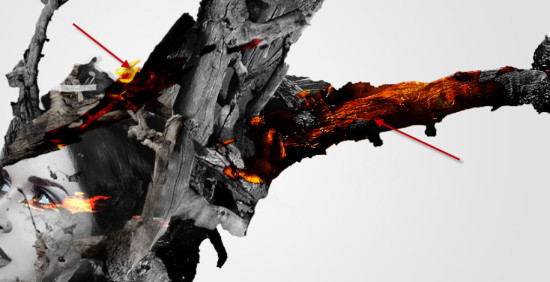
添加一些火效果在眼部周围
第6步
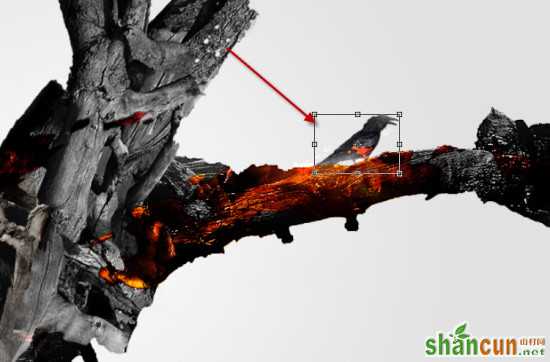
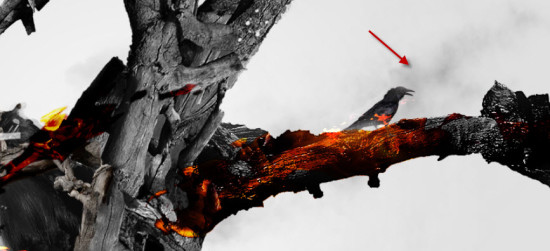
加载乌鸦图片到Photoshop中,并将其添加到下面所示的位置:
用我提供的一些烟/云与云过滤器画笔继续营造魔幻的感觉:
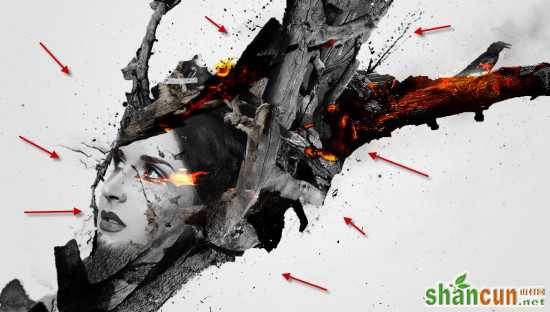
使用飞溅笔刷添加一些抽象图案如下:
第7步
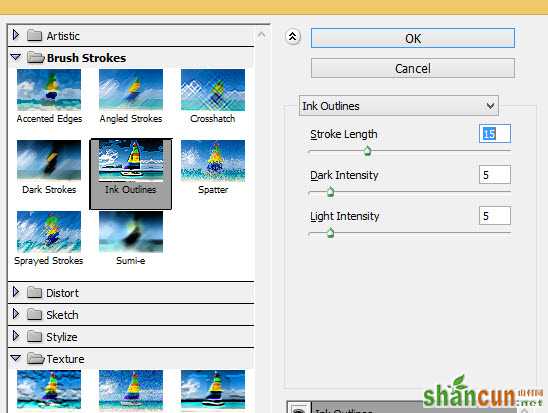
我们几乎完成了!利用PS自带的滤镜效果使场景更加完美。拼合图层,并复制背景层,应用以下墨水轮廓运用到复制的图层:
附上下面的图层蒙版此油墨轮廓层过滤:
这里是调整后的效果:
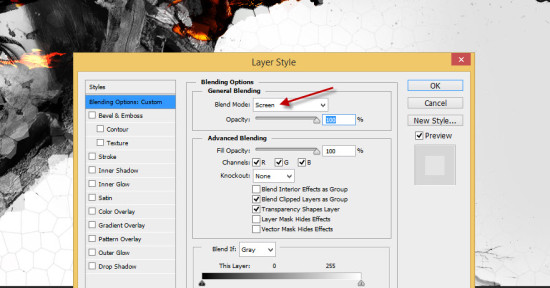
或者,我们可以复制背景层再一次和这个移动复制层的顶部,并应用以下彩绘玻璃过滤器:
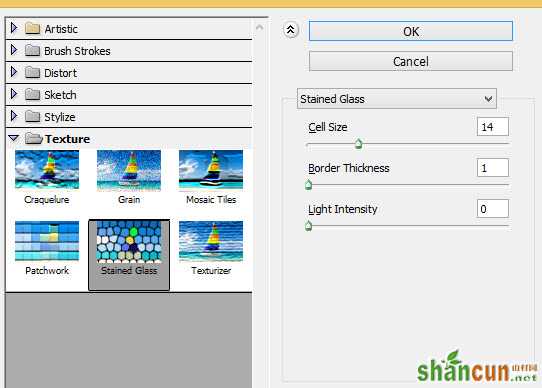
设置此图层的混合模式为“屏幕”:
以下可选颜色调整图层添加到微调颜色有点:
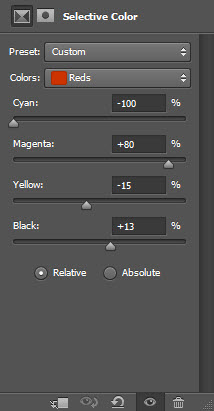
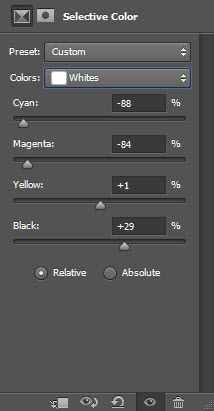
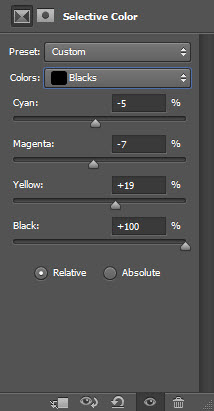
这是最后的效果


